These are the finishing details of the tile repair project. I’m documenting it more for my own memory, than benefit to the general public.
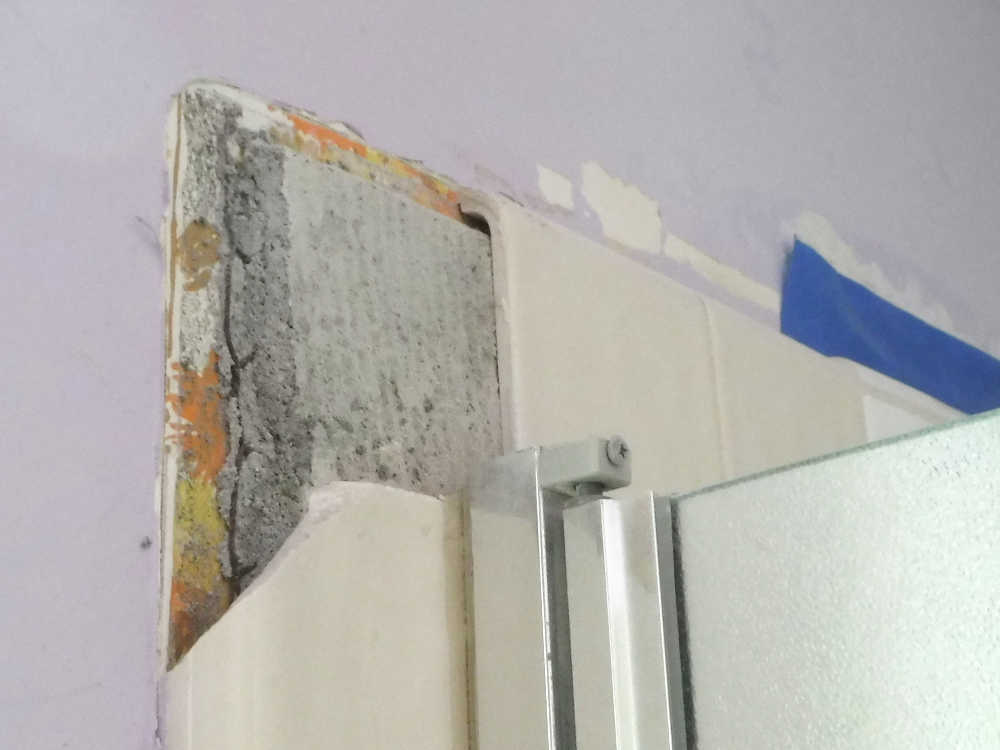
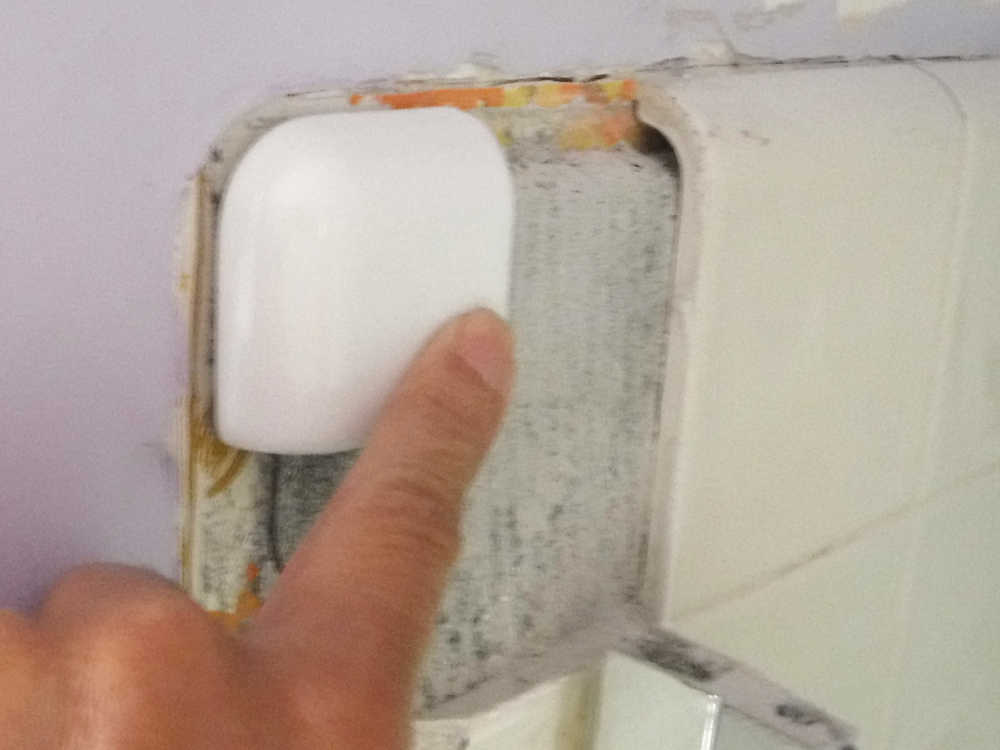
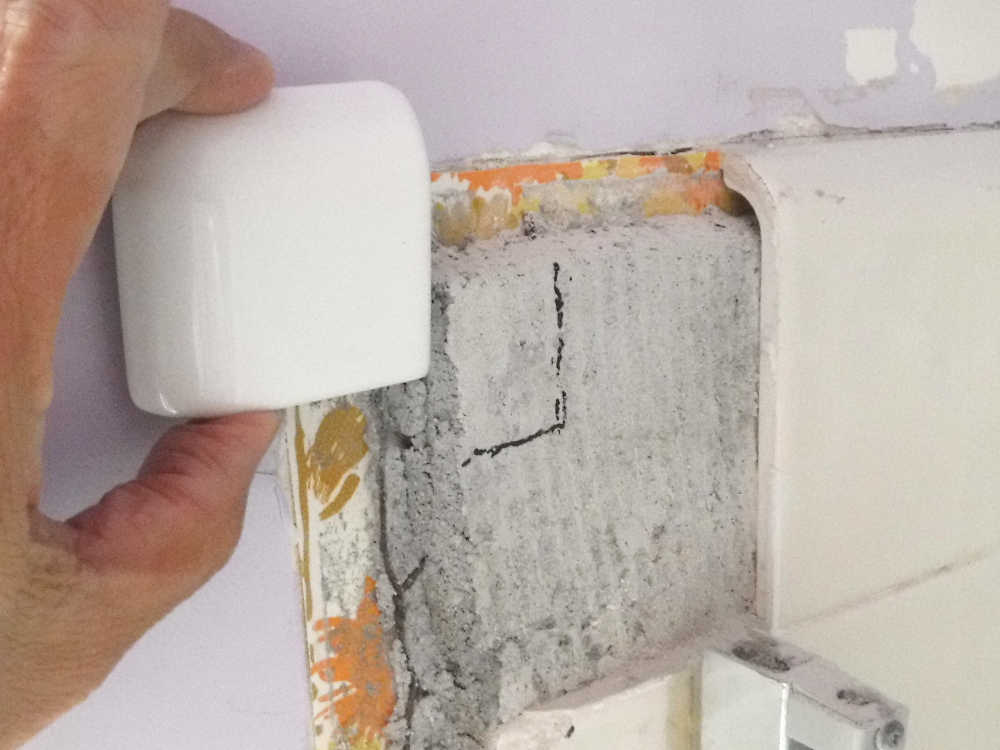
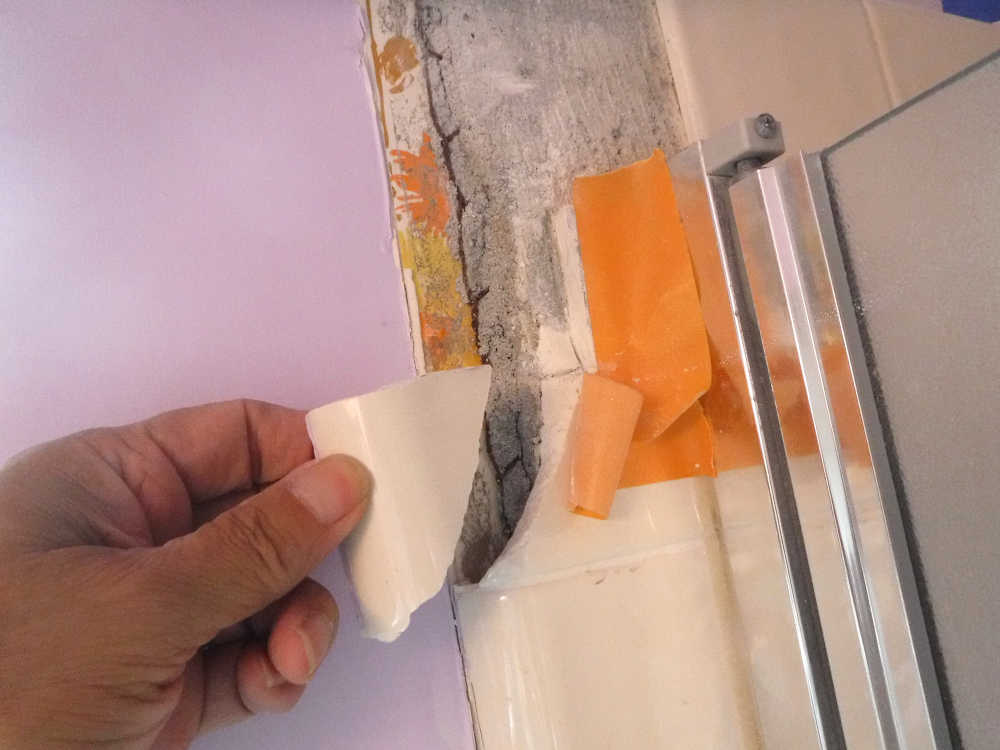
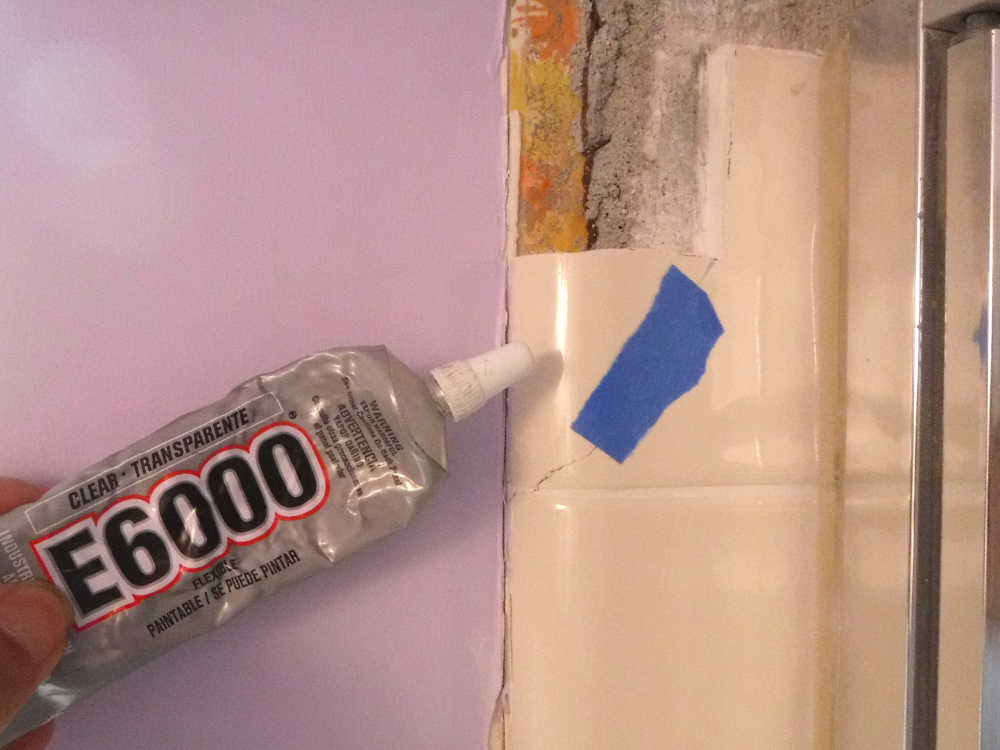
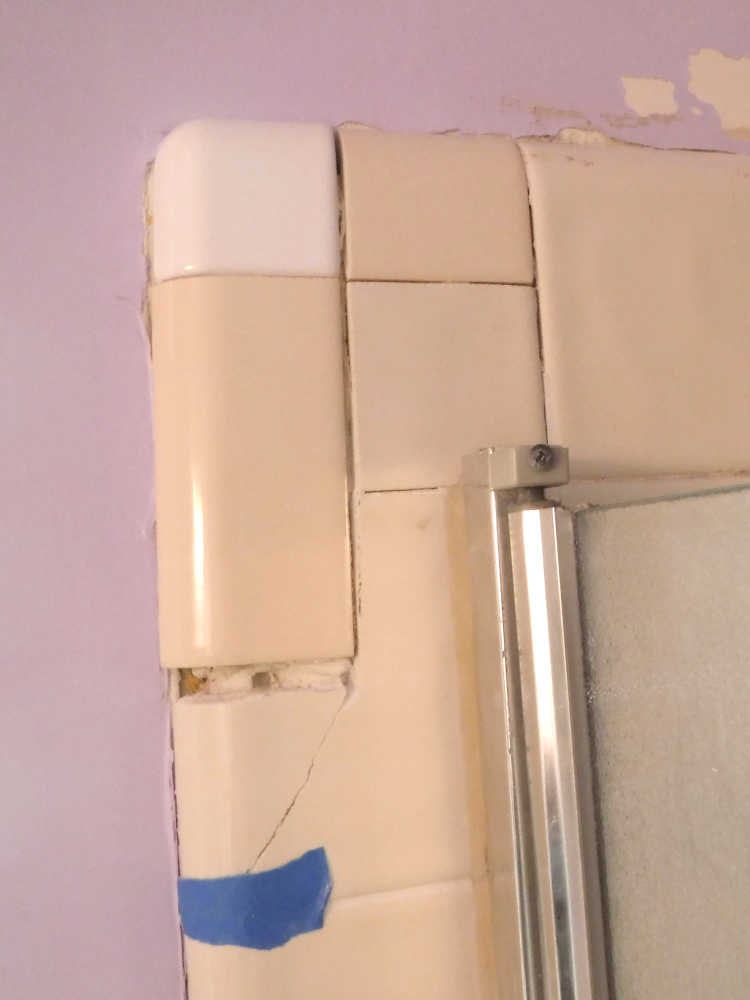
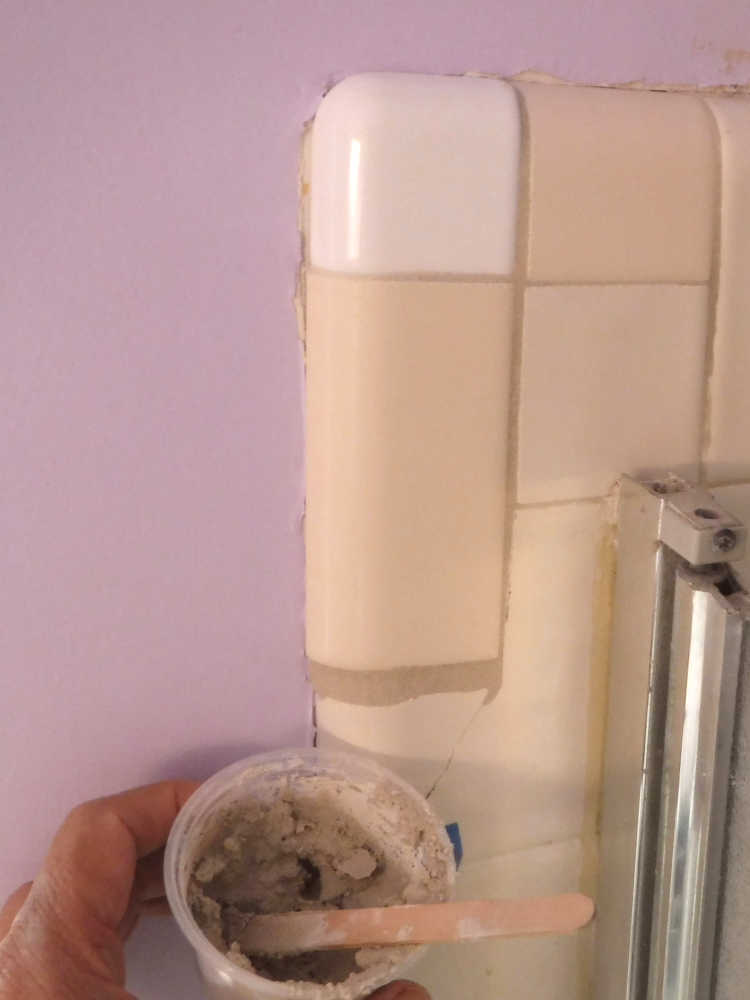
One corner tile was gone. Technically, it’s a 4″ corner tile with a radius bullnose. I couldn’t find one at any price on the internet.About the closest thing was this 2″ corner radius bullnose at Home Depot. Only came in white. Well, color matching was never a goal, anyway. The existing mortar is a bit too thick to allow the tile to touch the wall.So I would grind down part of the mortar with the diamond blade angle grinder. I will also need to cut away that diagonal break in the top picture.Just like life, things don’t always go as planned. I thought I had cut a square piece away, but when I pried it, another diagonal piece broke off.This is the tool I should have used with my rotary cutter, instead of the crude angle grinder. Too late, now.I was so tired of this project, I decided to just glue back the broken piece with some E6000, rather than use the Dremel to extend the cut even further straight down to the next grout line.There was some almond-colored 2″ x 6″ edge radius bullnose tile in our garage. I think I got it from some yard sale years ago. I cut it too short to cover the hole, but whatever. I suppose that at some later time, I could cut straight down to the next grout line and fix things up cleanly. Probably won’t happen. This is outside the shower, so doesn’t get wet, and is perfectly functional. Anyway, the tiles were set in a tiny bit of mortar, like 2 ounces.And maybe 1 ounce of grout, most of which is unused. I’m not particularly proud of filling that bottom gap with grout rather than mortaring in a clean tile.
Learnings:
Availability of matching tile even in the size and style of the old tile is difficult, let alone matching the color. If you can’t live with an eclectic-looking result, redo the entire shower.
Keep every little piece that you cut until the entire project is done. The leftovers might be useful as shims to support tiles while setting, or might be needed to make some little thing that you forgot. Had I not saved one 4×4 tile, I would have had to cut a virgin 10×14 tile just to generate the little 2×2 square above.
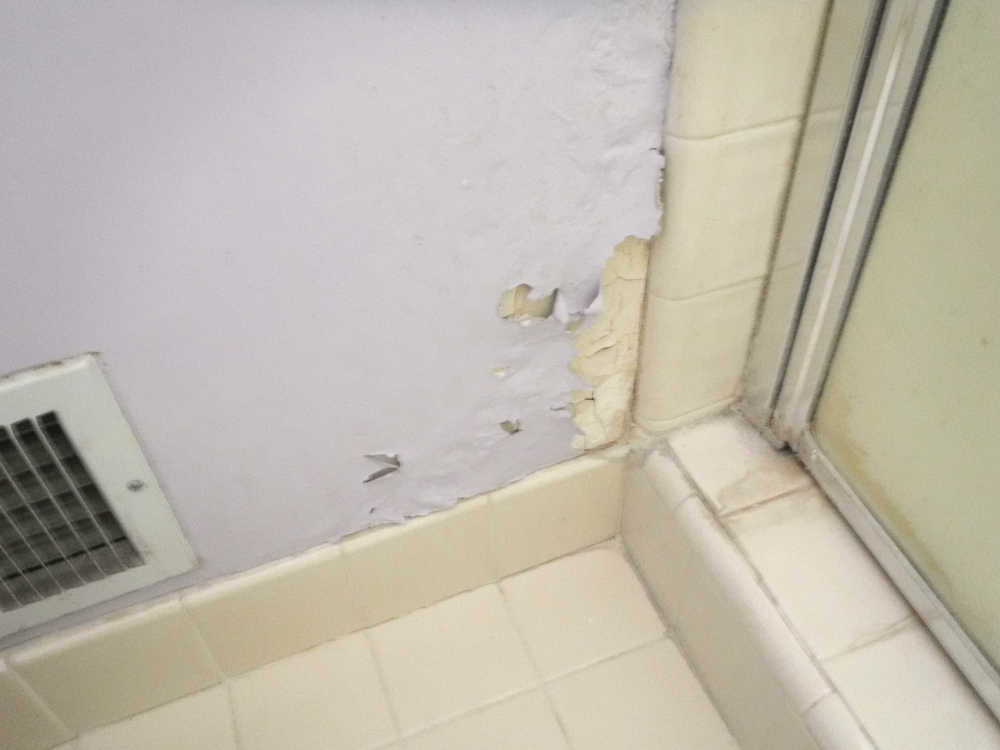
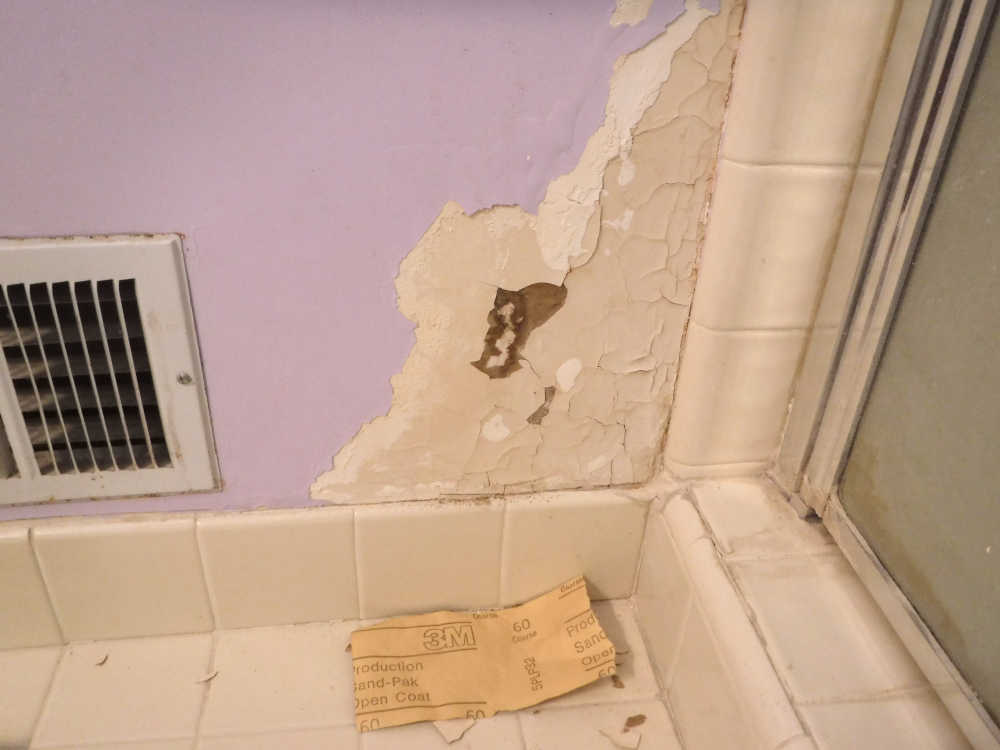
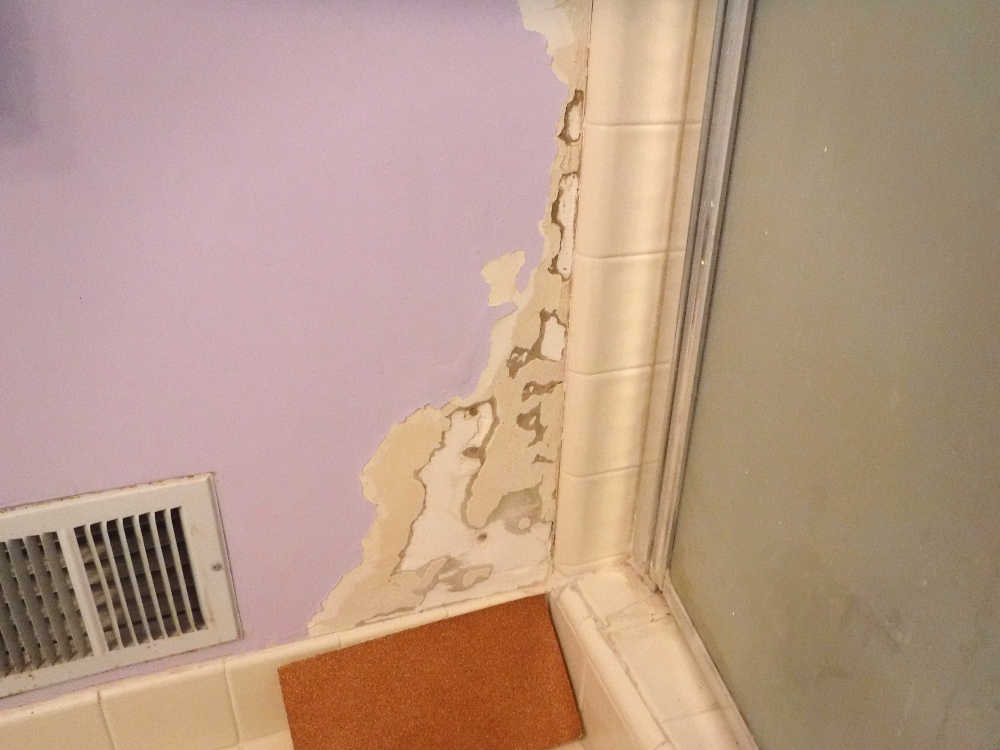
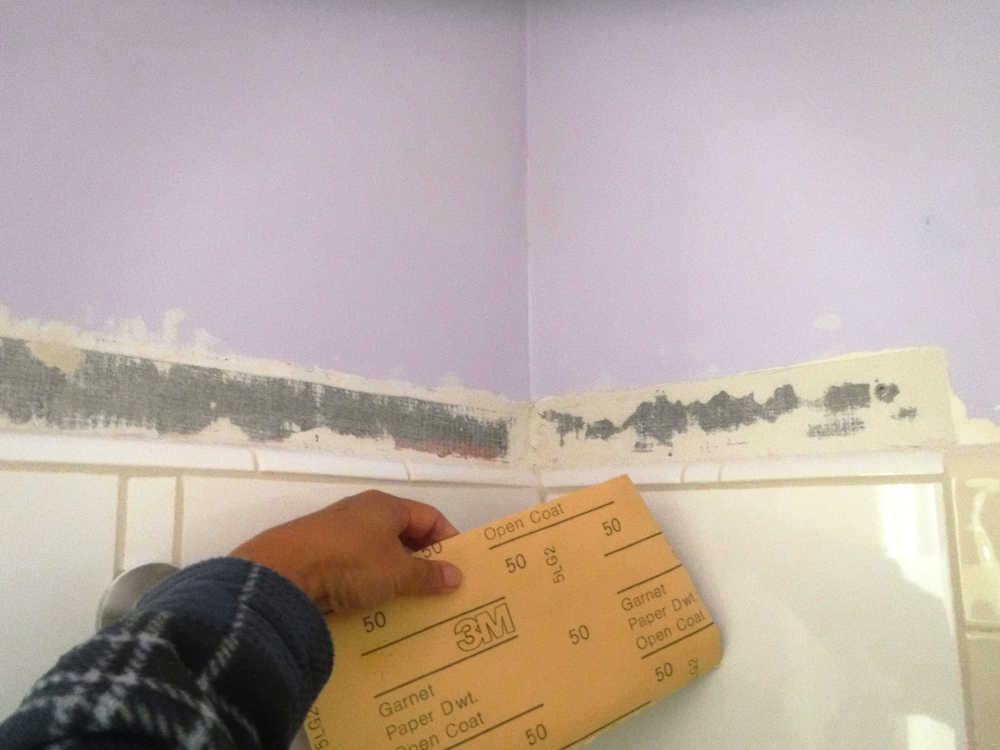
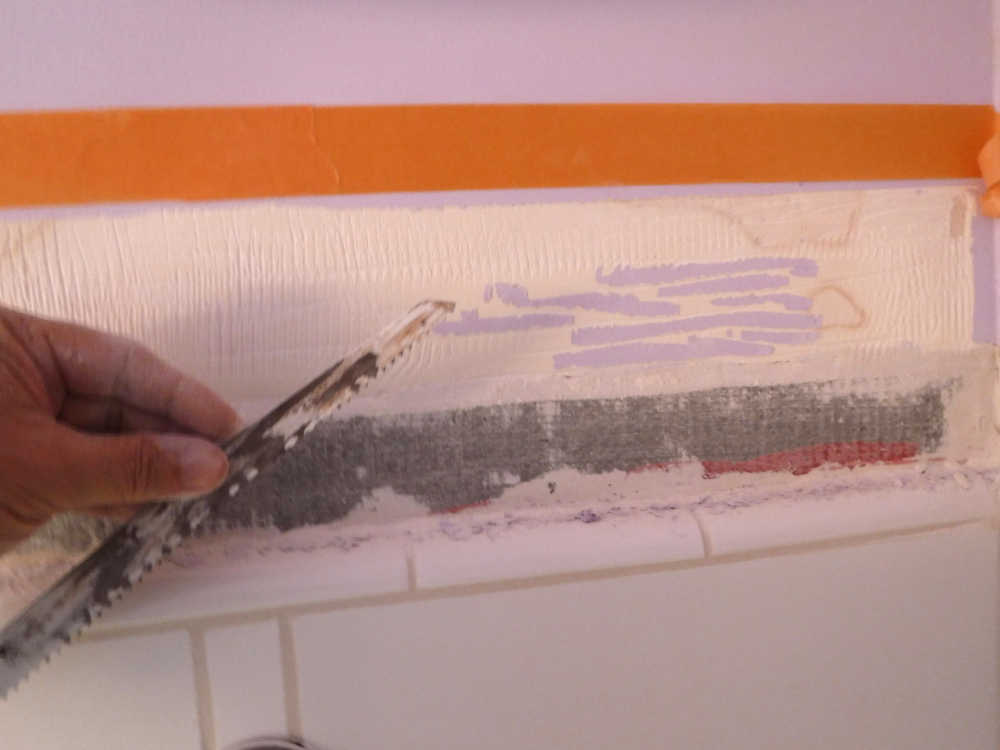
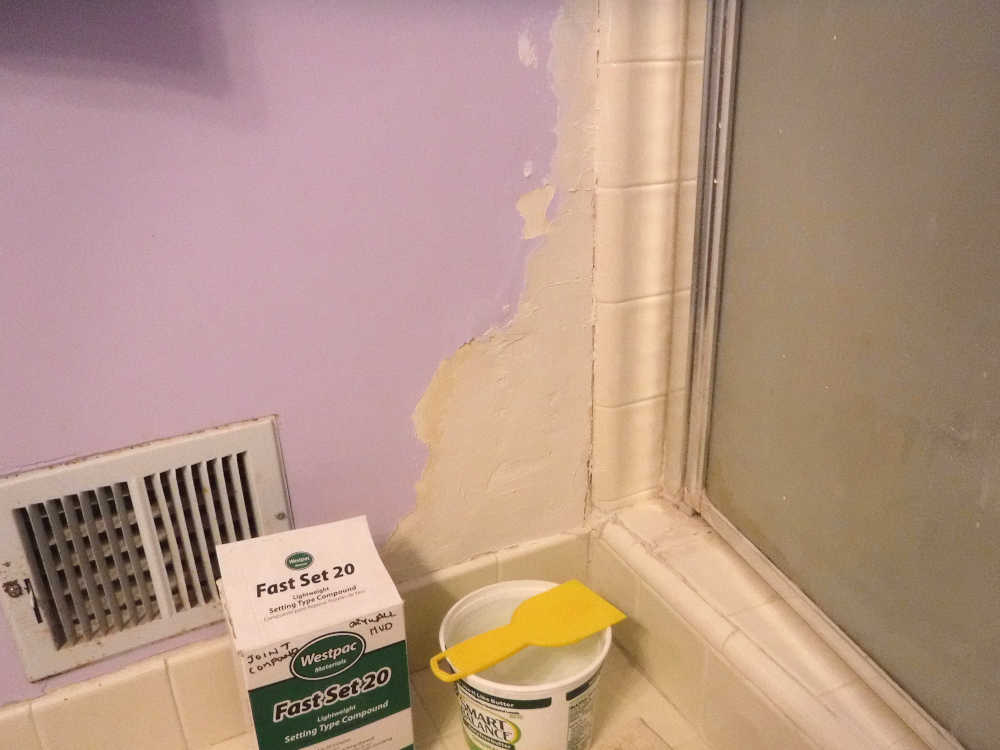
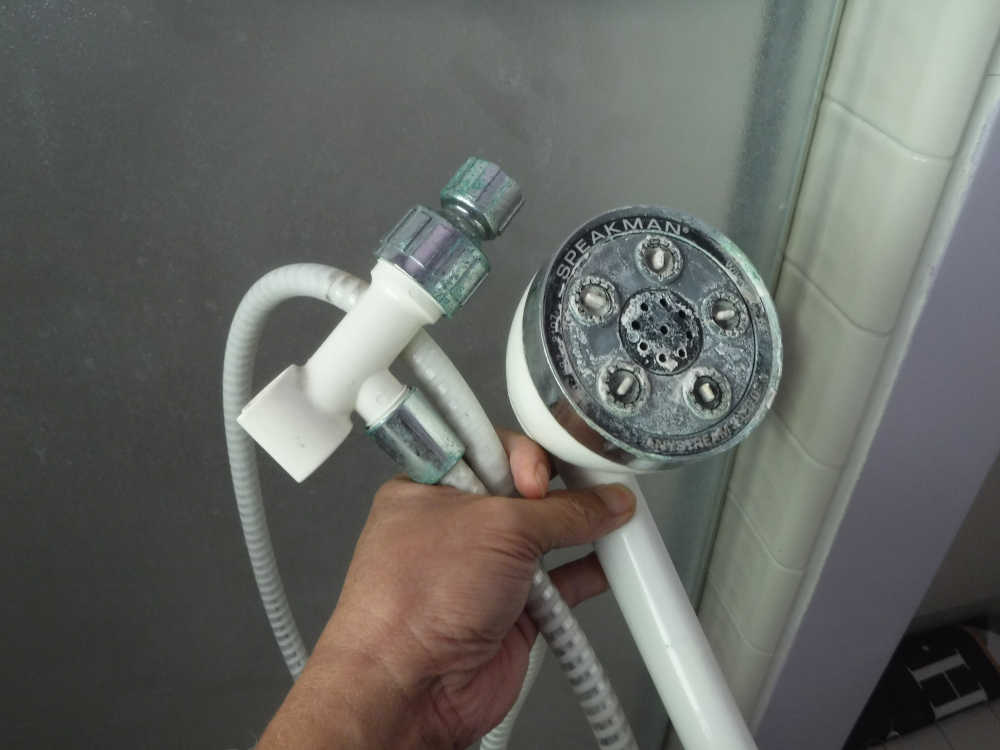
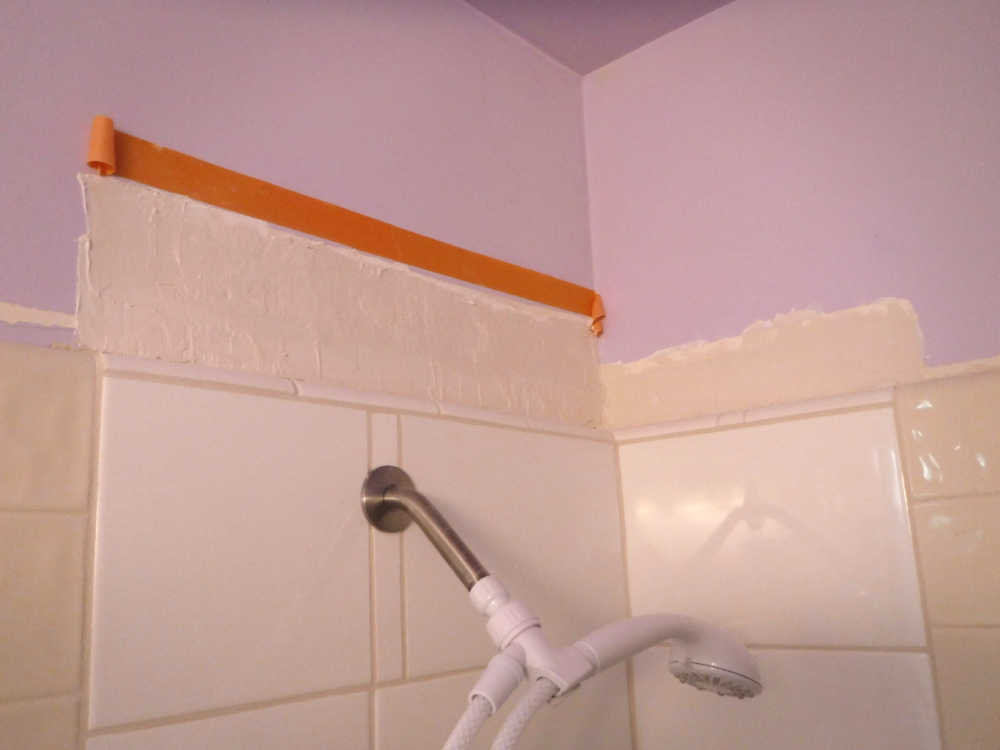
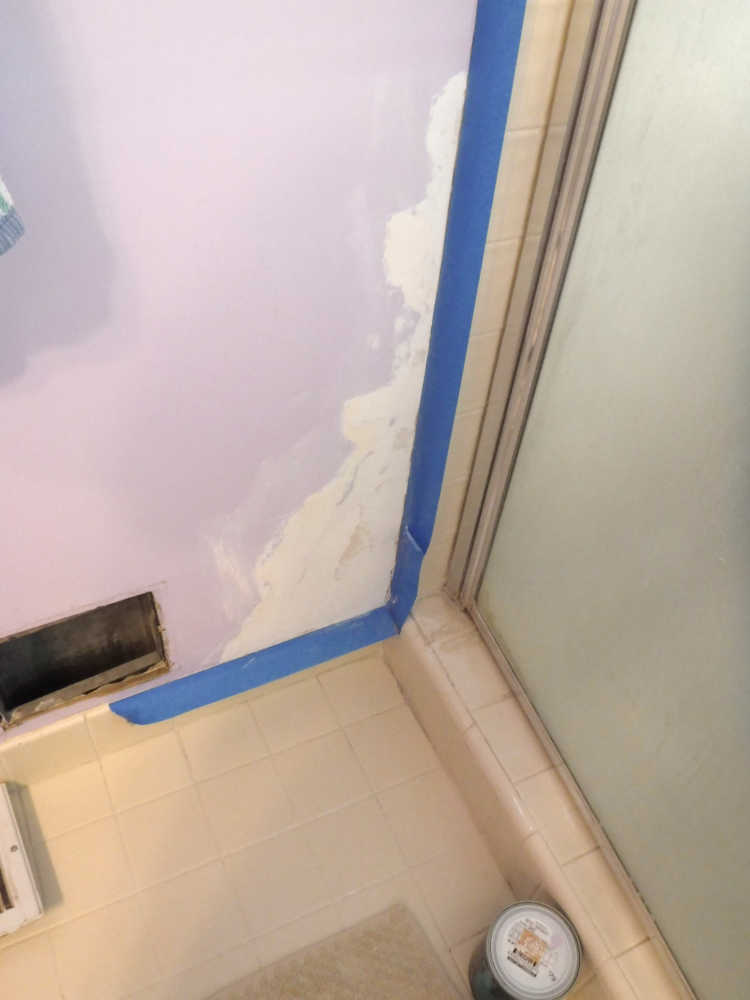
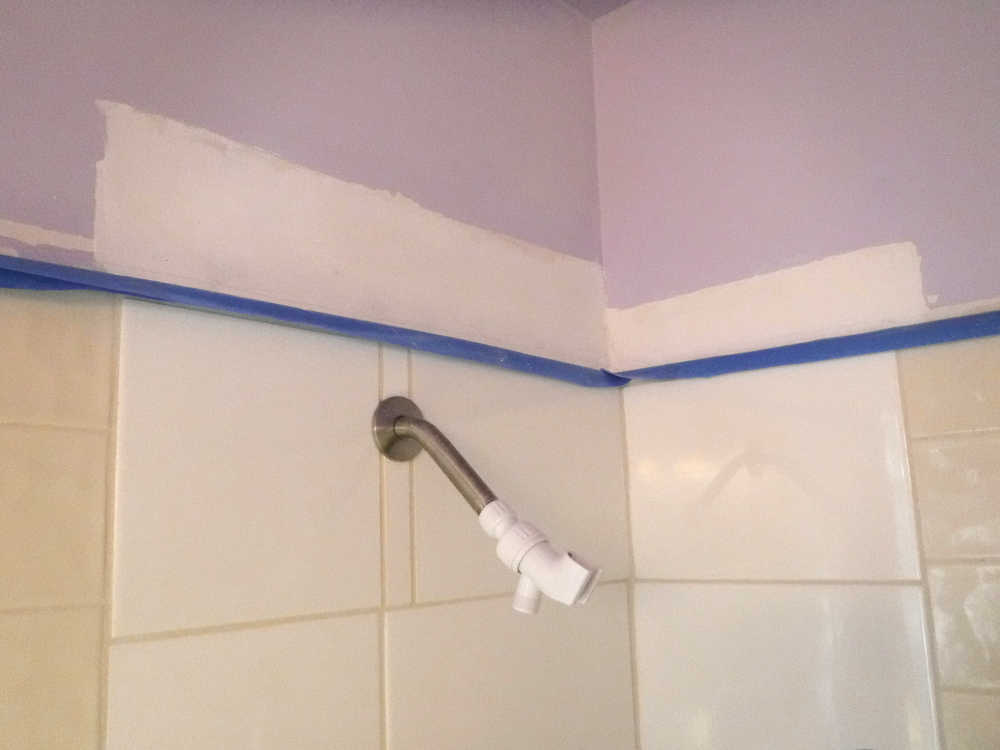
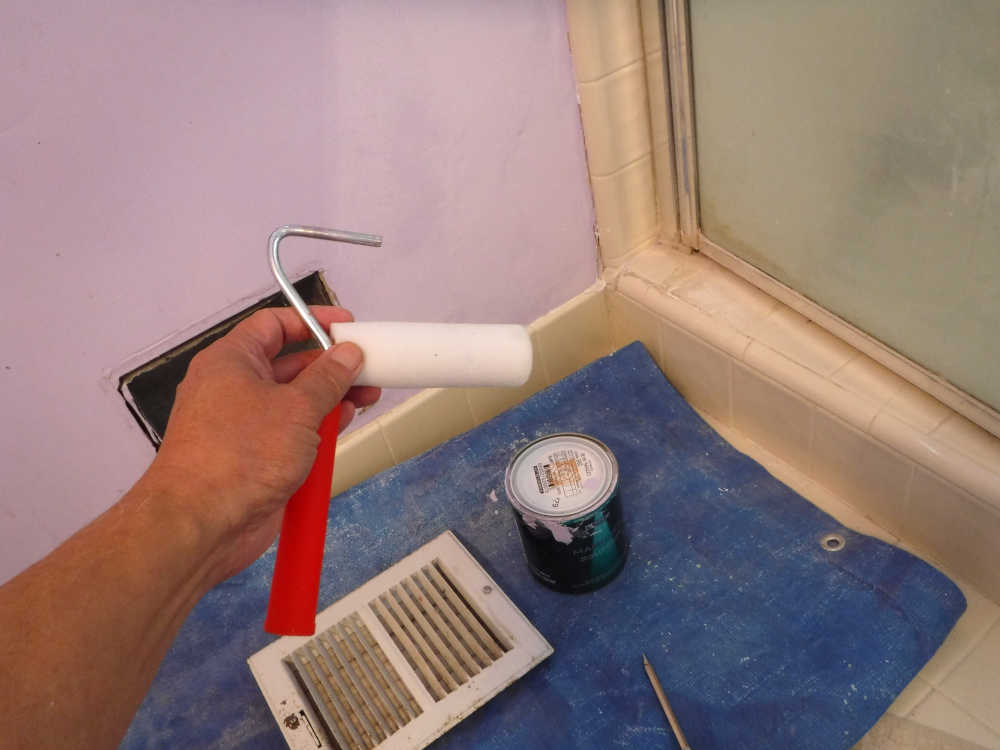
When the plumbing leaked into the wall, it blistered some paint.Peeling to find the extent of the damage.Sanding down to the drywall. Actually, I peeled and sanded even more after this picture. I felt like a surgeon cleaning out a wound.Above the shower, the wonderboard is still showing.I scraped off paint so that I could put joint compound over everything and get a smooth surface. A reciprocating saw blade made an excellent paint scraper for this purpose. That orange masking tape at the top is just a guide to remind me where to scrape.I made sure that both this corner and the top wall were absolutely ready before mixing up and applying this Fast Set 20 drywall compound. As the name implied, this stuff must be applied quickly before it hardens. There was even a product called Fast Set 5, I believe, which is even faster. What I wanted was a Slow Set 120, but there is no such thing.This is the old shower sprayer. It was perfectly functional, and might have cleaned up well with some lime remover. Forget it, I just got a new one for $20. I was entitled to splurge a bit after saving $5000+ on fixing the shower.Fast set compound has been applied to the top wall. It doesn’t have to be perfect, as it will be (hopefully) be sanded smooth, later. I actually gave it a day or two to dry.Sanded smooth and masked for painting.Top wall sanded and ready for painting.The first coat is on. I’m using the same dollar-store mini-roller that I used for liquid membrane. The set actually came with 3 foam rollers. The ones used for liquid membrane had to be discarded after each use, but this paint washed right out, and I was able to use one roller for both coats.One thing that I learned before about painting is to remove the masking tape while the paint is still wet. It’s tempting to leave the tape on, especially if there is going to be a second coat of paint in the same place. But if the paint is allowed to dry, it might stick to the tape, and peel up when the tape is removed. Take the tape off just after painting, and mask with new tape for the second coat. Also, wipe off any errant paint drops with a sponge or wet paper towel.
Learning: peel the masking tape off just after painting.
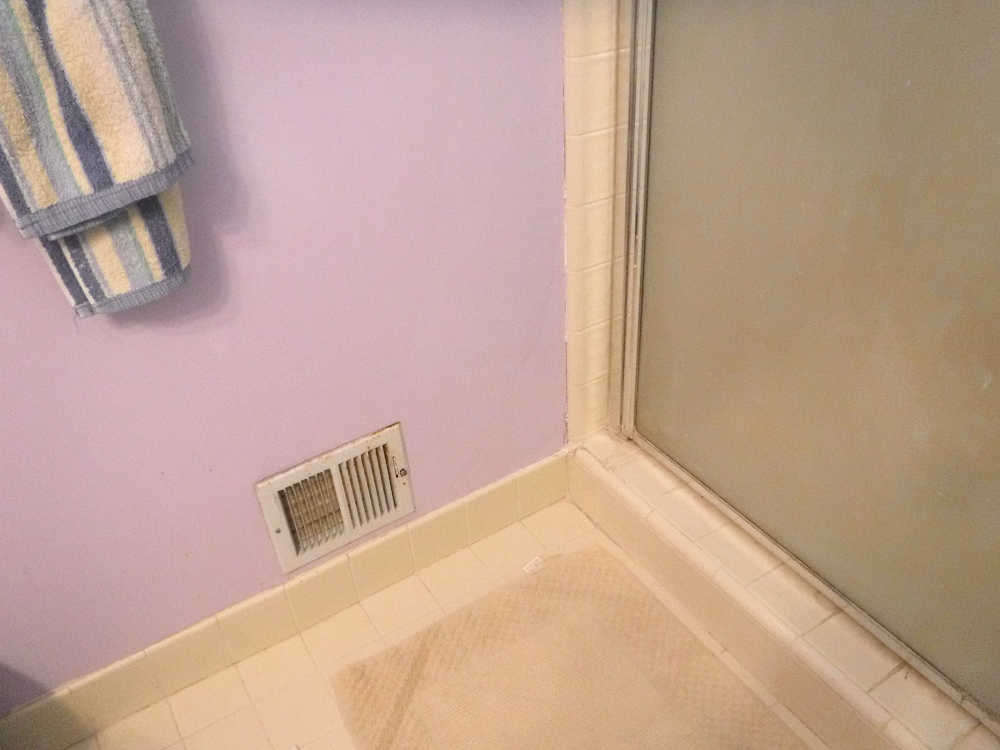
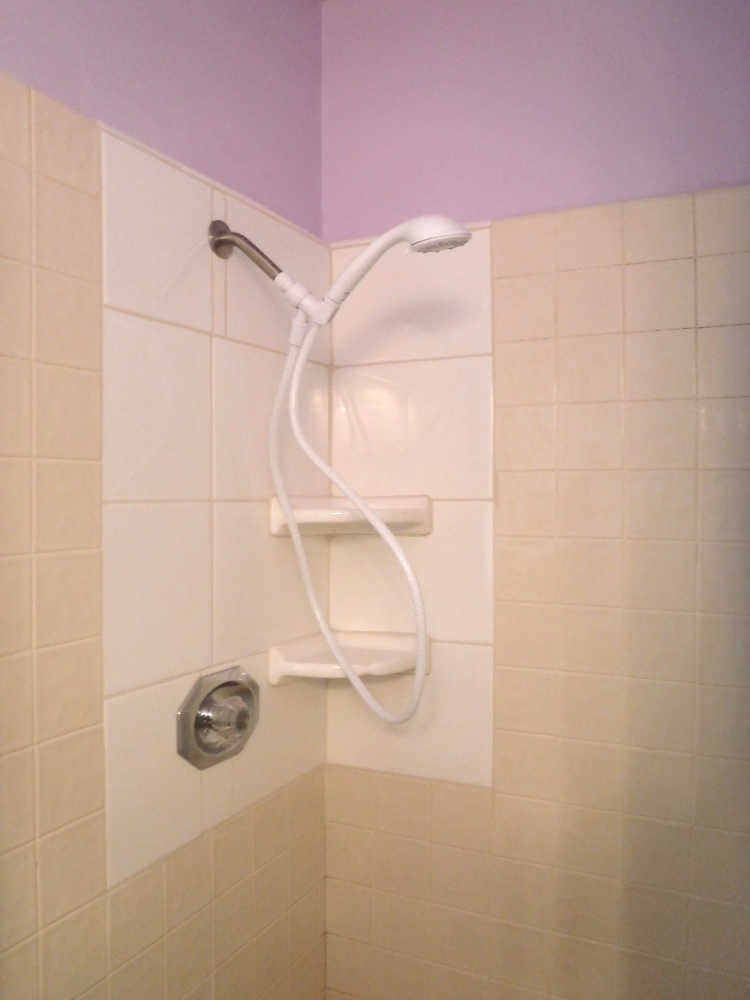
Finished.
The total cost for materials and renting the wet tile saw for this project was about $150, not counting tools and materials that I already had. The liquid membrane alone was over $50 of this cost, and I only used maybe 10-20% of it, because it didn’t come in a smaller size. Same thing for the Rock-on screws – $18, came in a pack of 140, used only about 20. I tried selling leftovers on craigslist, $20 for everything, but no takers, except one person took the 40 pounds of leftover versabond mortar for $5. So I gave the rest away free.
Finally done. Well, I suppose the old tile and grout could use a good scrubbing. . .