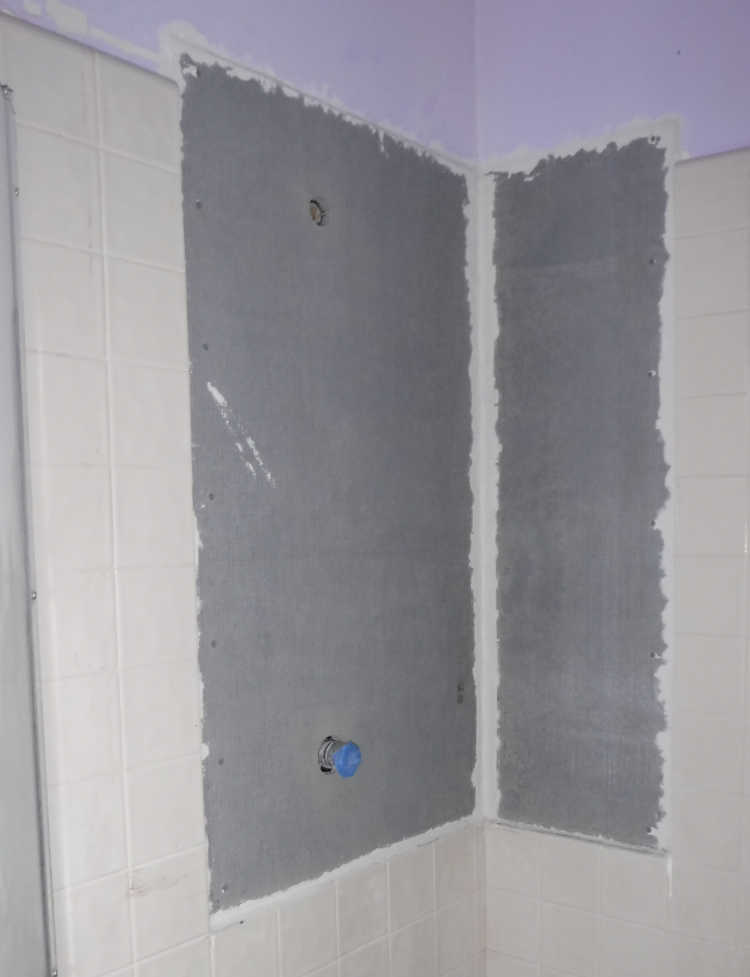
Instead of replacing the drywall behind the tile with more drywall, I chose to use concrete board, and product called Wonderboard Lite. It has styrofoam grains in it, so is a bit like air-crete. Cutting this material to size is as simple as scribing it with a utility knife, and breaking it. Since it won’t show, an absolutely clean edge is not important.
Next, it was a simple matter of mounting the concrete board in place.
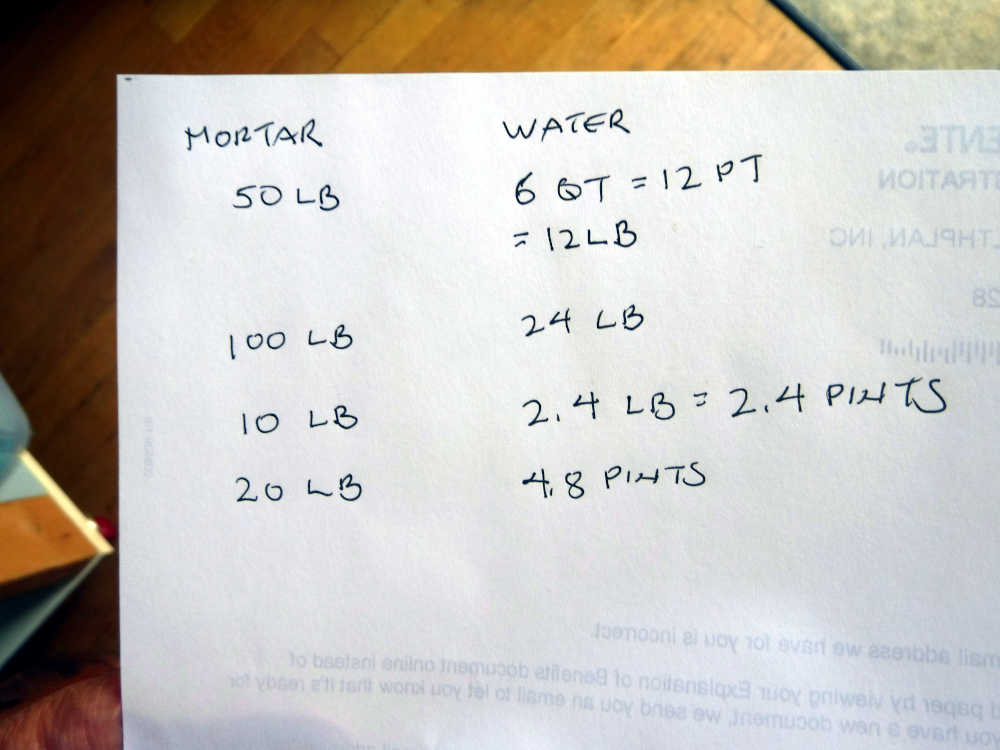
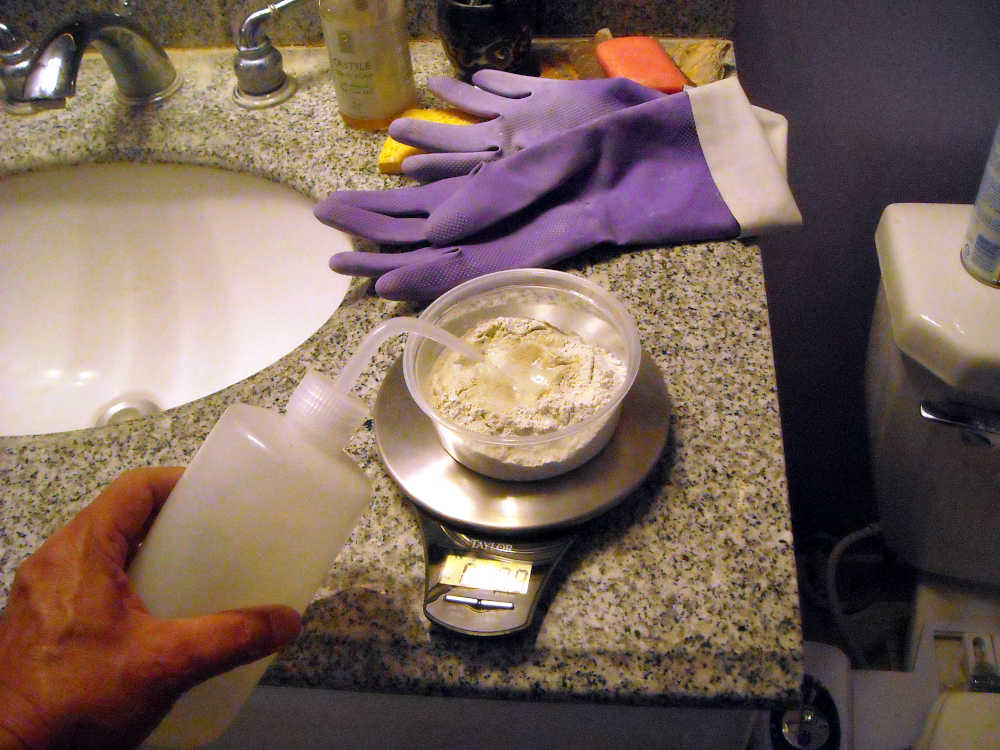
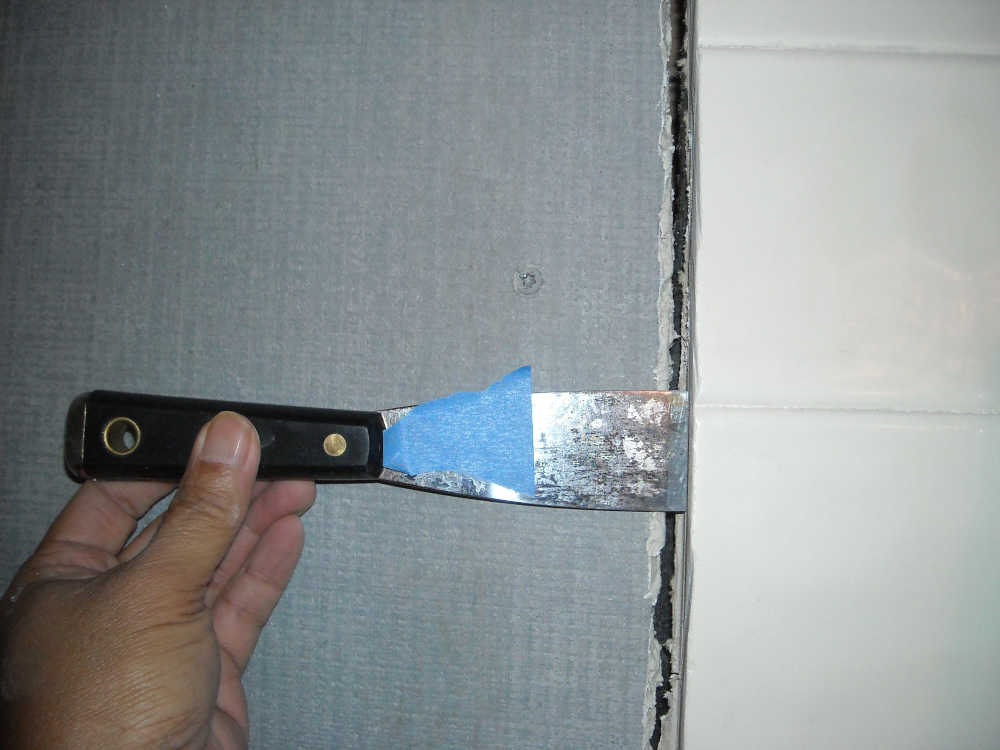
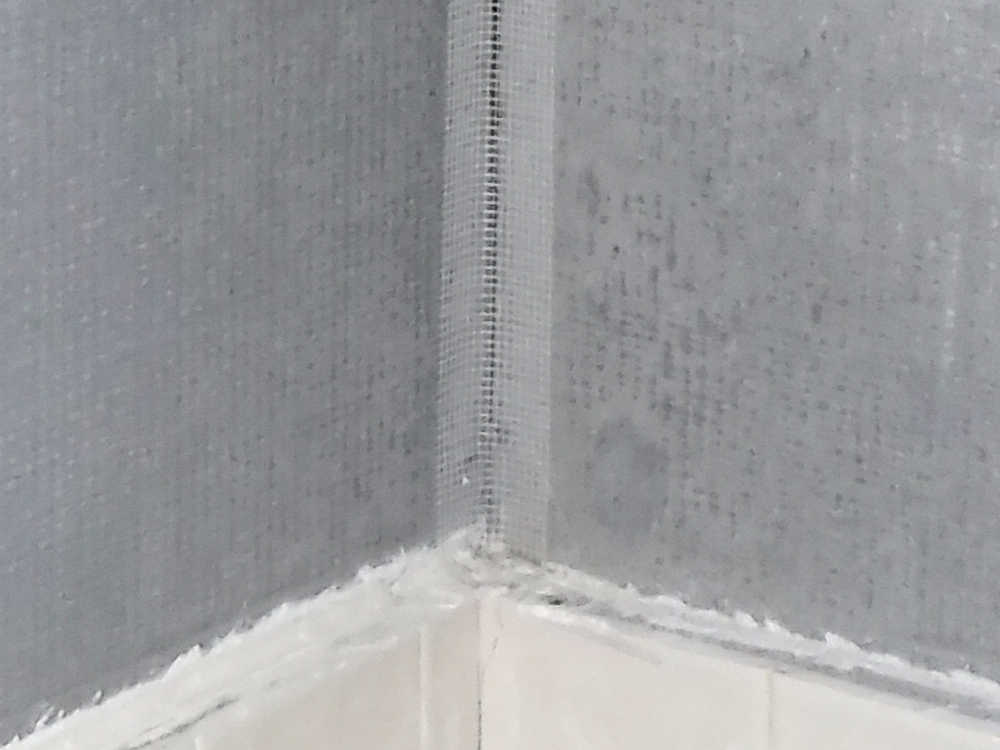
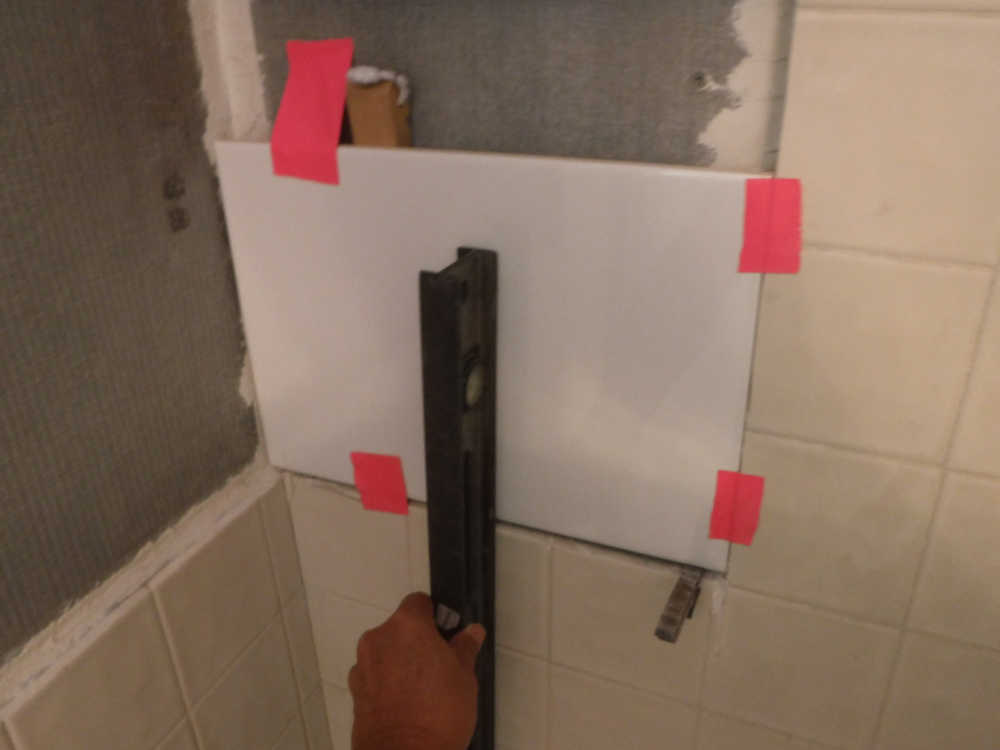
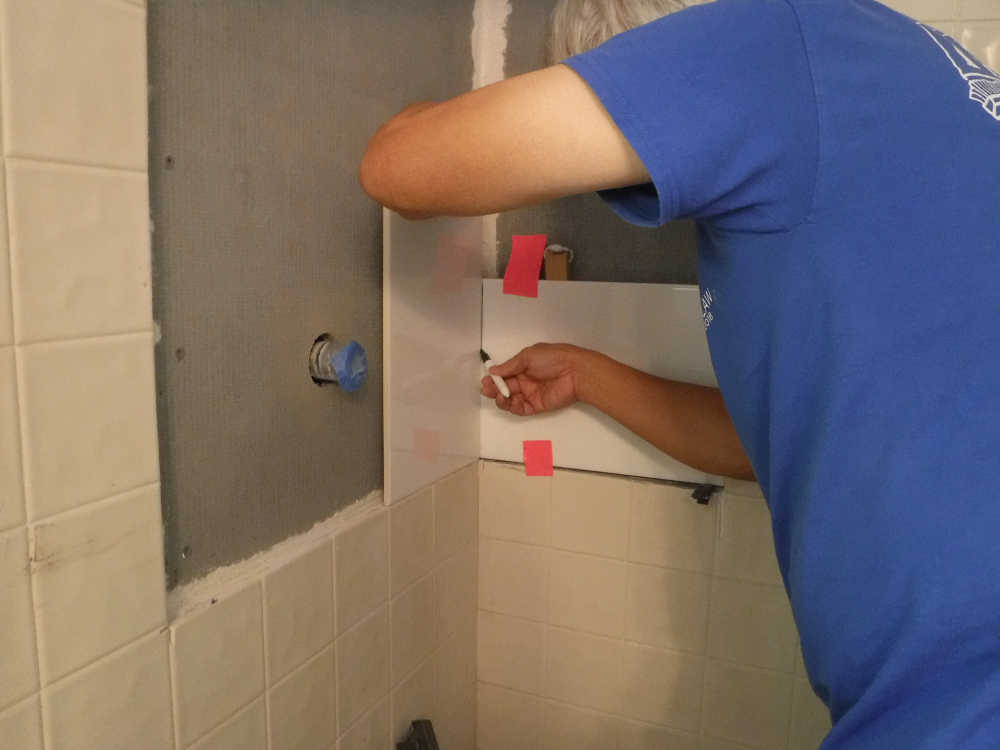
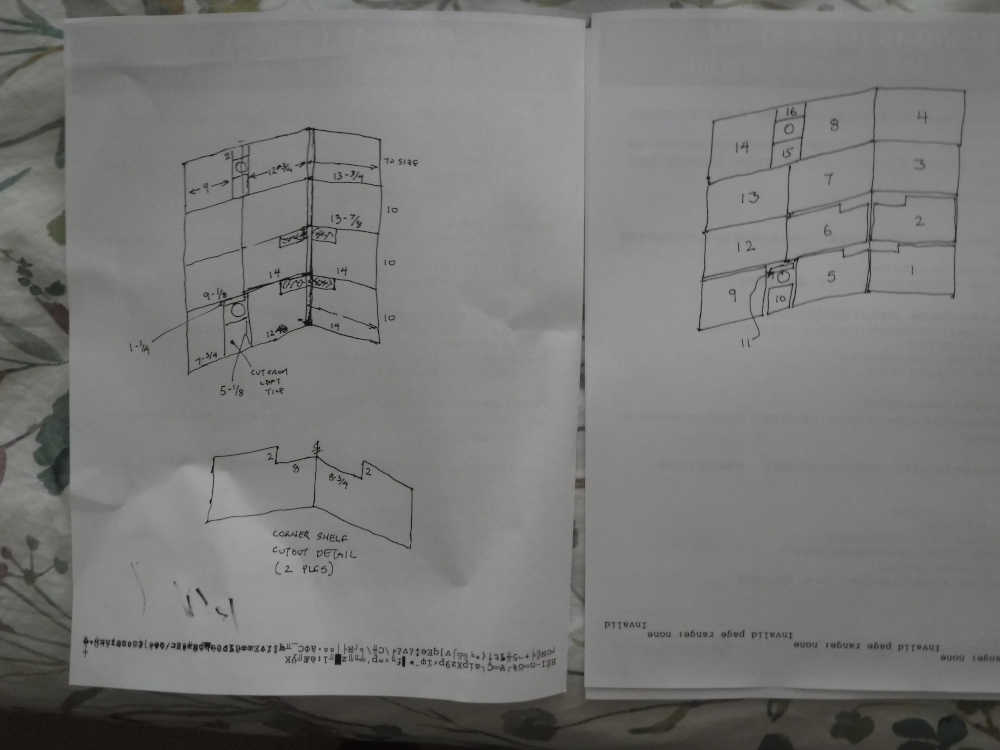
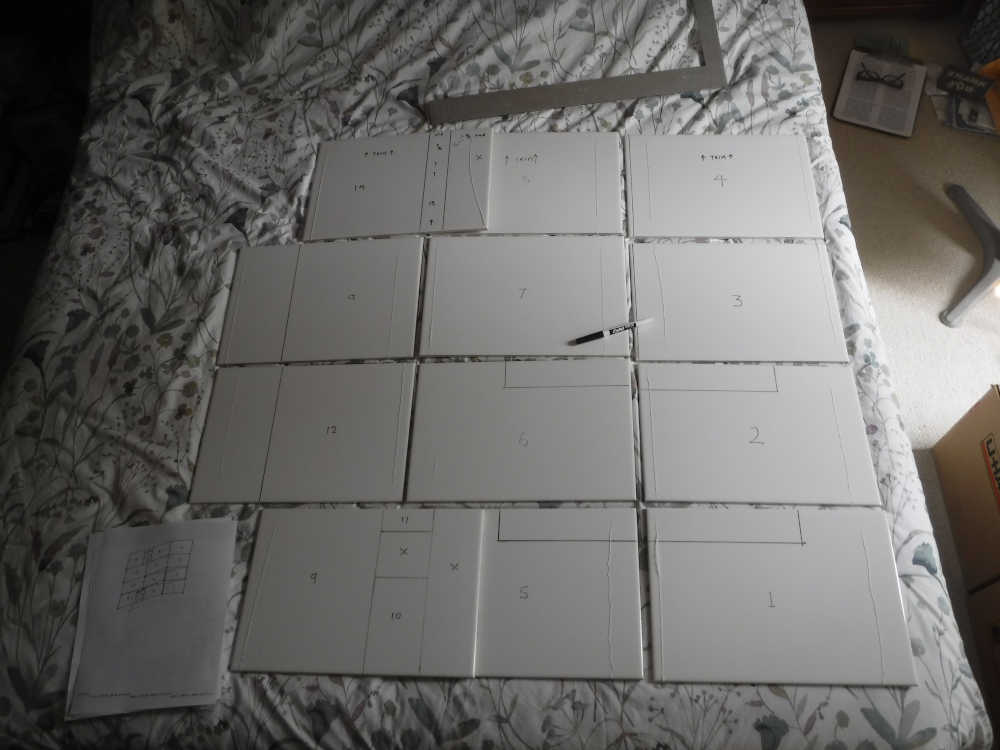
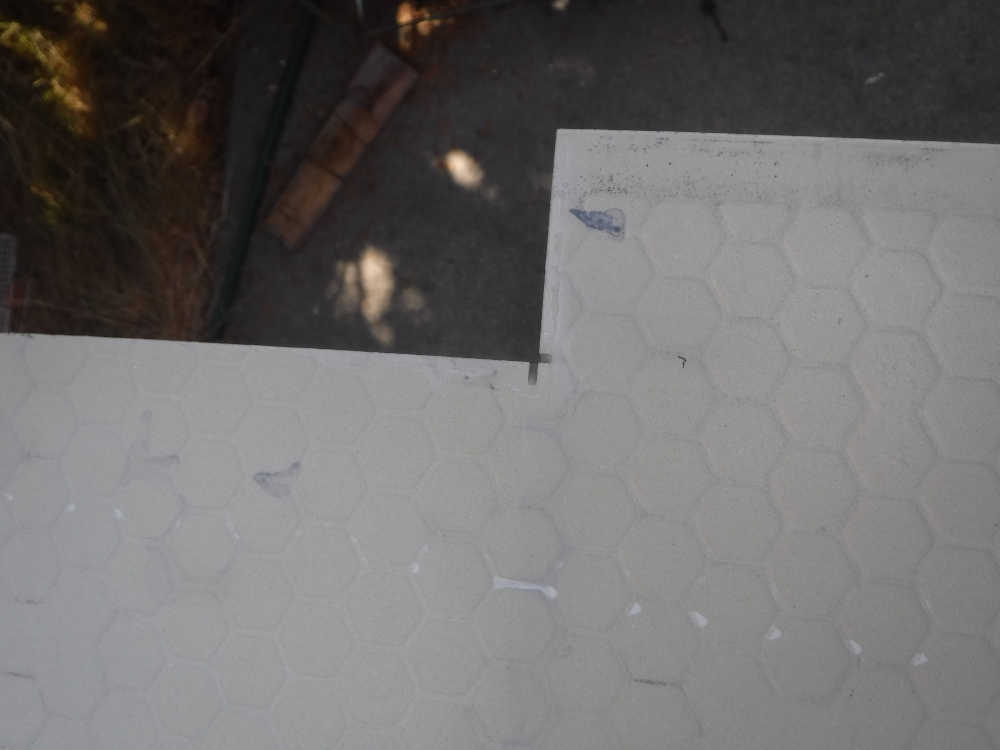
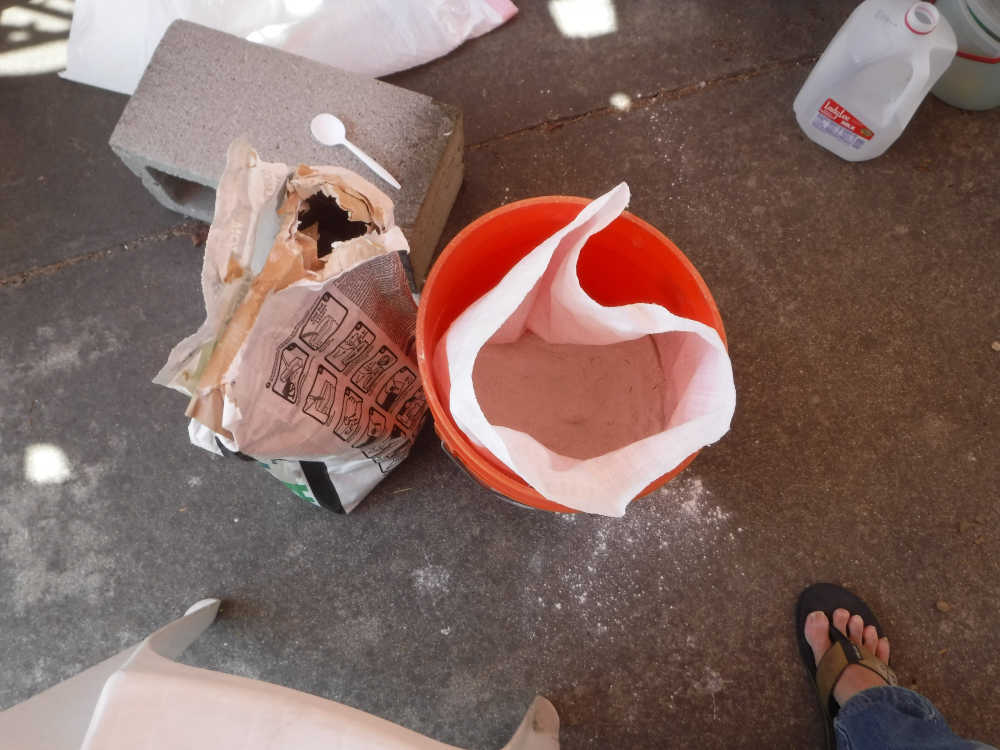
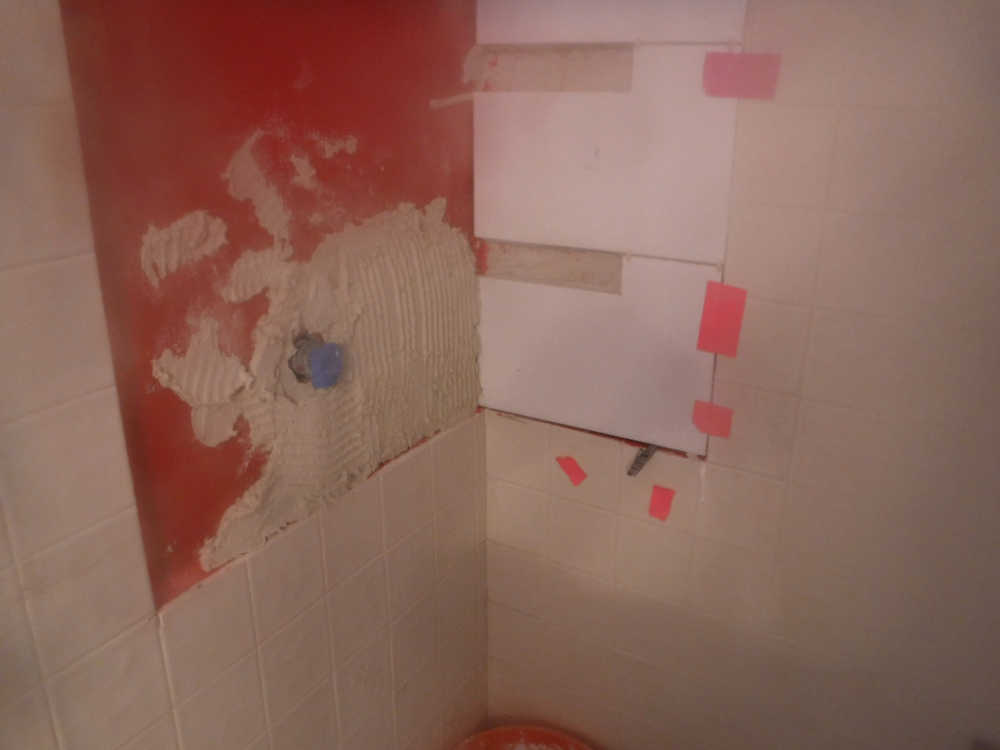
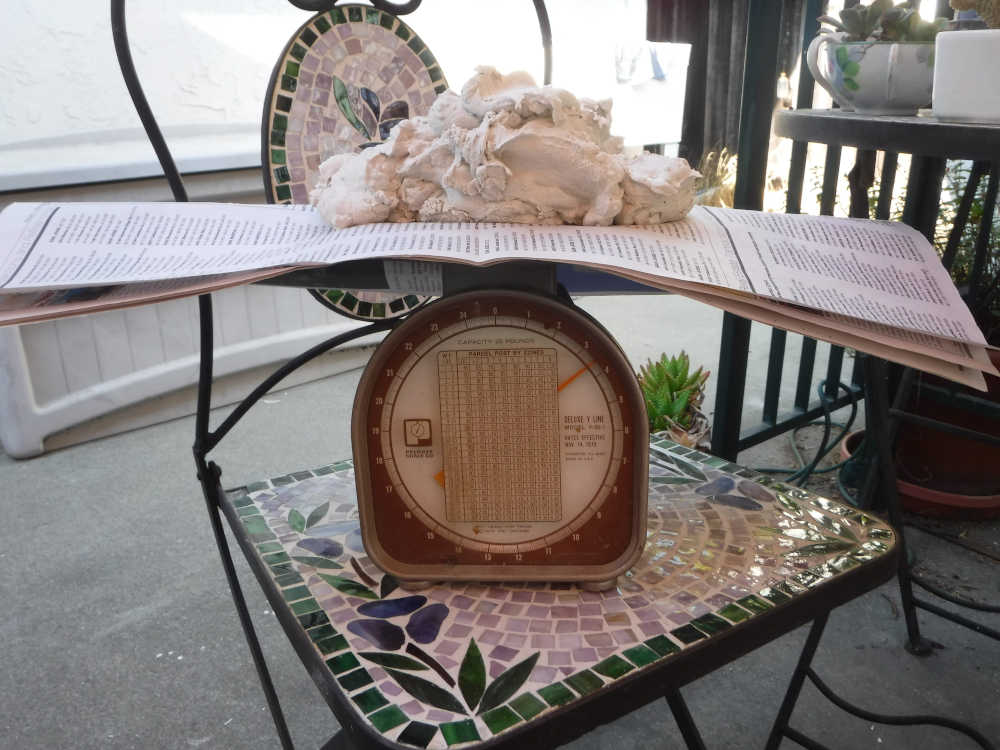
Special screws designed for this kind of Wonderboard were used. The attachment is right to the studs, of course.The bag of mortar only has mixing instructions for the whole bag. As I only needed a little bit of mortar for the next step, so had to do some math.This was perhaps 1 pound of dry mortar, to which I added water to match the weight of the previous calculations.This is a dramatization, but the idea is to get mortar into the edges to join the concrete board with the existing drywall. I’m more concerned with strength than water-tightness at this step.Some fiber mesh drywall tape is in the corner. Mortar will go over it.I actually had to mix two batches of mortar to seal this much. By the way, the holes for the plumbing were cut with an ordinary hole saw. Wonderboard cuts easily.Now to try a few tiles for fit. I’m making it as flush with the existing tile as possible, and keeping it in place with duck tape and shims (for example, half a wooden clothespin and a doorstop).The tile on the left, when finally installed, will abut the concrete on the right. The tile on the right will abut the surface of the left tile. So I’m marking the width with a dry erase marker for later cutting.I wanted to have all the cuts planned out as much as possible.All the tiles are marked for cutting with dry erase marker. Only one tile from the whole lot was used whole.
People with a tile saw can cut and set tile at their leisure, but since I had to rent one by the hour, I wanted to have everything ready in advance to minimize time with the saw. That included putting on liquid membrane.
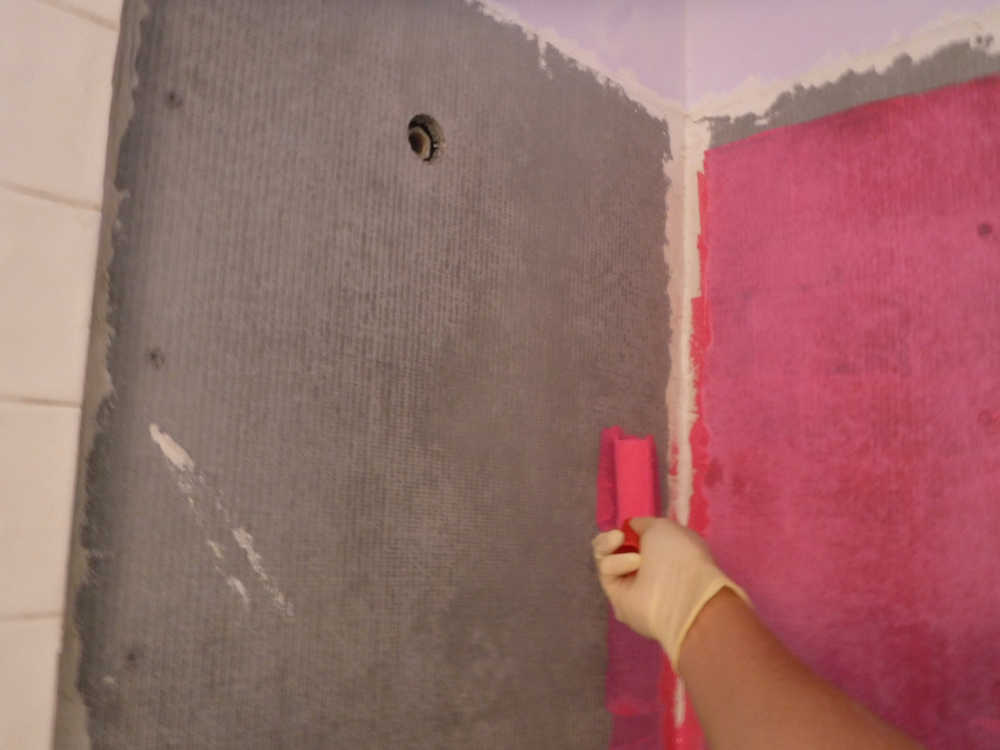
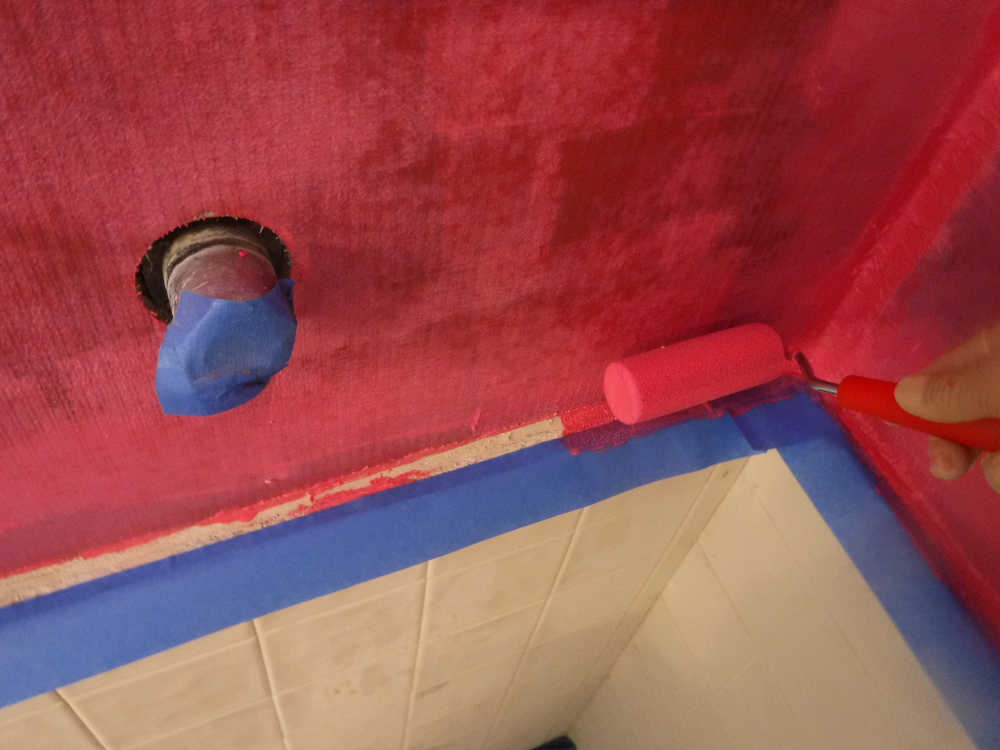
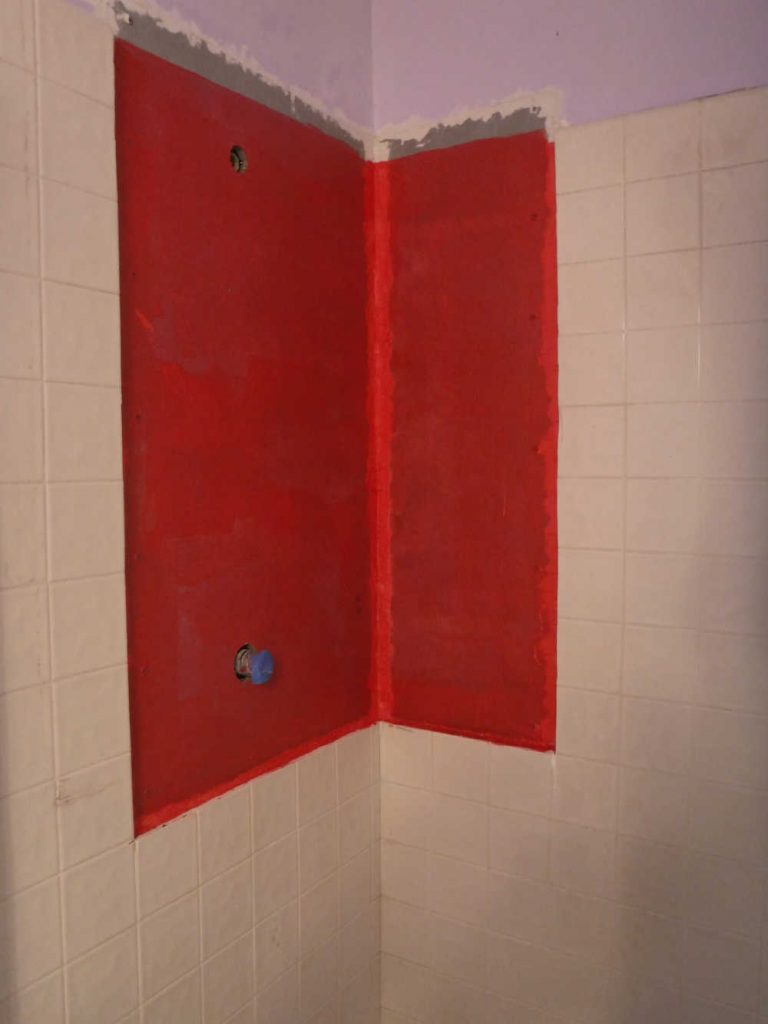
This waterproofing liquid membrane is like thick paint. I’m using it in lieu of the tar paper that was used in the previous construction.I’m using a cheap foam roller that I got at a dollar store, trying to ensure that the liquid membrane makes a seal with the existing mortar at the edges. I have masked off the edges of the tile so that the red won’t mar the final appearance.Liquid membrane is hot pink in color when it goes on, but dries to a safety cone orange. After a few hours, I put on a second coat, per instructions.
I let the liquid membrane dry for a couple days to be sure, then went to Home Depot to rent a wet tile saw. It was $31 for one day, and when they say one day, they really mean it. If you return it 10 minutes late, they will charge you extra. Home Depot also rents a scribe-and-break cutter for less, but that’s somewhat less precise (I’ve used them before), and useless for anything but straight cuts all the way across the tile.
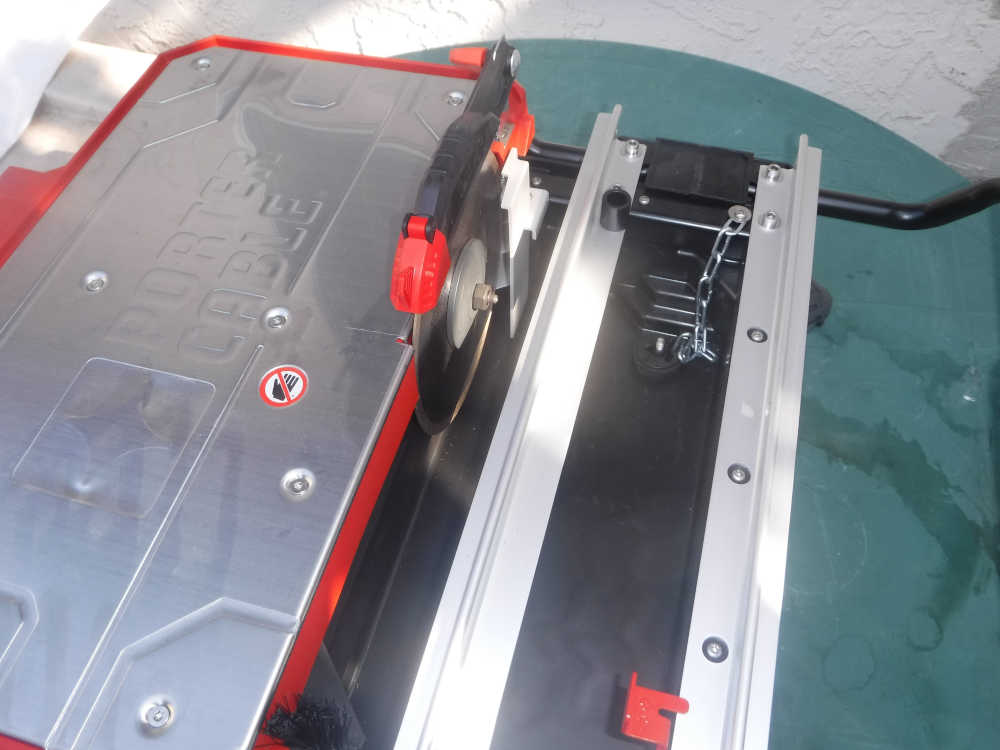
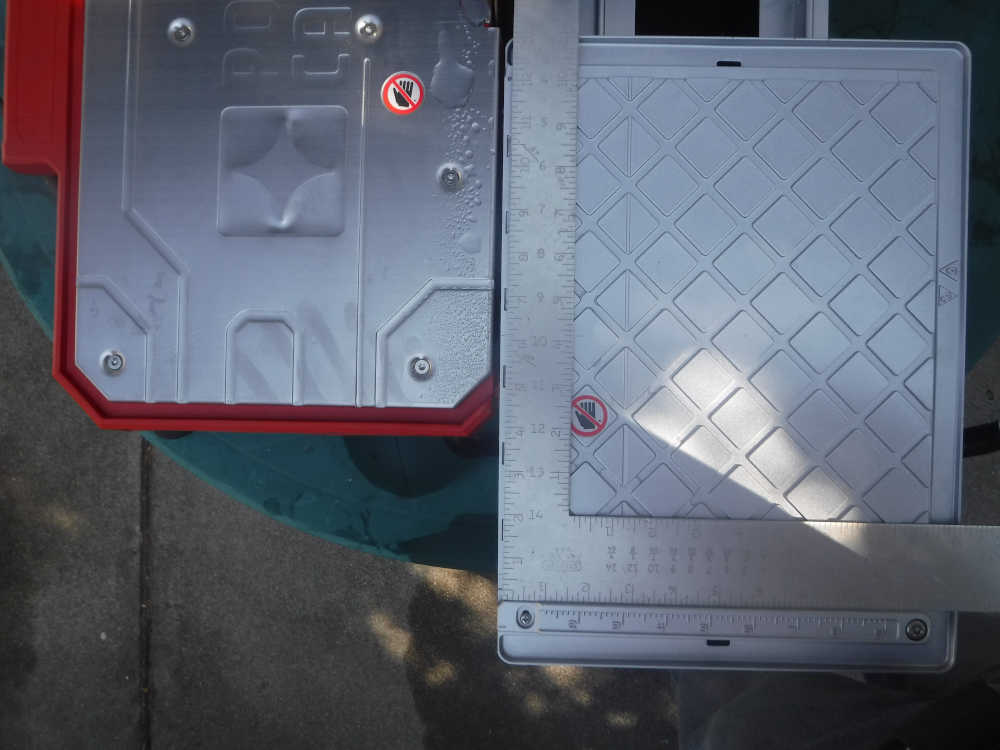
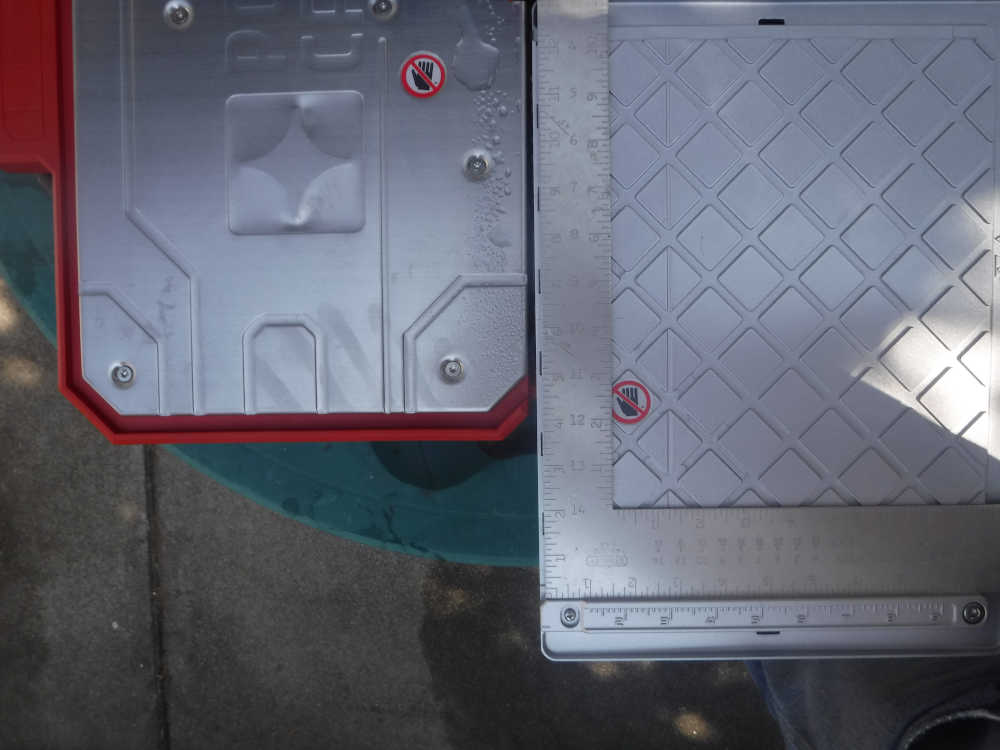
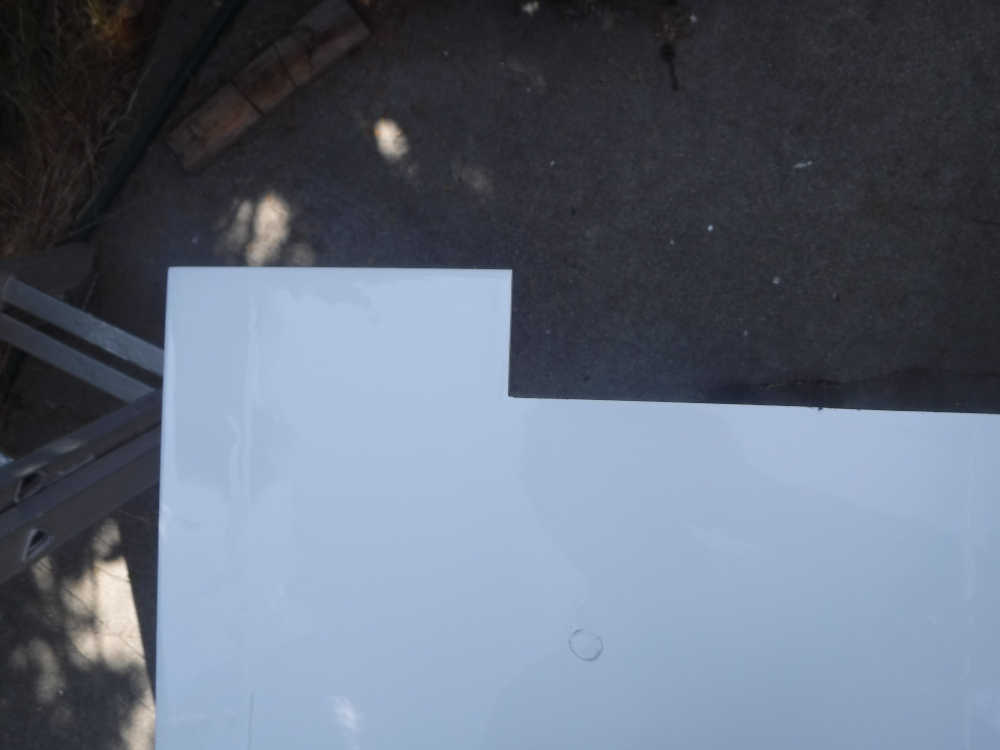
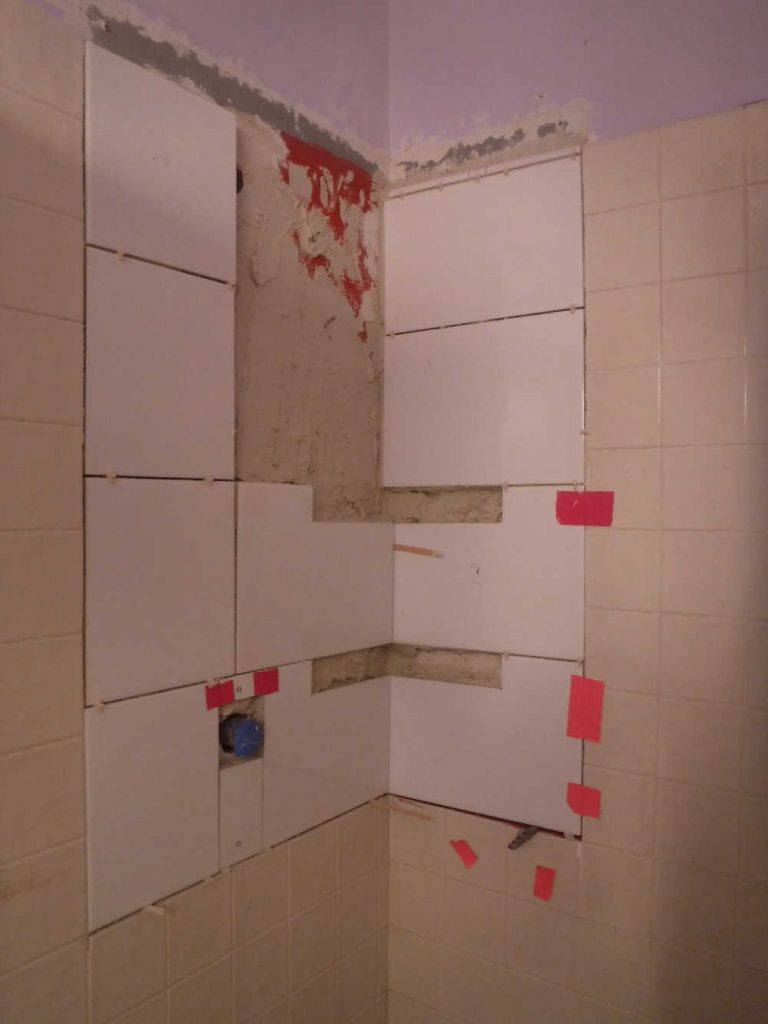
Lovely saw. It came with a smooth diamond blade for clean cuts.With the bed removed, you can see that there’s a water tray underneath. The bottom of the blade is submerged in the water during cutting.When I rented it, the guide was not quite square with the cut. Look at the black slots along the left edge of the aluminum framing square.There was a screw near the 1/2″ mark of the framing square that can be loosened to adjust the guide. This looked more true.The saw cut through my (admittedly cheap) ceramic tile with ease. I cut this inside corner, something that would have been impossible with scribe-and-break.On the underside of the tile, the cut extends a little further. Fortunately, this won’t show after installation.Now it’s time for a serious amount of mortar. I weighed out 20 pounds into a bag first, so that I could put the water in the bucket first, then add mortar.I’m supporting the tiles underneath with shims, and using duck tape too. It doesn’t look like much, but putting in the 4 tiles on the right before lunch took about 4 hours.After a very long day, I got this far. On my second batch of mortar, there wasn’t enough for all the tiles, so I just put the excess in a thin layer in the remaining section. It was midnight, and time to clean up.
Learning: setting big wall tiles takes a long time. I averaged 45 minutes per tile. There’s a lot of leveling and adjusting. Part of the problem was that the tiles were being fit into imperfect space, not just going from one edge to the other, as in a build from the ground up.
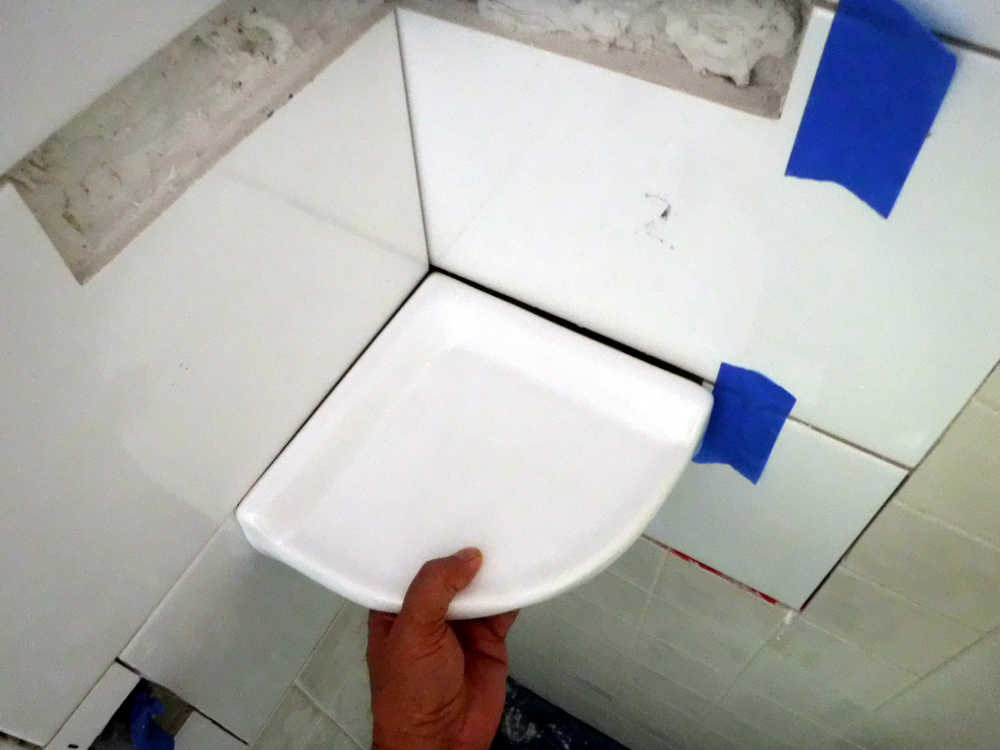
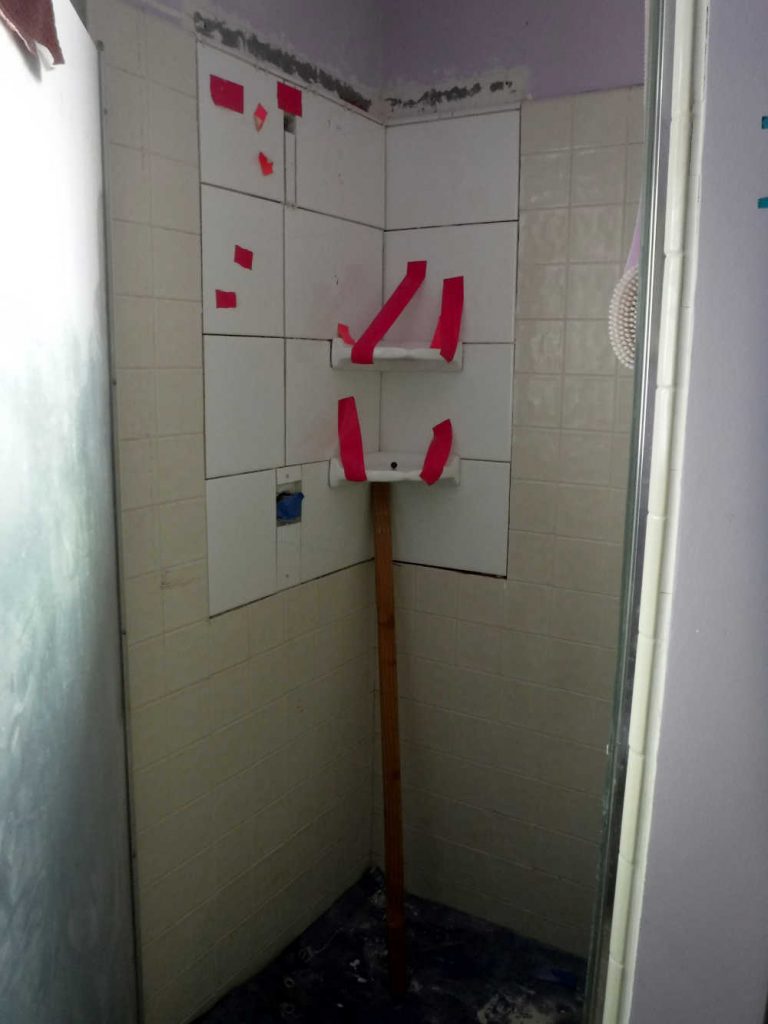
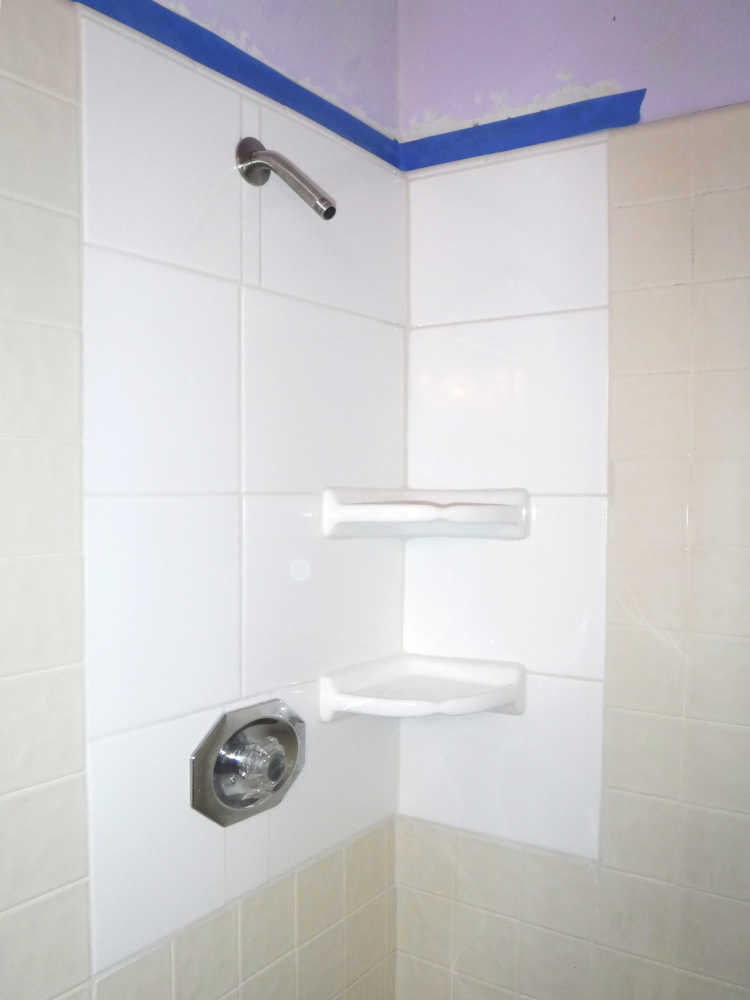
At least, all the pieces I thought I needed were cut, and I could return the tile saw first thing the next morning. The next day, I did a fit check for a corner shelf.
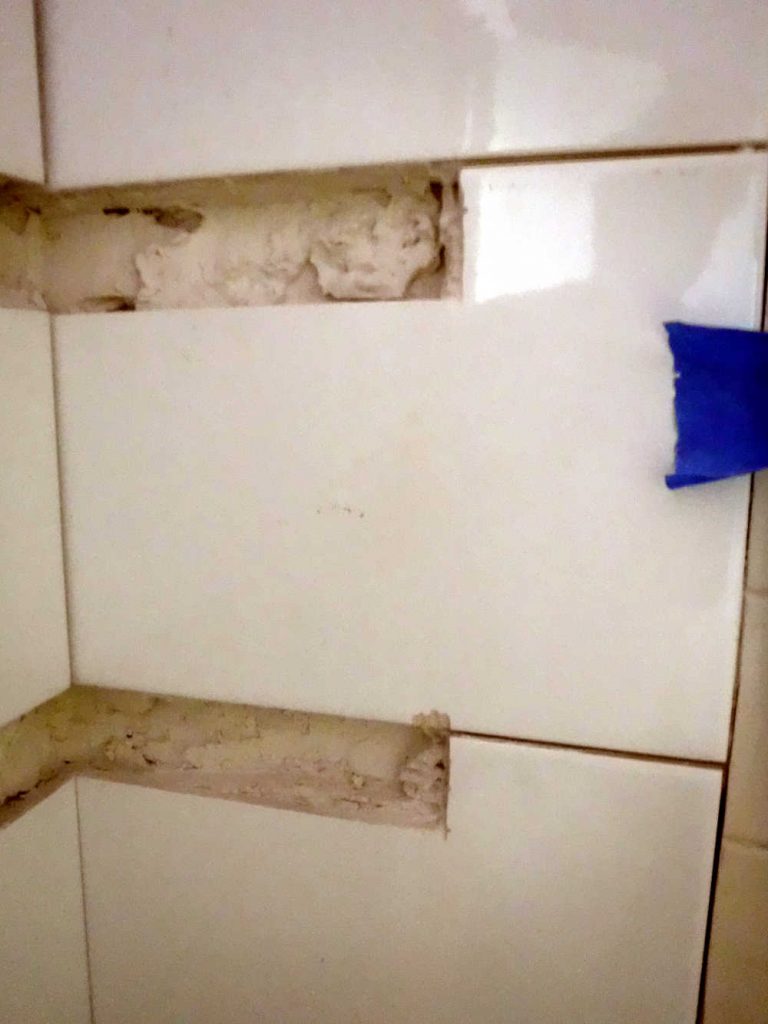
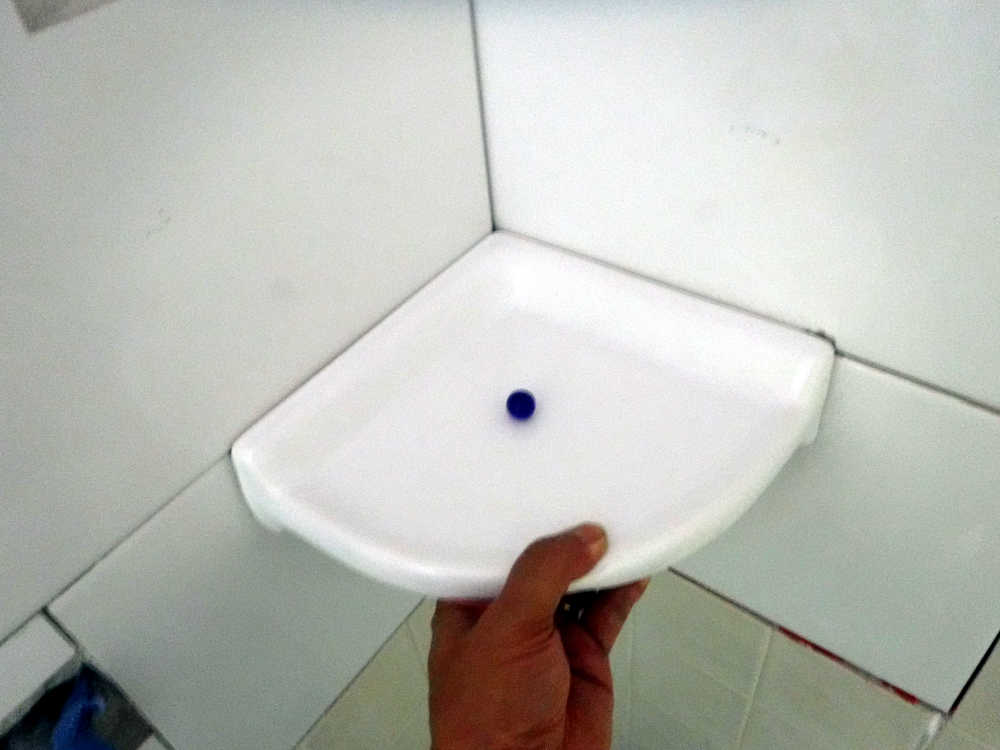
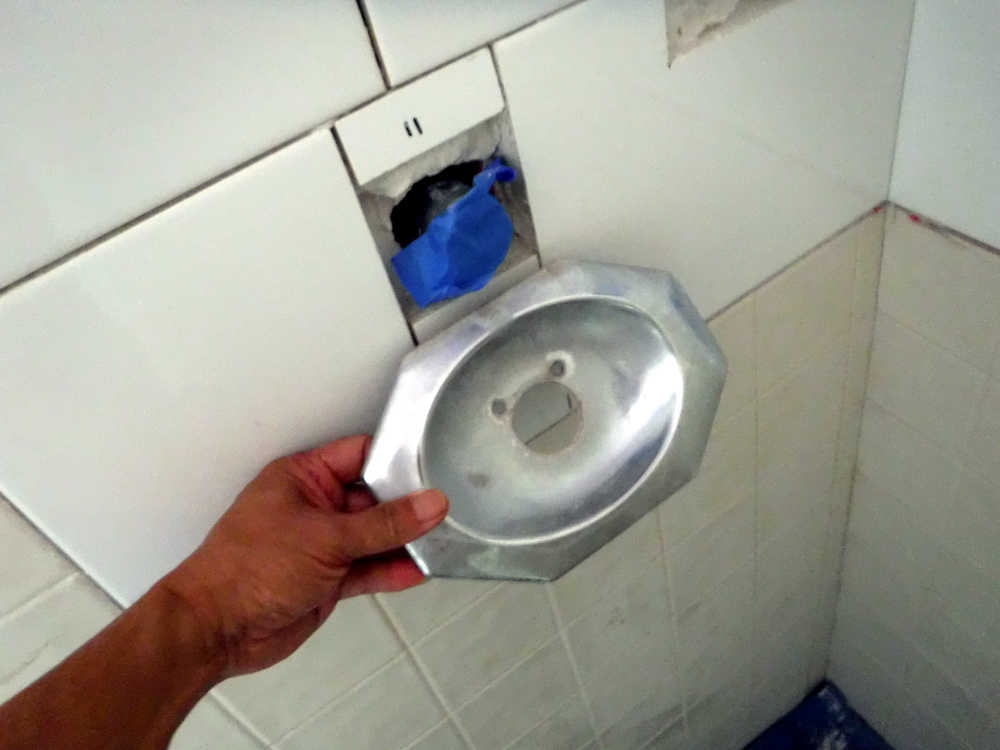
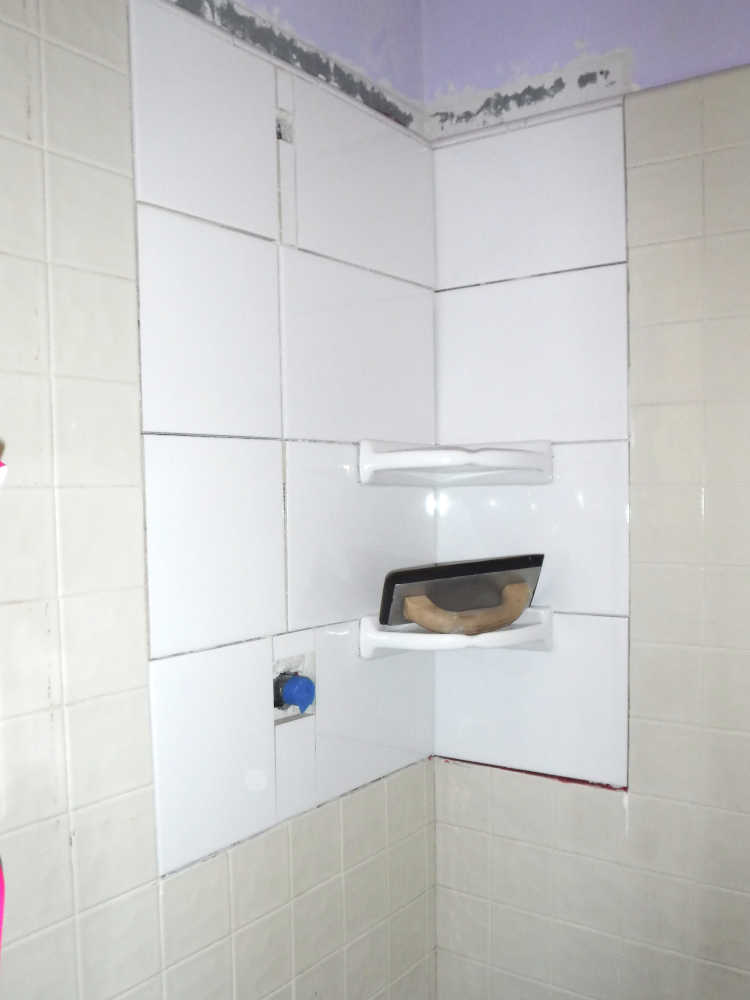
Miscalculated! The hole on the right needs to be 1/4″ wider. Not to be cliché, but the tile is literally set in stone, at this point.Since I didn’t have a flush cutter, I used the angle grinder to widen the slot. It’s messy, but hopefully won’t show in the final work. The slot for the upper shelf needed widening, also.Well, it fits, now. I can still see the little imperfections of the cut, but maybe grout will cover those up, later. The marble is to help me level the shelf.Crap! I forgot that the cover plate was recessed, and didn’t plan for that with the tile cuts. I’ll deal with that, later.The last 4 tiles, and 2 corner shelves are now mortared in and drying. Surprisingly, the shelves seemed to stay up pretty well with wet mortar alone, but I secured them with duck tape to be sure. I also jammed a stick for support under the bottom shelf.
I had some trouble with the 2 little pieces around the shower arm. That’s documented in a separate post.
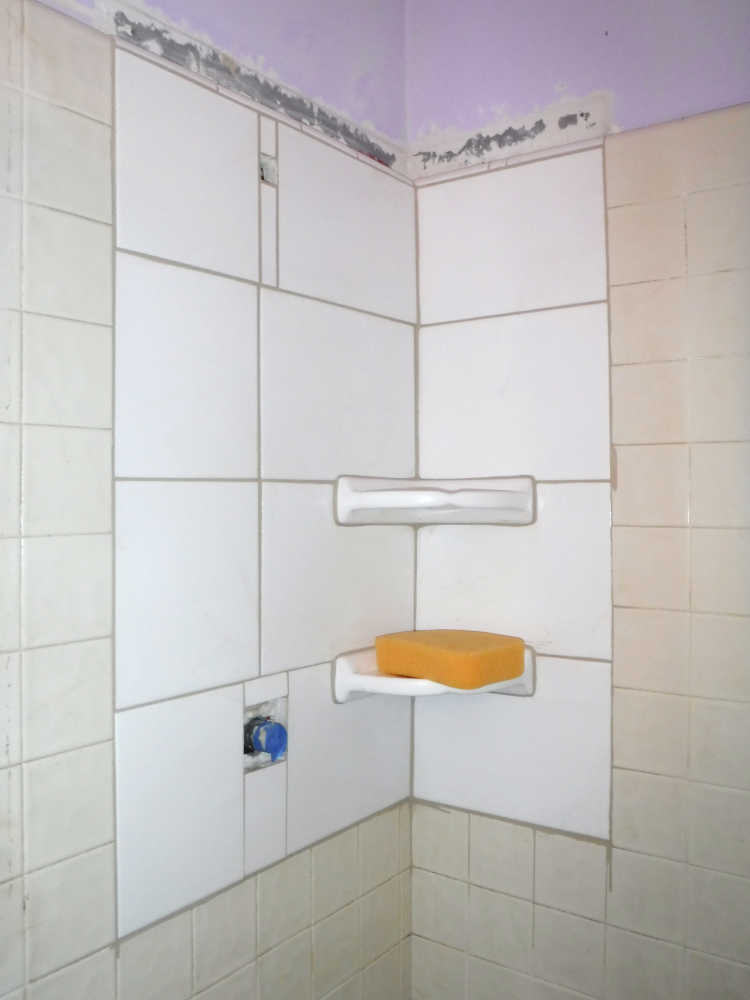
A whopping 3 1/2 pounds of mortar was left after everything was done. I was pleased with the minimal waste.My schedule didn’t allow me to work on this again until a few days later. And now that it was dry, I wet the whole thing down in preparation for grout.Grout was a joy to apply compared to setting tiles. The grout float quickly got the grout into the cracks, but I found that I used my bare finger a lot for final smoothing and shaping.There’s about 4 wet pounds of grout left over, from the 5 1/2 wet pounds that I mixed up. The lesson is that a little bit of grout goes a long way – it’s not like mortar where I had to keep going back and mixing additional batches.
Learnings about grout:
When you first add the powdered grout to water, the result will be very hard, like sand castle sand. Add just a tablespoon of water at a time – careful! – and it will flow like a milkshake.
Put the grout on fast, fast, fast. It may seem like a liquid at first, but it hardens in minutes.
Mix grout in small amounts. It hardens fast, but moreover, a little grout goes a long way.
It took me about an hour to put on the grout: maybe 10 minutes to get it into all the cracks, and the rest of the time to smooth it and clean it off the surfaces of the tiles. One a previous job, I left the grout haze on the tile surfaces, thinking I could clean it later. That took hours of scrubbing. Clean it again and again while it’s still moist. You’re welcome.
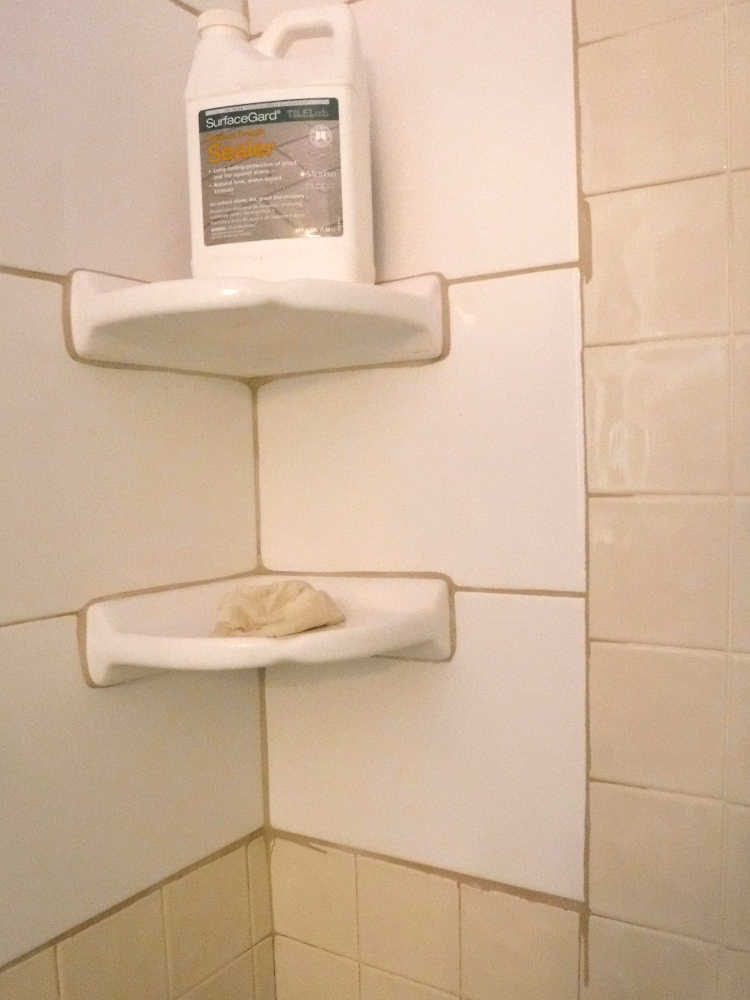
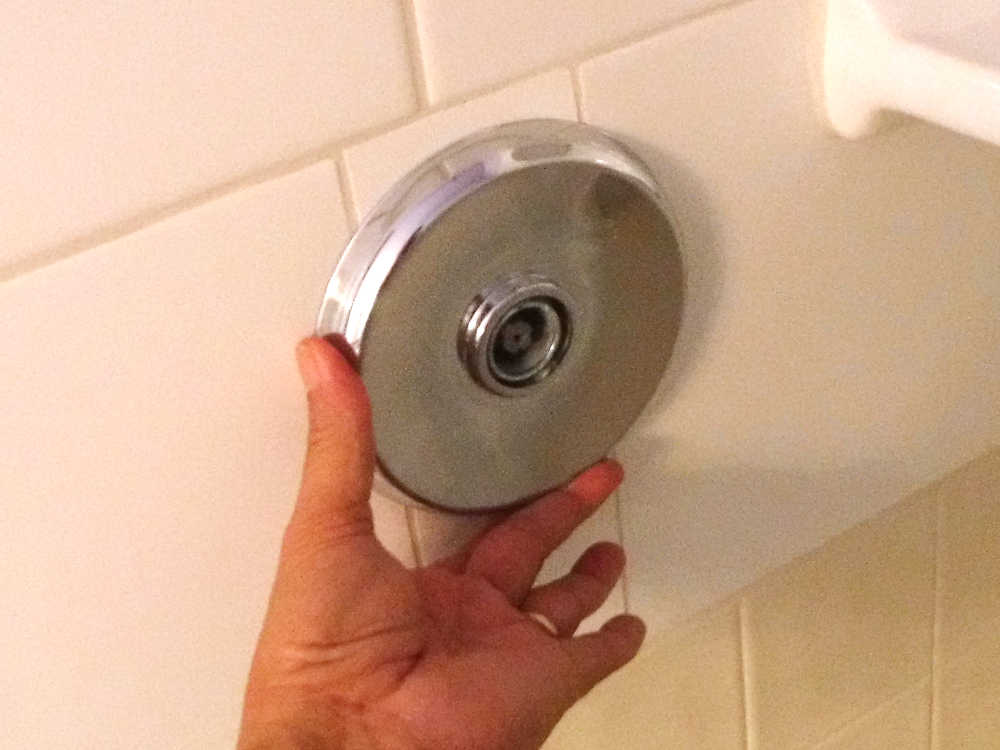
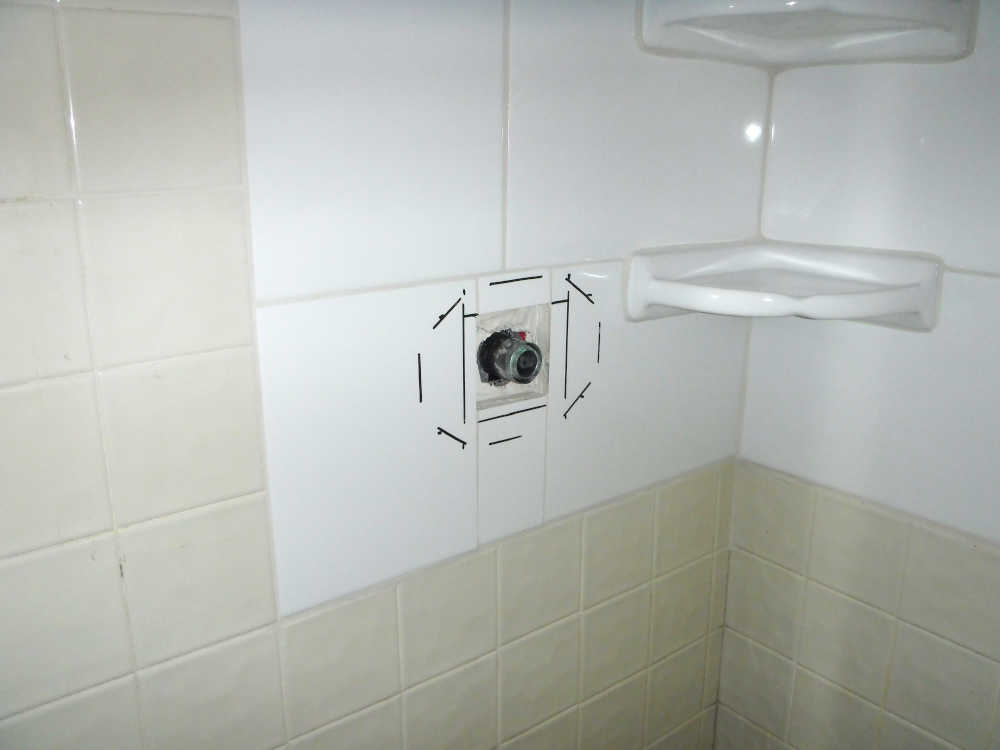
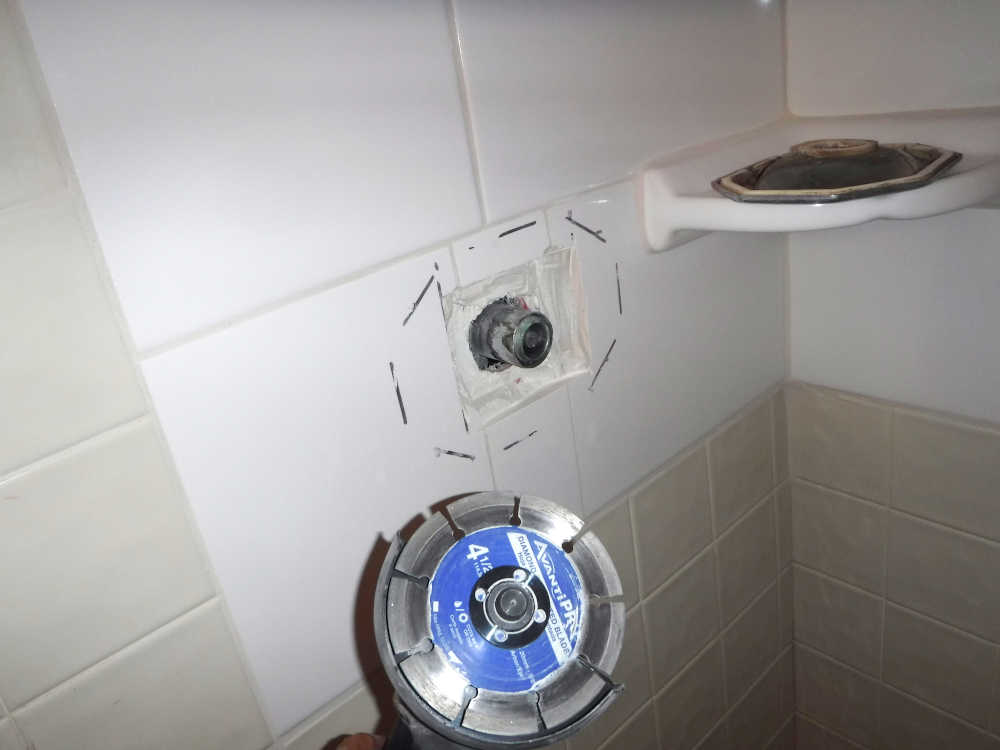
I had some stone sealer lying around so I applied that to the grout the next day. My cutting errors near the edges were filled with grout. Not perfect, but then again, if I wanted perfection, I would have replaced the whole shower to match.This flush mount plate was going to be my alternative to the original recessed plate. But I found that the shower knob couldn’t push in far enough turn off the water completely with this plate.So I had to go back to the original plate. The outer outline is of the plate, and the inner rectangle is the part I need to remove.The angle grinder worked fairly well at hollowing out the indentation.The old plate didn’t look half bad after cleaning it up.
Learnings:
Check the fit of any plates or shelves before setting tile, if at all possible.
A wet tile saw is a real asset. I later discovered that people were selling them on craigslist for $15 and $25! Cheaper than renting.
That was the end of the main part of the shower. A few more finishing touches are in the next article.