With a tile shower, it’s customary to demolish the whole thing rather than attempt a surgical repair. I noticed a distinct lack of information on how to surgically demolish only part of a shower, so am documenting my learnings, as well as my mistakes.
Speaking of mistakes, here were my two biggest ones:
Fixing the plumbing by busting through the tile side of the wall. The shower was leaking into the wall, so I wasn’t thinking carefully. In retrospect, I should have gone through the stucco on the exterior of the house. That’s a LOT easier to repair than a tile shower
After messily punching through the tile to fix the plumbing, I asked professionals whether they would repair the hole I made, or even demolish the whole shower so that I could install a standard molded acrylic shower myself. No one wanted the job. They would only demolish the shower if they got to put in a new one, for about $5000 (back in 2017). I tried a place that makes custom shower liners (might have been Bath Fitter – anyway, a place like that). They wouldn’t even estimate over the phone, and made me sit through the whole 2-hour presentation, when all I wanted was the estimate. It wreaked of a scam. Yup, $5000 again, for basically some pieces of plastic. At that point, my best move probably would have been to demolish the whole thing myself, and install an off-the-shelf shower. But no, I decided I was going to surgically repair only what was necessary.
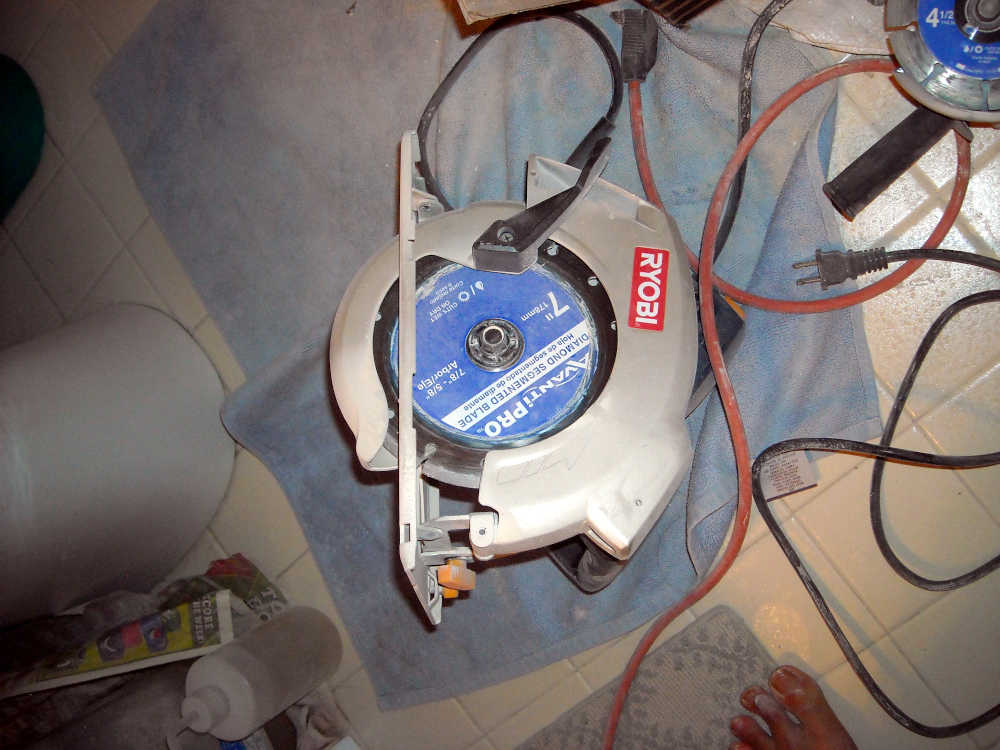
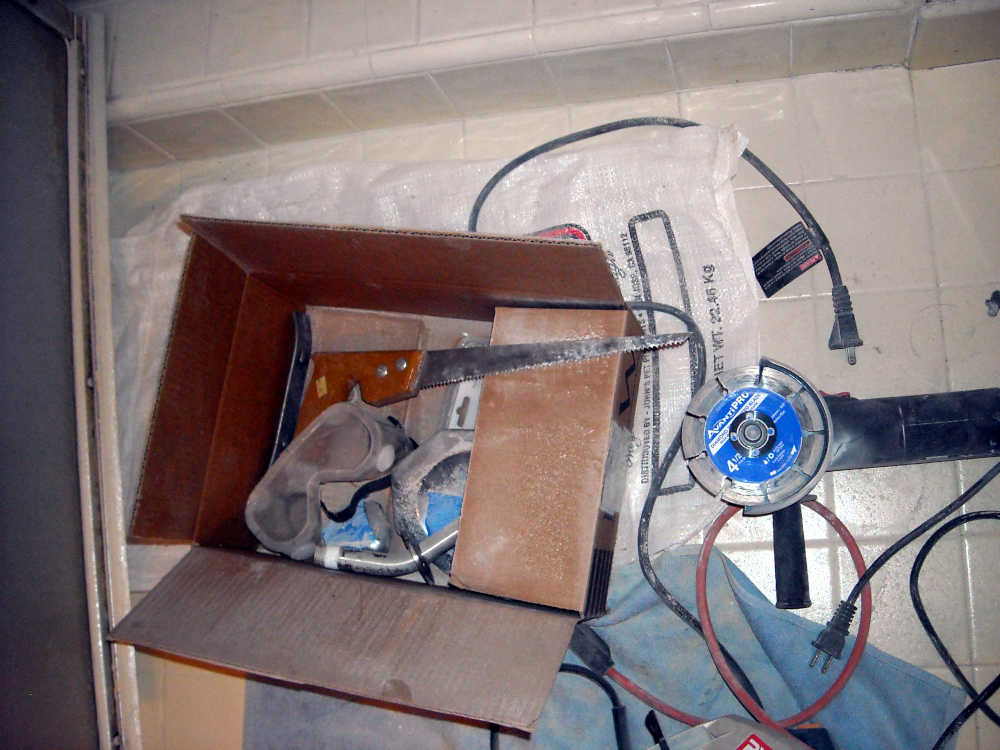
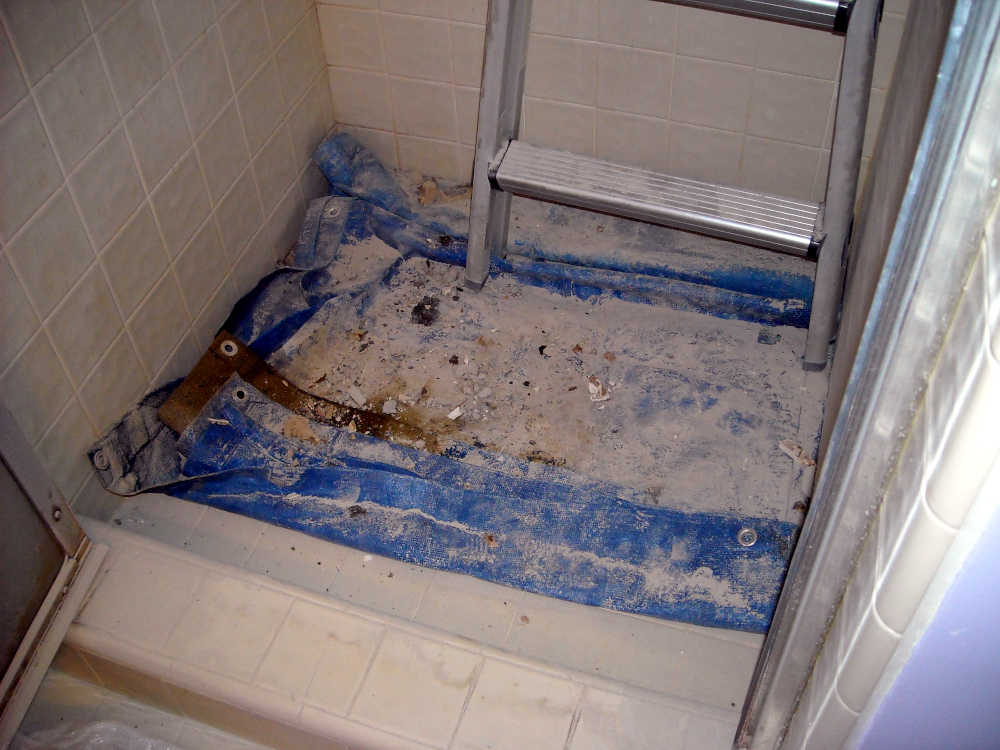
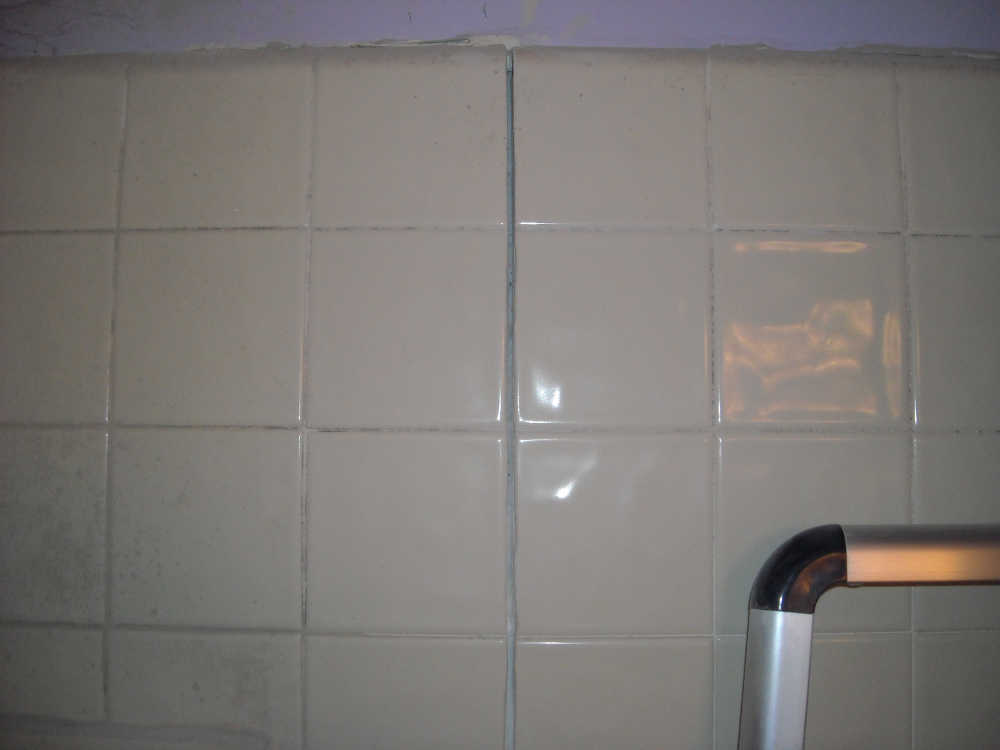
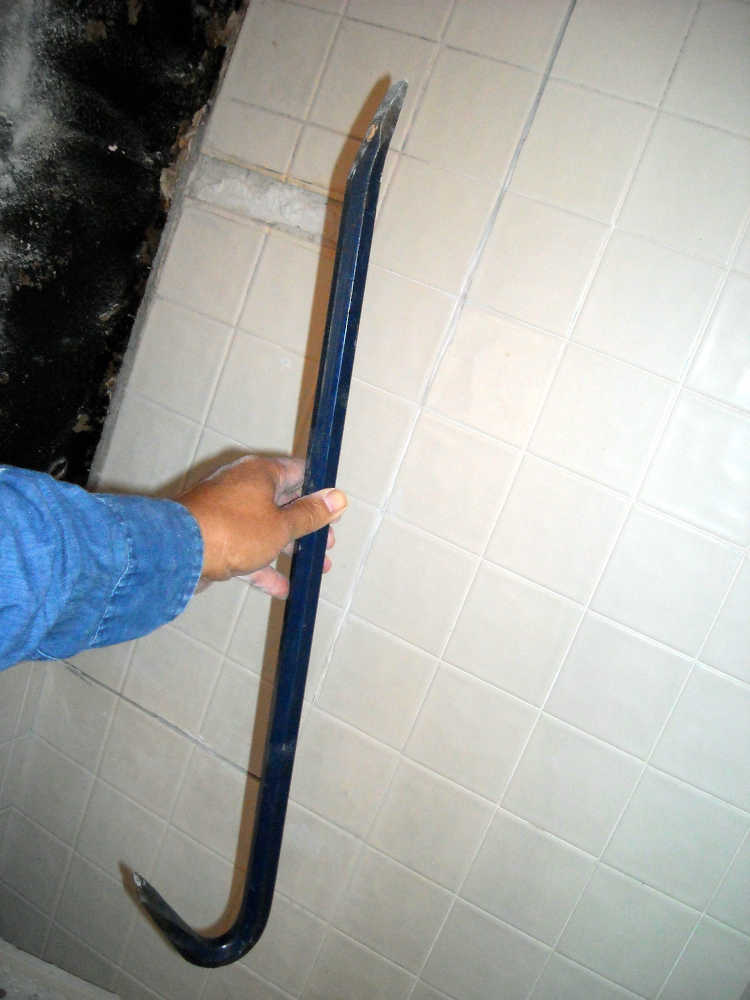
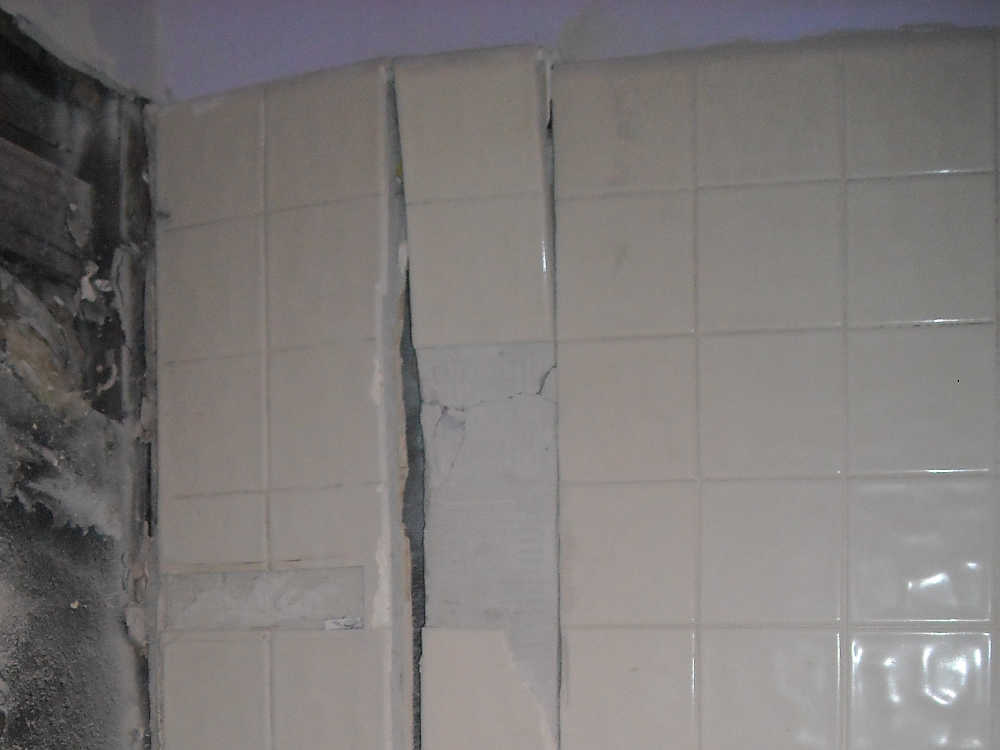
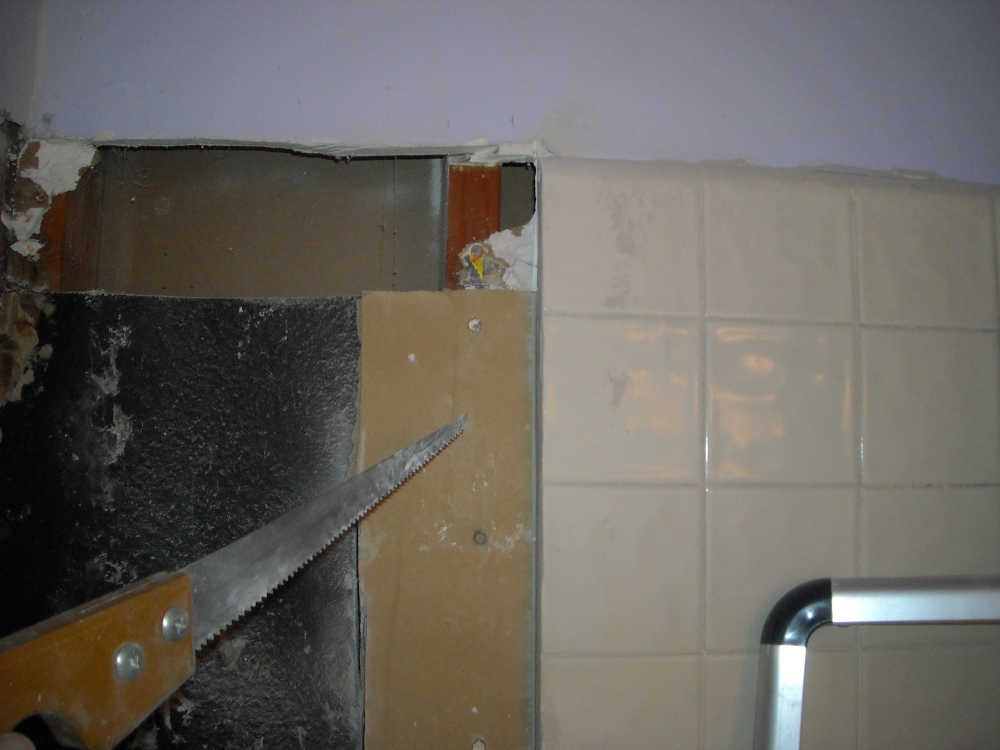
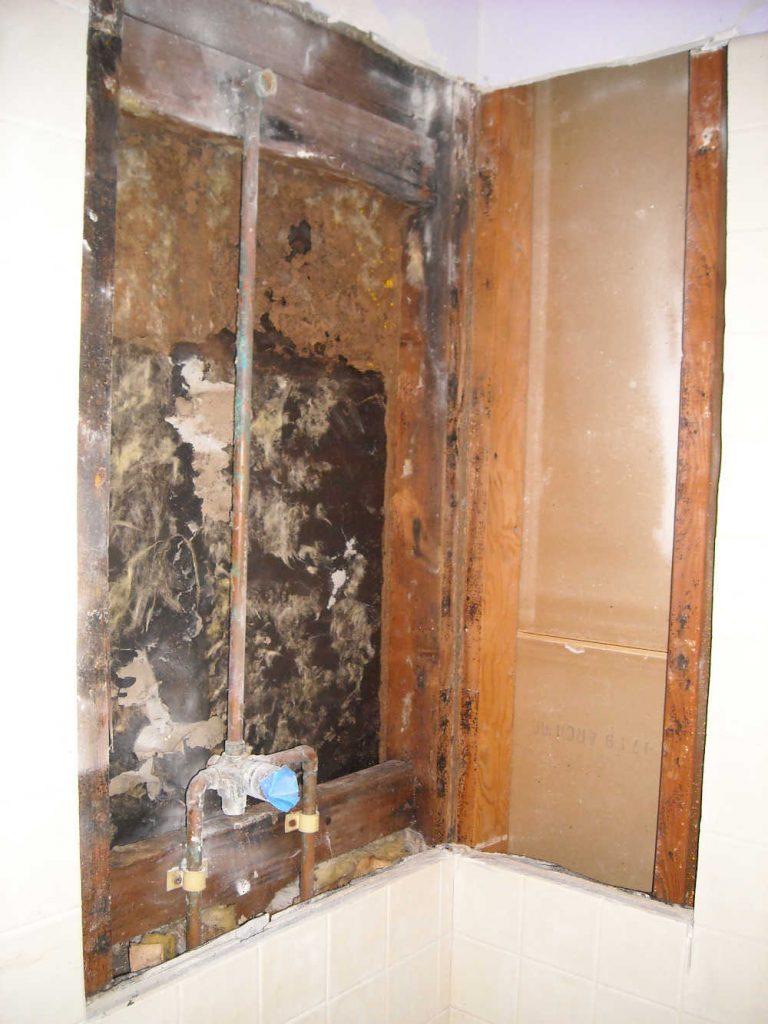
This is the job. The only way I could expose two studs to support a backing board was to demolish all the way to the corner. And if I went to the corner, I’d have to proceed to the right, all the way to the next stud.Wonderful diamond demolition blade, not too expensive. This goes through ceramics like a normal blade goes through wood. The problem is not ability to cut, but ability to cut with precision.More tools – a (hand) drywall saw, and angle grinder with diamond blade.I put down a tarp to protect the bottom of the shower.The tile plus mortar underneath is just a hair under 1 inch thick, so I’m going to set by circular saw for a depth of 1 inch. I do NOT want to cut into the drywall much at this point – that will come later.Here I have made a cut right along the grout line. Grout cuts like butter with a diamond blade, but kicks up an insane amount of dust, especially when dry cutting. Naturally, I was wearing an N95 dust mask. The main problem was seeing where to cut as dust coated my goggles. I tried wetting the area as best I could with a water bottle, but that did virtually nothing. Maybe I could have rigged something with a plastic tube to squirt water on the cut line, but didn’t bother. After making this one cut, I made one more to the left of it. The second cut did not need to be precision, so was much easier.The next step is to insert a crowbar in the non-precision cut, and pry sideways.The reason for prying in the non-precision cut is so that the edge on the right doesn’t get marred. If this was a larger section, I might have made even more parallel cuts, to remove a controlled amount of tile and mortar each time. The stuff is heavy.
1970’s shower construction has an ordinary (but possibly water-resistant) drywall, except that there is tar paper behind it to shed water into the shower pan, should the tile ever leak. On top of the drywall was wallpaper, just the same as any other room in the era. Chicken wire was stapled to that, and then the mortar spread and tile mounted. So the only thing holding the mortar and tile to the drywall is these little staples – easily pried sideways. That’s the reason for cutting shallow – so that the drywall will stay in place and not mess up the edge I want to keep.
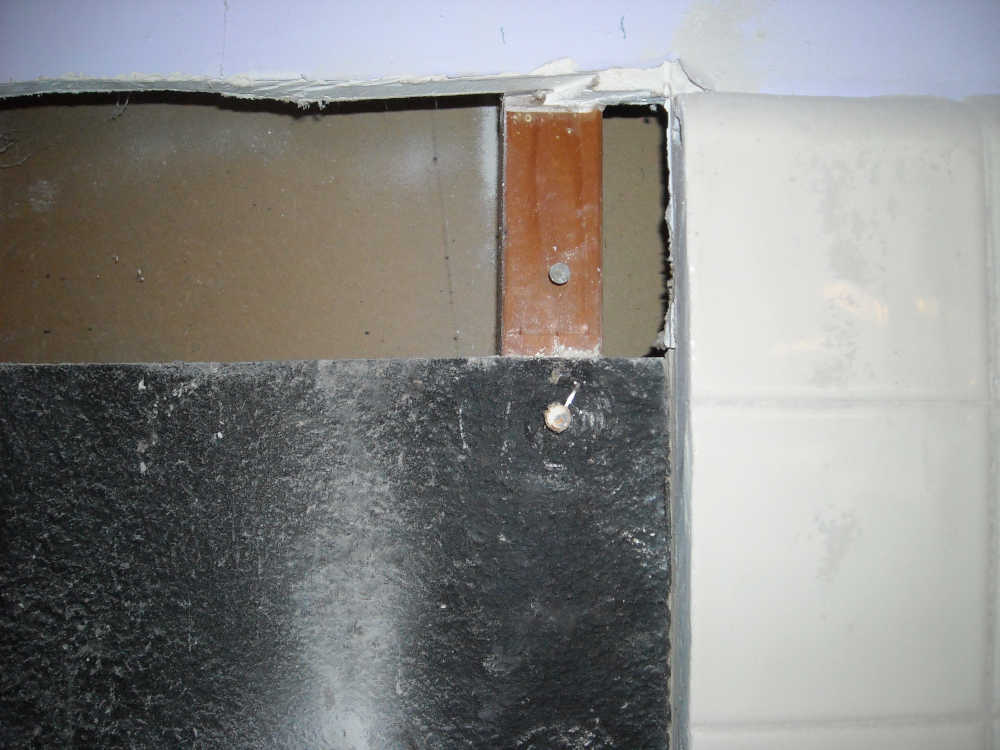
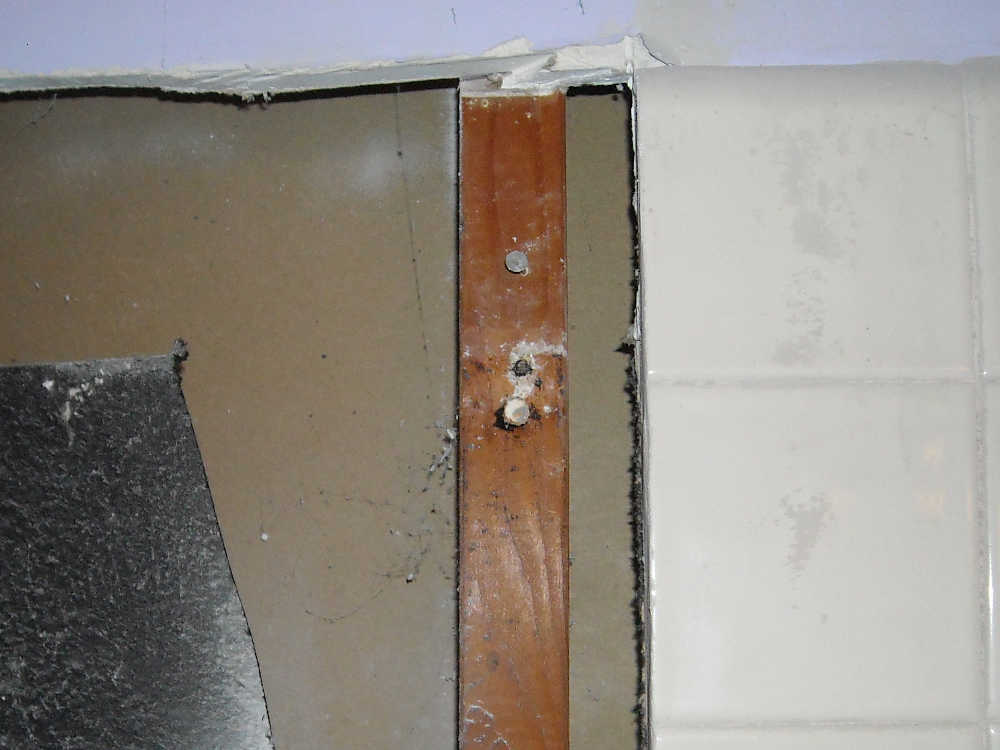
After prying off the mortar and tile, some drywall is left. Now I can carefully remove the drywall with a hand saw. I had previously used a stud finder, and planned this cut to be at the next grout line after the stud.
Note that if this was a full demolition, there would be no need to exercise such care. I could just make a bunch of non-precision cuts and pry, or maybe just wail on it with a sledgehammer.
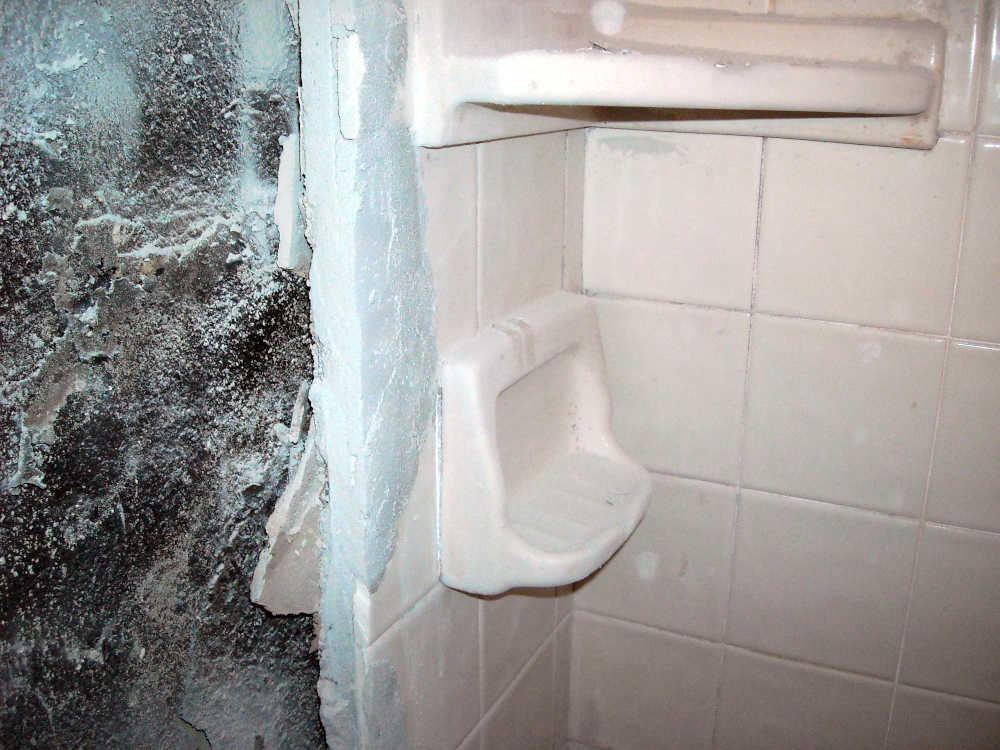
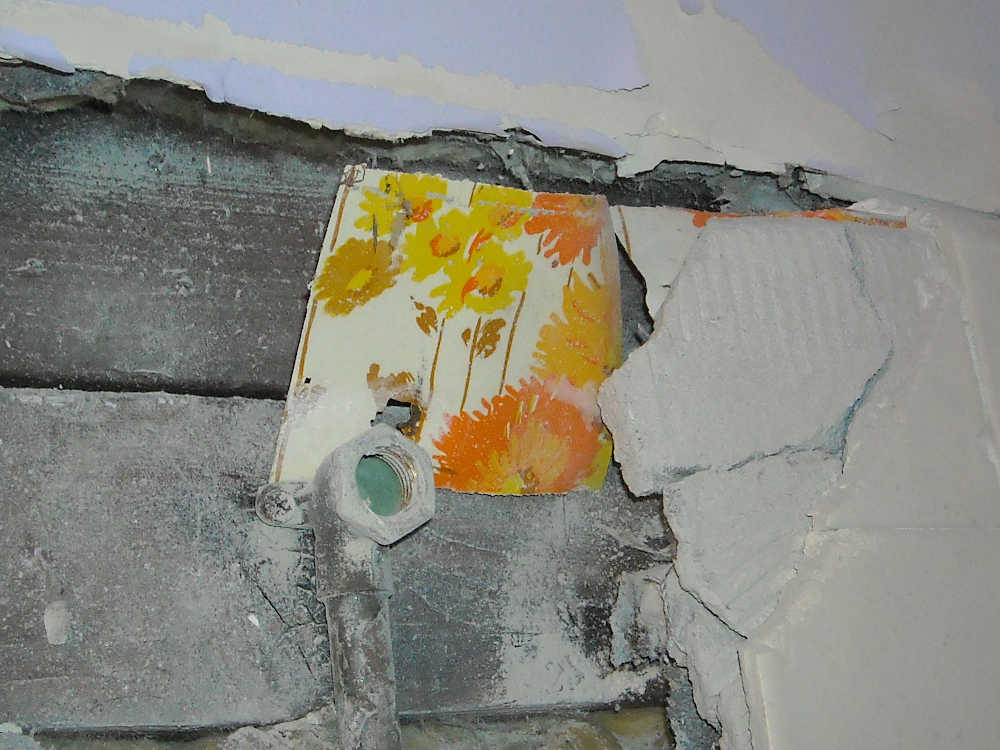
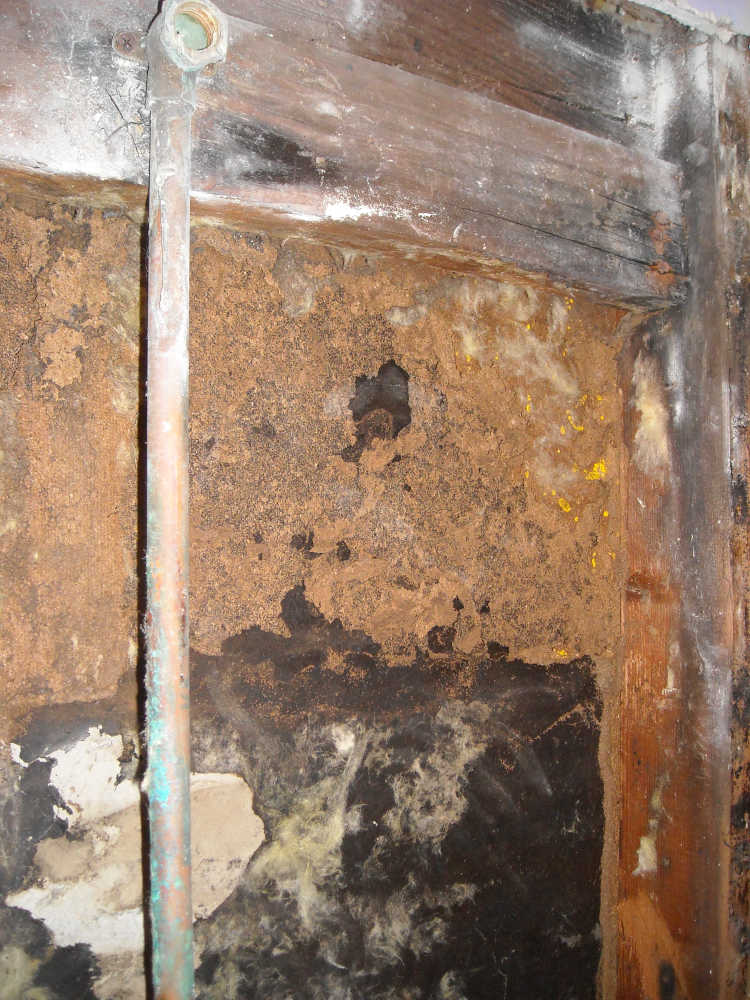
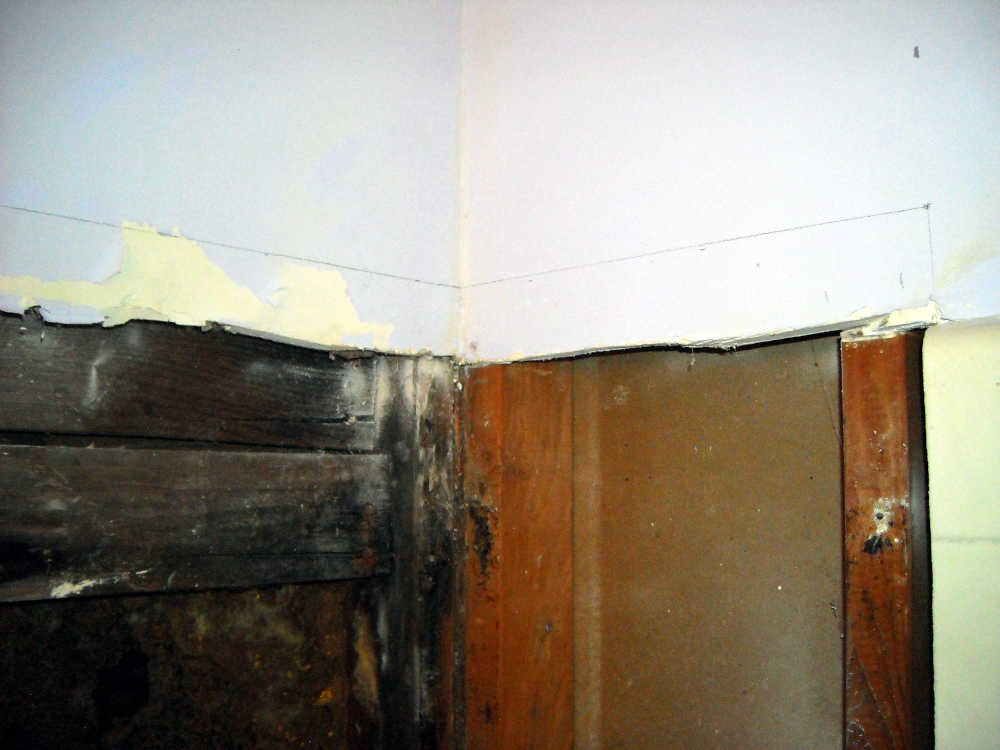
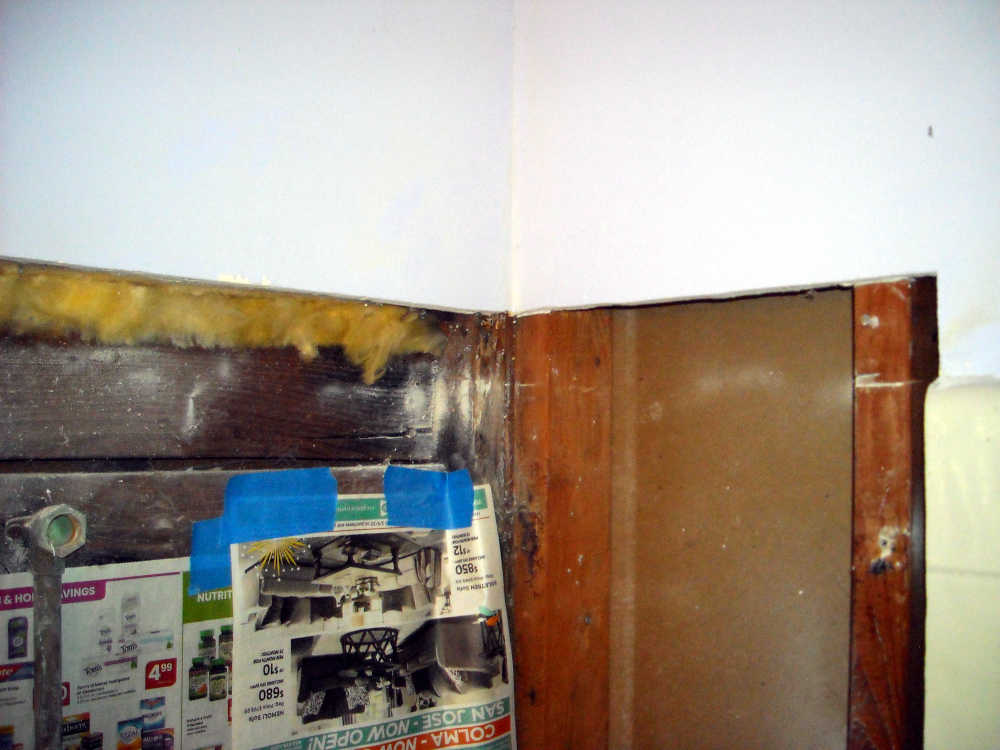
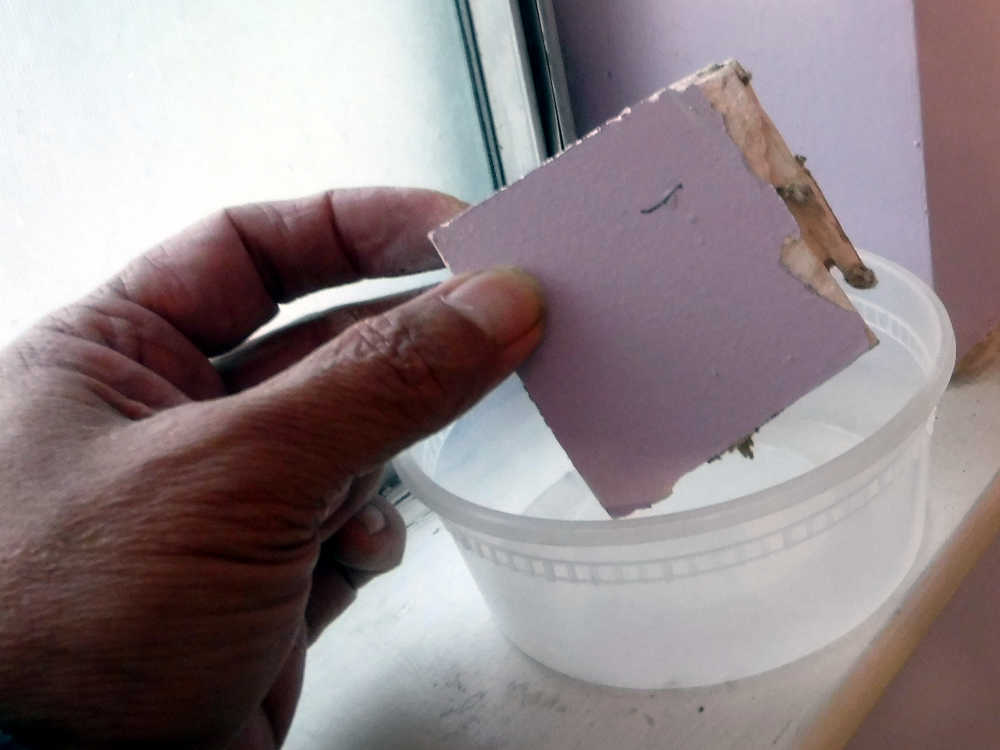
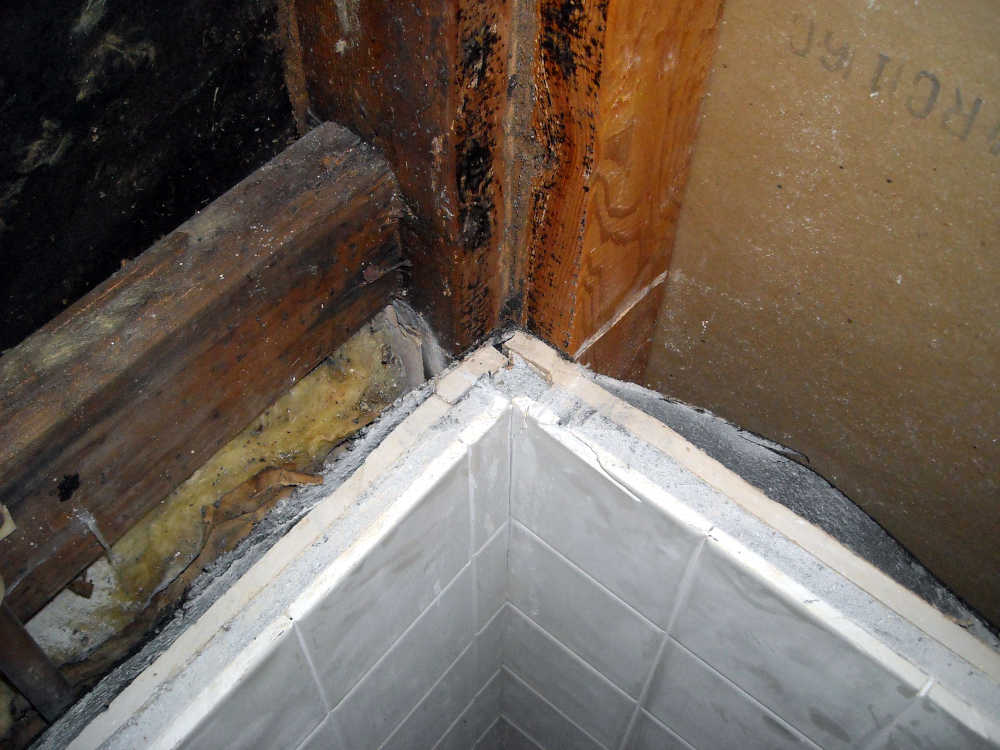
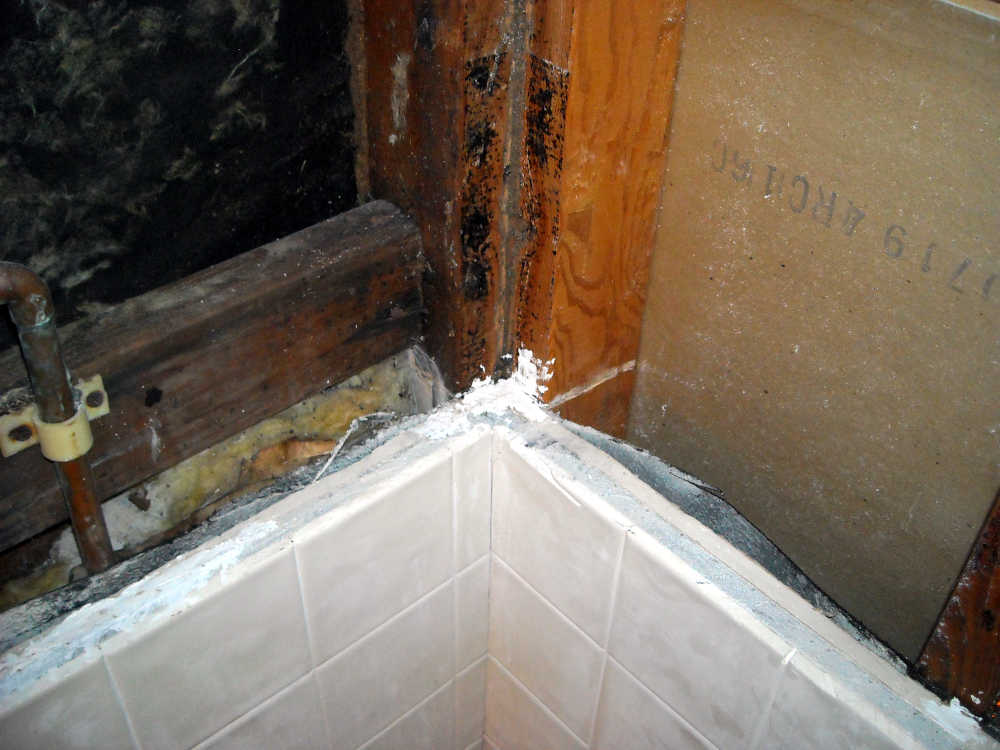
The drywall is gone.I elected to remove the tar paper, too – at least the part I will be repairing. I will be using a more modern waterproof membrane. I later pried out all nails showing in the studs, including the ones bent over and hammered flat by the original builder.When I first removed this section, I thought that the floral pattern was some sort of waterproofing under the mortar, until I realized it was just the original wallpaper in the bathroom.Okay, everything’s off. In reality, this took a very long time, because I tried various other methods before arriving at the method outlined above.The water leak did a lot of damage. The fiber board sheathing under the exterior stucco is almost gone. If I want to, I can fix this from the other side of the wall, but that’s beyond the scope of this article. The pipes are actually fine.I don’t like the ragged cut at the top made by the circular saw. I’m going to clean it up with the hand drywall saw.That’s better.I saved a bit of the part that I cut out, for paint color matching, later.I cracked the existing mortar or drywall in some places.Fast-set joint compound was put into drywall fractures.
That was the demolition. More articles will follow on this project, but the rest is standard stuff that is well-covered on the internet.