Our Amana gas clothes dryer, model NGD5500TQ0, stopped drying clothes well. Symptoms noted:
- Motor ran fine, timer reached end of cycle normally. Door light works.
- There was decent air exhaust from the dryer , and it was hot, at least when initially checked.
- The clothes were consistently damp and cold after the cycle finished.
- It did not matter whether the dryer was set to low, medium, or high heat.
It was running and heating, so it’s clearly wasn’t an electrical supply problem, nor a gas supply problem. In fact, from the hot exhaust, one would conclude that there’s nothing wrong. And yet, the clothes were damp and cold at the end. Some kind of intermittent problem.
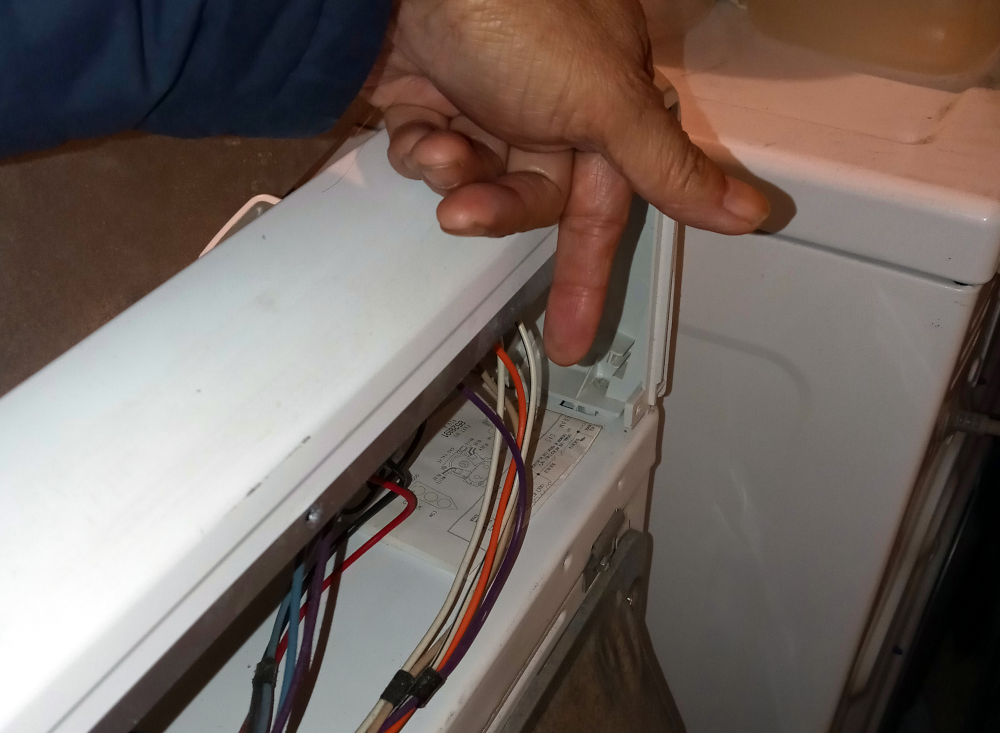
From the internet, I was advised to check the thermostats. But if one had a hard failure, why would the dryer initially heat at all? I took the cover off the dryer (look on Youtube for how to do that, it’s not too hard), and observed the following:
- In the place where the gas burns, there was a sizzling sound, then a yellow glow (the igniter), then blue flame (the gas burning).
- After 90 seconds, the blue goes off. The yellow is gone, too – maybe it went off much earlier.
- Maybe 2 minutes later, the sizzling sound, yellow glow, blue flame.
- After 60 seconds, the blue goes off as before, and the yellow is off.
- Maybe 2 minutes later, sizzling sound, yellow glow, NO BLUE FLAME.
- After a few seconds, the yellow goes off. Stays off for a few minutes.
- Repeat steps 5 and 6 again and again.
The yellow and blue colors might have been observed through a translucent window in the front of the appliance, theoretically. I personally couldn’t see the glows with the cover on. Possibly the glows could have been seen through the window if the room was completely dark.
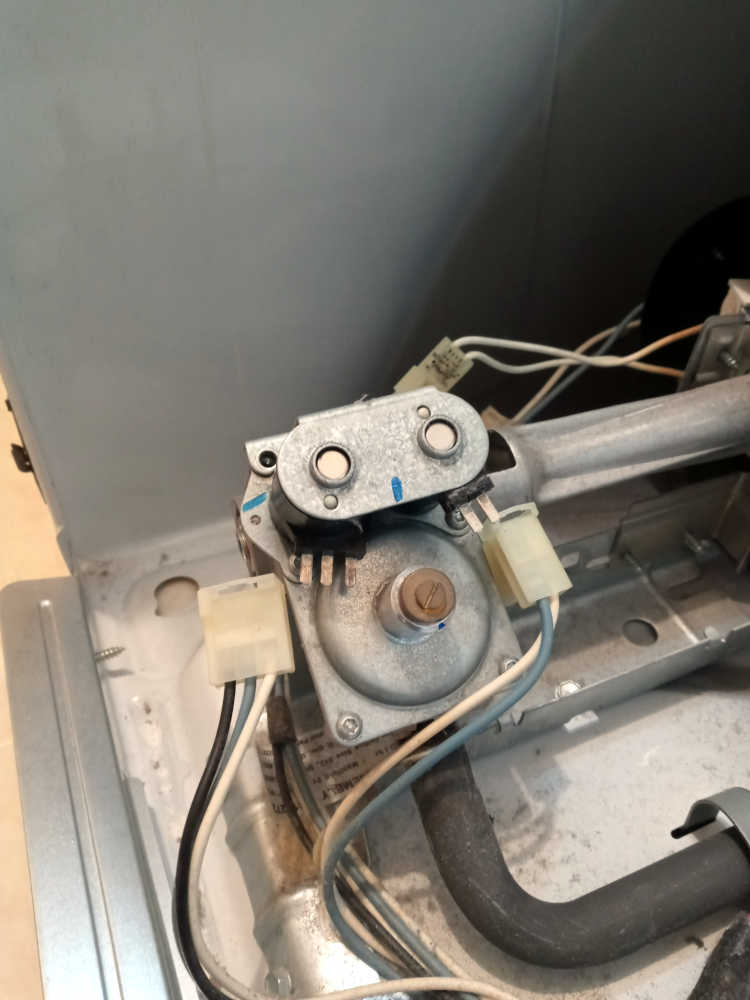
I had almost given up hope before step 5, but then, saw the gas flame not go on. At this point, I was convinced that this was not a thermostat issue, because the yellow glow meant that the igniter was turning on and attempting to start the flame. Going back to the internet, the next best advice was to change the gas coils. The what? The coils that drive the solenoids that open the valves for gas to flow.


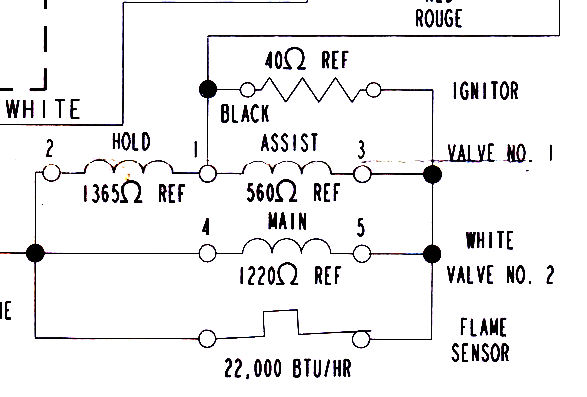
I checked the coils with a meter. There was continuity, and in fact, the resistances were pretty close to the references given on the schematic. But the internet said to try replacing the coils first, since they cost about $10 ($8.99 to almost $30, so shop carefully), and the whole gas valve assembly was about $200. The coils were Whirlpool part #279834, by the way. Searching on that part number found better prices, in general.
| Main | Assist | Hold | |
| Existing Coils (suspect) | 1285Ω | 579Ω | 1395Ω |
| Reference | 1220Ω | 560Ω | 1365Ω |
| Brand New | 1523Ω | 665Ω | 1632Ω |
After I replaced the gas coils, everything worked fine, again.
My takeaway from the above measurements is that higher resistance is good. Yet, the suspect coils were (barely) within the reference spec. At least, they were when cold. And in fact, they worked when they were cold. Possibly when they heated up, some of the insulation between windings started to fail. So my second learning is that even if the coils are within spec, replace them if you see these symptoms.