Adding a favicon to a static web page is simple. An icon file named favicon.ico is created and placed into the same directory as the page. For completeness, the following html is usually also added to the page:
<LINK rel="shortcut icon" href="favicon.ico" />
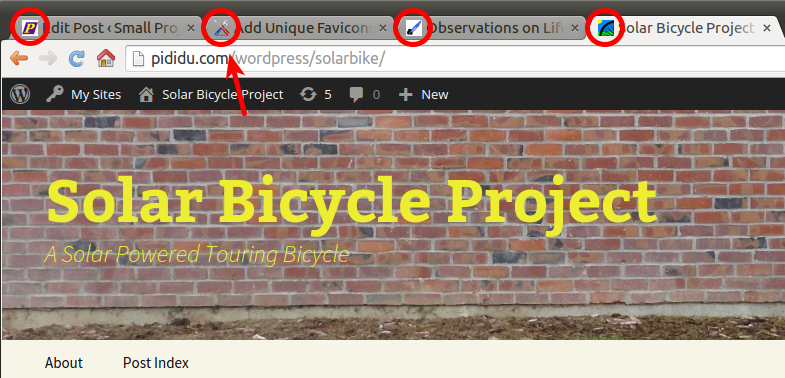
But what about when the web page is a WordPress blog? Although it would be possible to manually edit the WordPress theme that the blog uses, that would get messed up if the theme was ever updated, and moreover, would force all blogs using the theme to have the same favicon. Here’s how I implement favicons for the pididu.com blogs.
First, create a Child Theme. WAIT, WAIT! Don’t run away. It’s really not that hard. All you really need to do is create a directory and add a couple files to it.

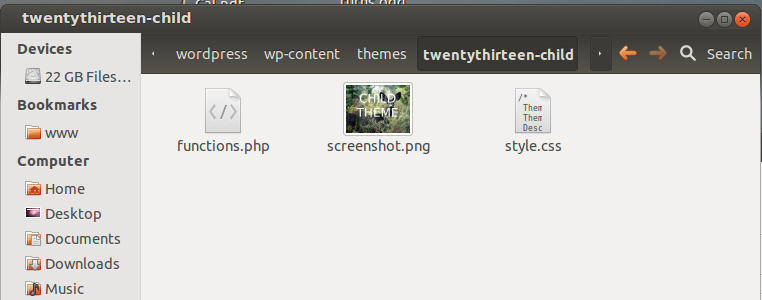
Here are the contents of style.css:
/*
 Theme Name: Twenty Thirteen Child
 Theme URI: http://pididu.com/wordpress/thoughts
 Description: Created so that various blogs can share this theme, but each have their own favicon. The favicon.ico file goes at the root of the upload directory for the blog.
 Author: Roderick Young
 Author URI: http://pididu.com
 Template: twentythirteen
 Version: 1.0
 License: GNU General Public License v2 or later
 License URI: http://www.gnu.org/licenses/gpl-2.0.html
 Tags:
 Text Domain: twenty-thirteen-child
 */
The Template is the only thing which is crucial. It must be the exact name of the parent for this child theme. The Theme Name can be anything, but it’s common to name the child theme after the parent. The Theme URI, if supplied, will be a link to a page that gives information about the theme. Author, Author URI, Version, License, License URI, and Tags can be anything.
And here are the contents of functions.php:
<?php // Opening PHP tag - nothing should be before this, not even whitespace

function theme_enqueue_styles() {
    wp_enqueue_style( 'parent-style', get_template_directory_uri() . '/style.css' );
    wp_enqueue_style( 'child-style',
        get_stylesheet_directory_uri() . '/style.css',
        array('parent-style')
    );
}
add_action( 'wp_enqueue_scripts', 'theme_enqueue_styles' );

// Each blog has a unique upload directory
// The favicon.ico file for a given blog is stored in this directory
// Multiple blogs can therefore use the same template, but have different favicons.
function favicon_link() {
   $uploads = wp_upload_dir();
   $baseurl = $uploads['baseurl'];
   // uncomment the following to discover the actual directory
   // where favicon.ico should be placed:
   // echo "base upload directory = " . $uploads['basedir'] . "\n";

   // This is what actually does the work
   echo '<link rel="shortcut icon" type="image/x-icon" href="' . $baseurl . '/favicon.ico" />' . "\n";
}
add_action( 'wp_head', 'favicon_link' );
?>
The functions.php file above could be cut-and-pasted without change if desired. Very briefly, the first function makes sure that any time the original theme was going to be used, the child theme is taken into consideration. The second function insures that any time a header is going to be shown in the original theme, that the html code pointing to the favicon is included.
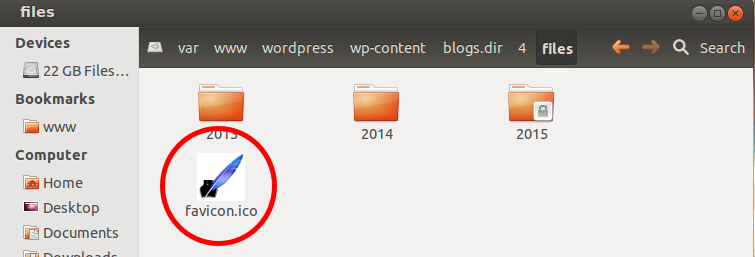
The next thing to do is put the favicon.ico file into the upload directory for the blog. If the upload directory is not known, this step may be skipped for now.
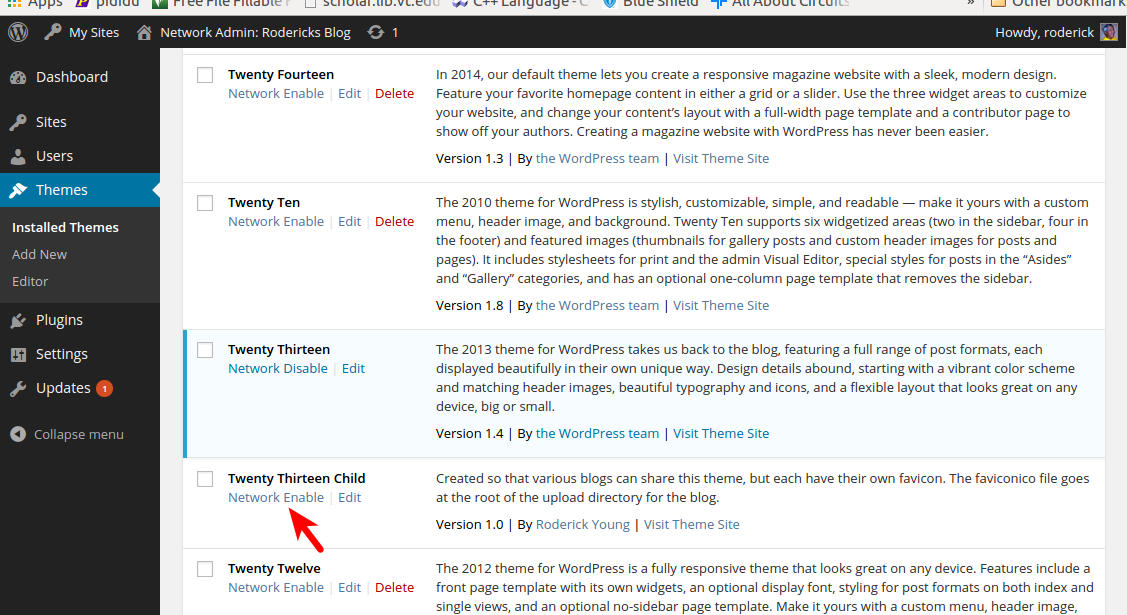
Now the theme can be enabled. Assuming that wordpress multisite is installed, log in as a Super Admin, then go to My Sites -> Network Admin -> Themes.
Now that the theme is enabled for the network, go to the Dashboard of the blog to which the favicon is to be added, and navigate to Appearance -> Themes.
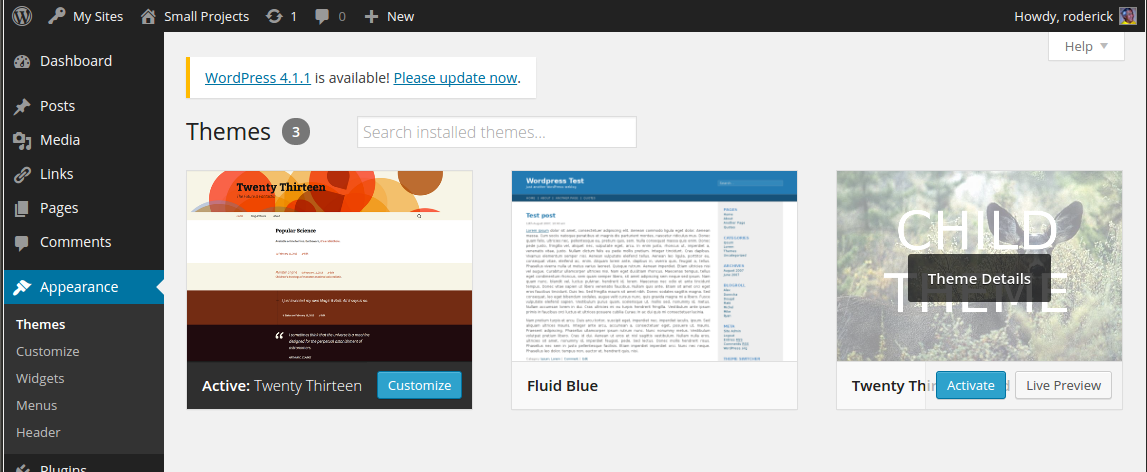
At this point, the new child theme should be active, and you can go to the site to see how it looks. It may be necessary to re-do some customizations like the header image, if any non-defaults were taken.
If the step where the favicon.ico was placed into the upload directory was skipped, here is how to locate the upload directory. After the new child theme is enabled, go back and edit the functions.php file. Find the line that says
echo "base upload directory = " . $uploads['basedir'] . "\n";
and uncomment it. Then go to a browser and reload the main page of your blog. The path to the upload directory will appear near the top of the page.
