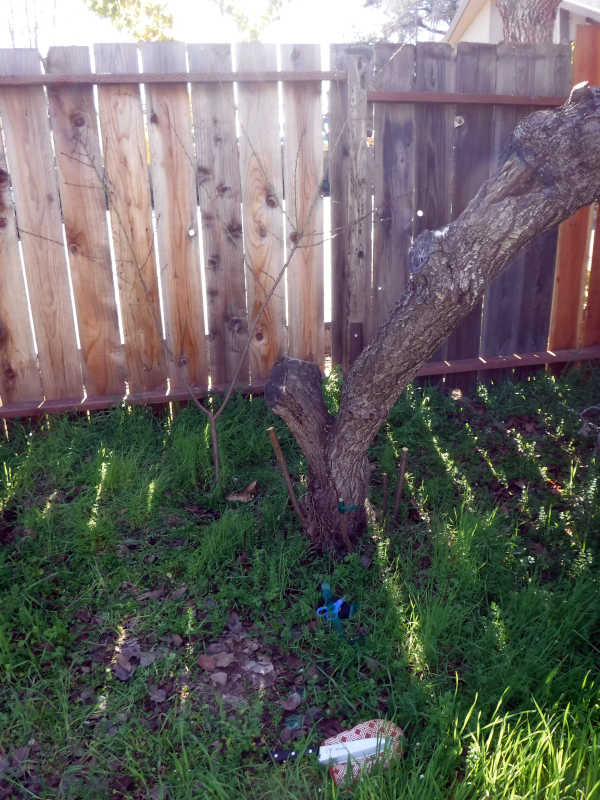
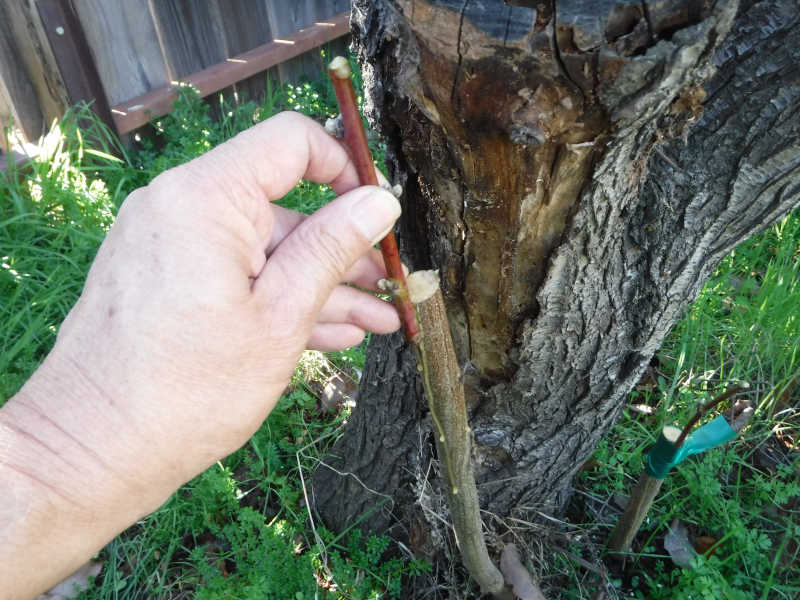
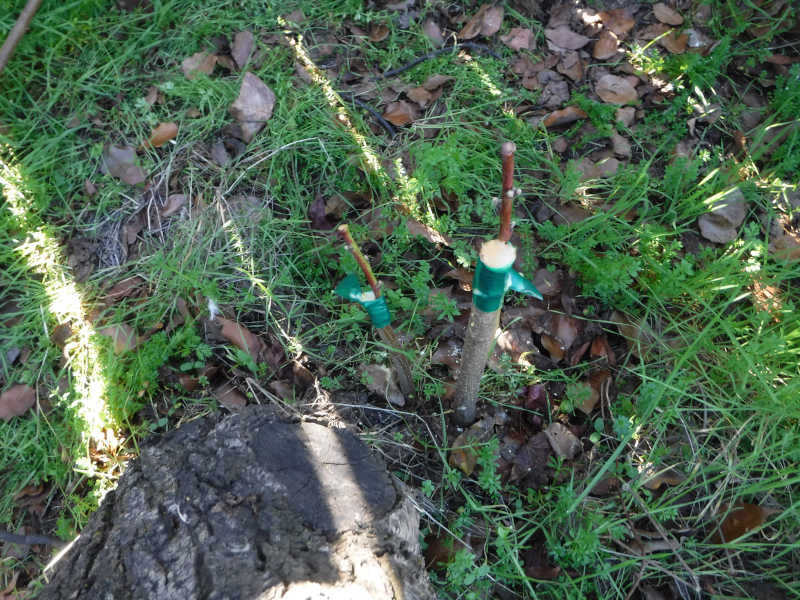
The main trunk of our peach tree is dying. The tree was planted by the previous owner, and was mature when we bought the house, so is at least 26 years old. The stress of extraordinary drought in the past few years is the likely cause. But peach trees are known for having strong roots, and this one puts out water sprouts every year, which I normally remove. This year, I’m going to try to graft onto the water sprouts. If the grafts succeed, they will become our new peach tree.
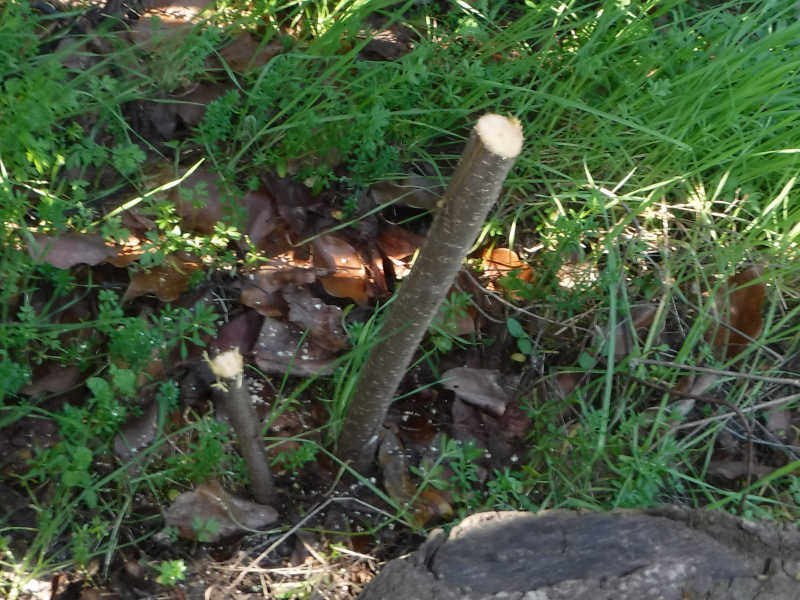
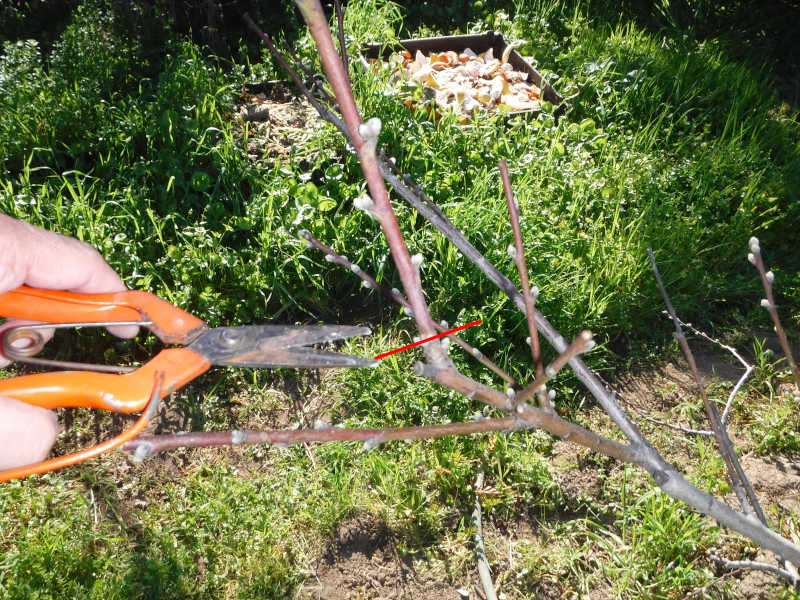
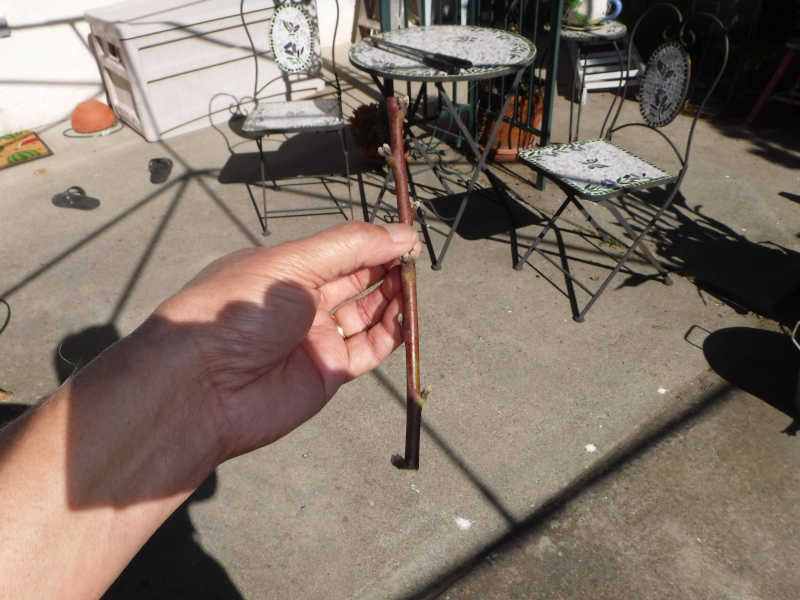
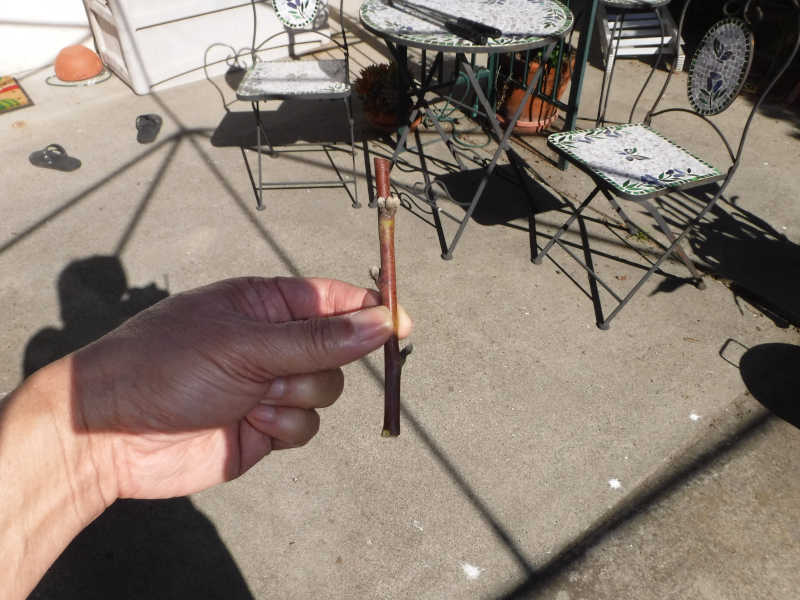
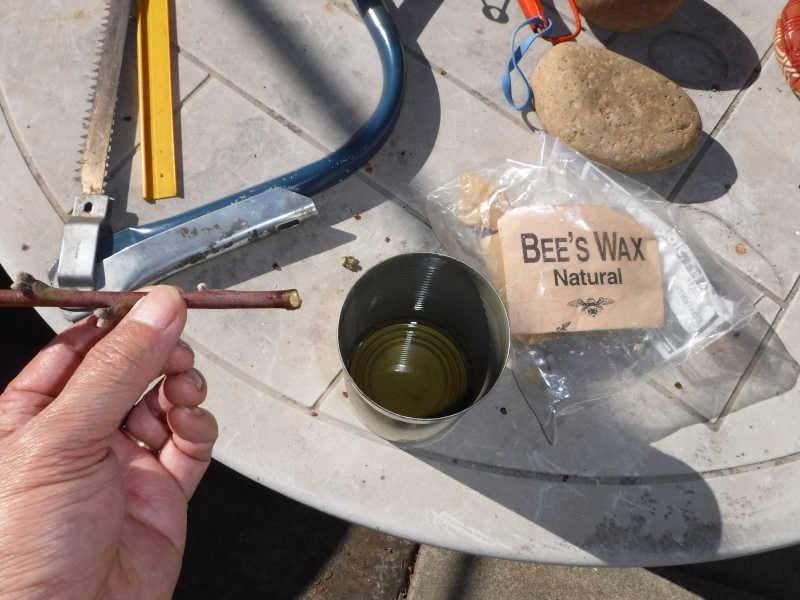
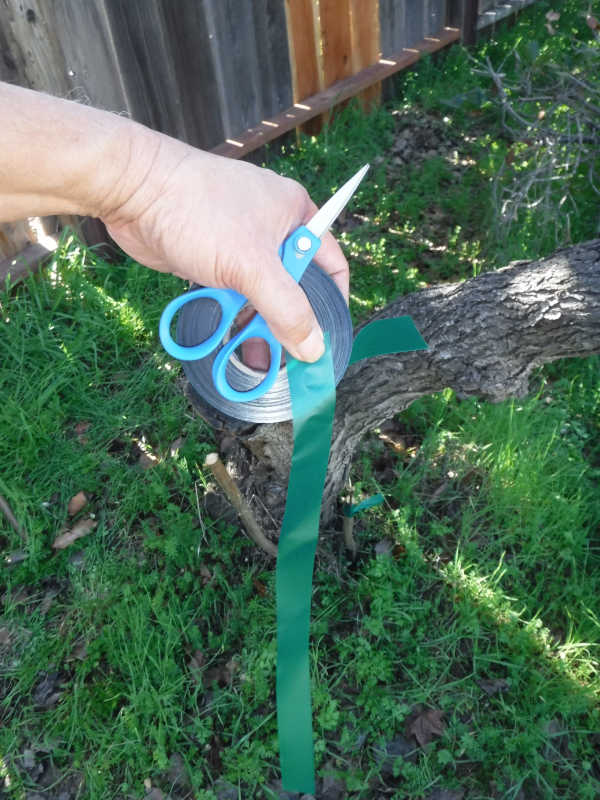
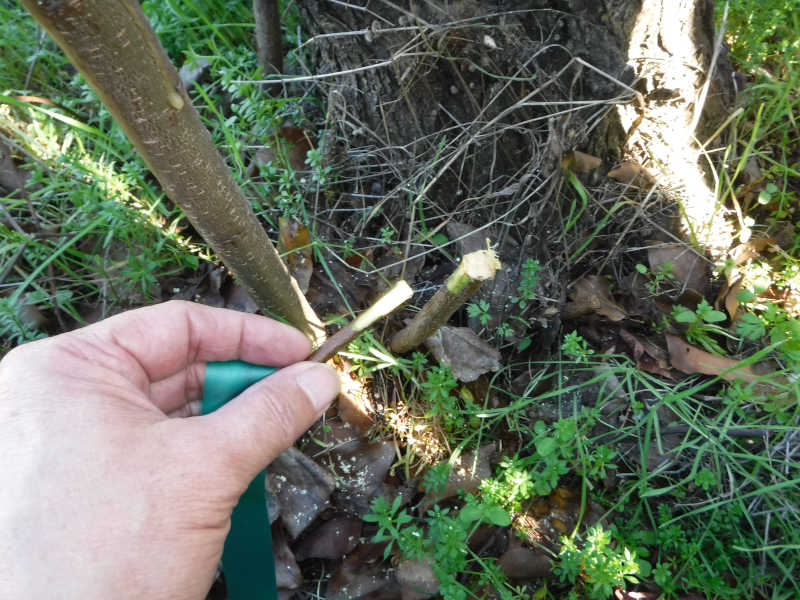
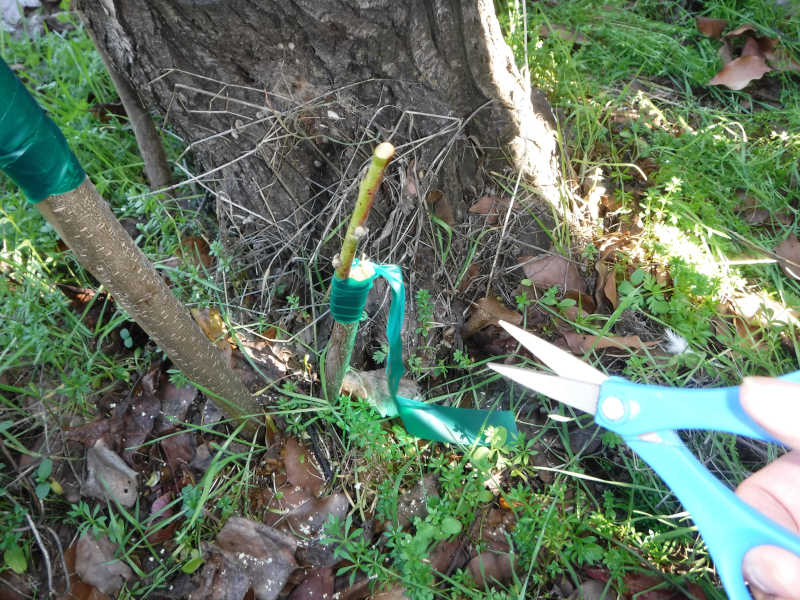
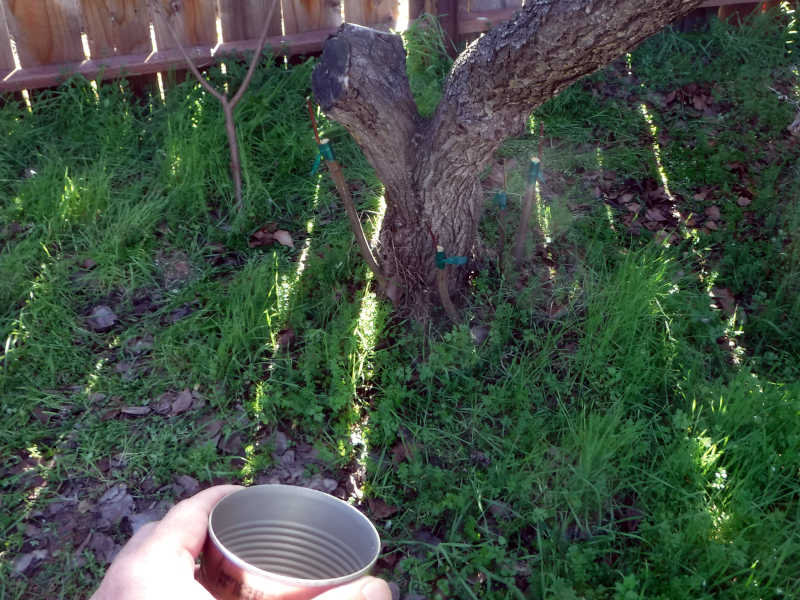
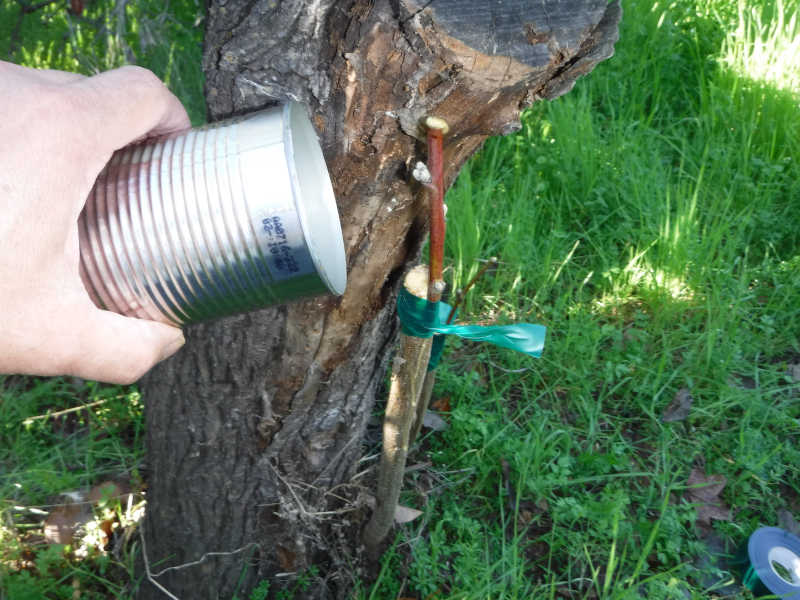
It’s February, so even in my part of California, the tree is dormant. I have heard that this is the best time to graft, so have never tried doing it at any other time. But had I done it in summer, the water sprouts would have been a better match to the size of the scions. If you look carefully, you can see the top part of one of the water sprouts that I cut off, leaning against the fence. It looks like a small tree in its own right.I cut the sprouts with an ordinary branch saw. It’s a little rough, but I’m not sure it matters.Now to get some scions. I’m looking for a twig of a width around that of a pencil. Such a twig is typically longer than the final scion I will use. I’m cutting through a bud, so that I will get a maximum bud-free length at the bottom.Here’s what I cut off.I trimmed it so only the bottom 3 buds are left.I’m dipping both ends of the scion in beeswax to help keep them from drying out. Not much beeswax is required – I melted a chunk the size of a large grape. But that means it cools quickly, so I have to work fast, or go back to the stove to melt it againThis is a good time to cut some stretchy garden tape. One strip for each graft, about 15 inches long. It’s better to have the strip longer, even if you don’t use the last 6 inches for wrap, as that makes it easier to tie the final knot.I scraped off about a one inch section on both scion and stock. If the stock was much larger, I might have done a cleft graft, which I’ve had success with in the past. I’ve never done a bud graft, but maybe that would have been appropriate for this situation. Whatever.No matter what kind of graft it is, it’s important to line up at least some of the cambium, that is, the thin green layer just under the bark. In this case, I can line up the cambium on both sides, but if I couldn’t, I would make sure that one side is lined up perfectly, even if the other side doesn’t touch at all.Wrap everything up, stretching the tape tightly as you go. It’s important to wrap it tight. If it was a bandage on my finger, it would cut off the blood flow, but trees are literally made out of wood. The extra length of tape makes it easy to slip the tape under the last wrap or two and pull a tight knot. Excess tape can be trimmed.The four grafts are wrapped.I re-melted the last remaining bit of beeswax, to pour on top of the exposed wood for extra sealing.It’s hard to see, but there’s now a wax seal on these grafts.