I found treasure on the street!
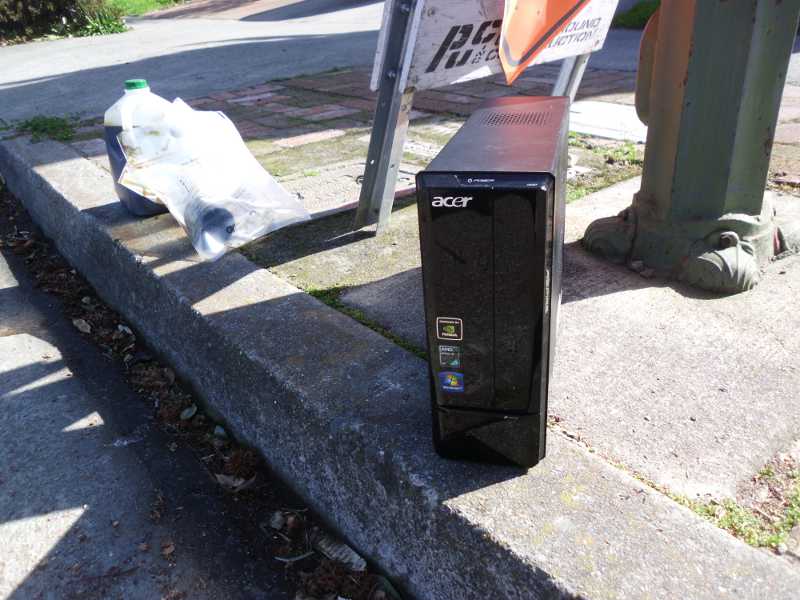
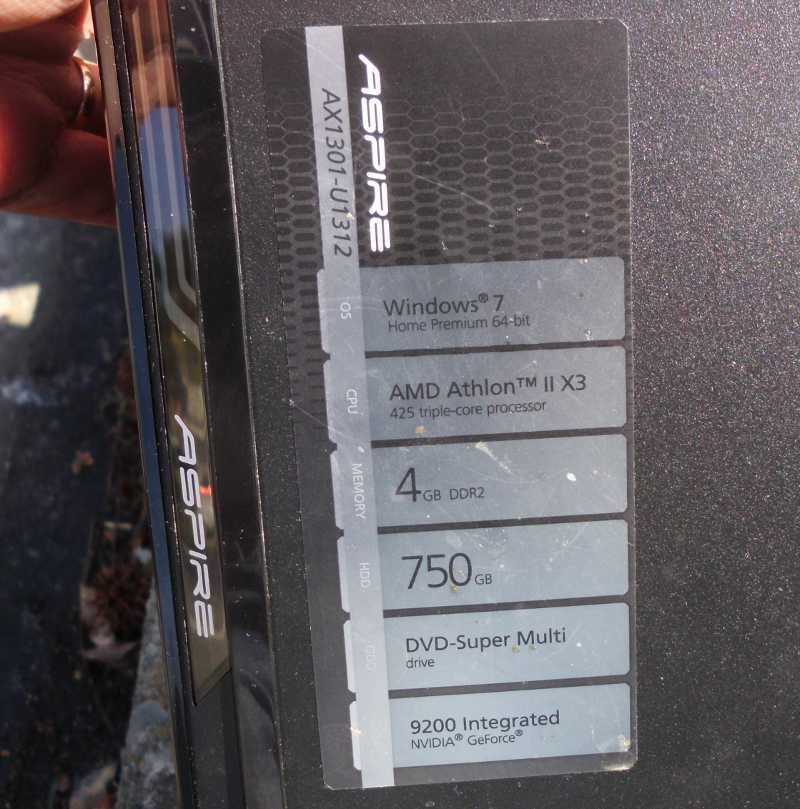
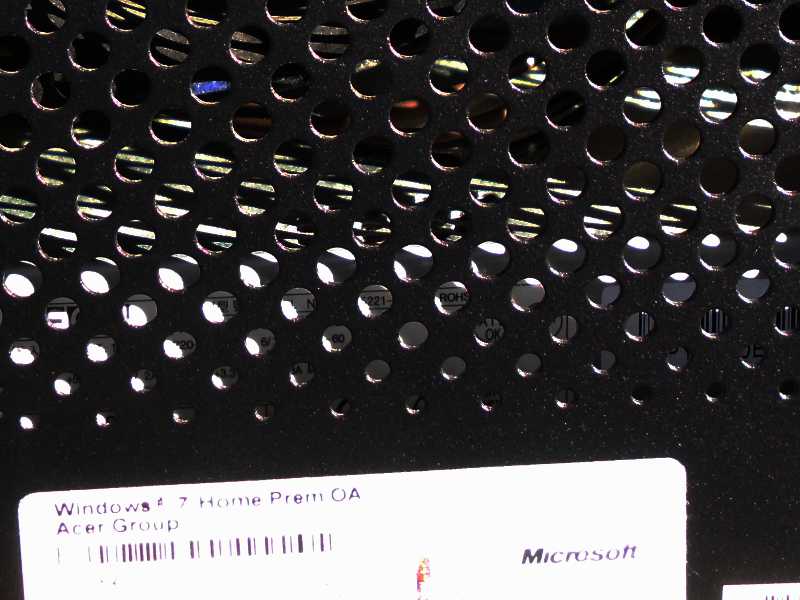
The computer was missing a power cord, monitor, keyboard, and mouse – common for units on the street. When I got it home, I discovered that it was also missing the hard disk (no surprise), and therefore, the operating system. However, all 4 GB of RAM was still in it. As a test, I put a hard disk in it, and ran Ubuntu Linux. Seemed to be fine. All right, let’s try for Windows.
I downloaded the Windows 10 install media here.
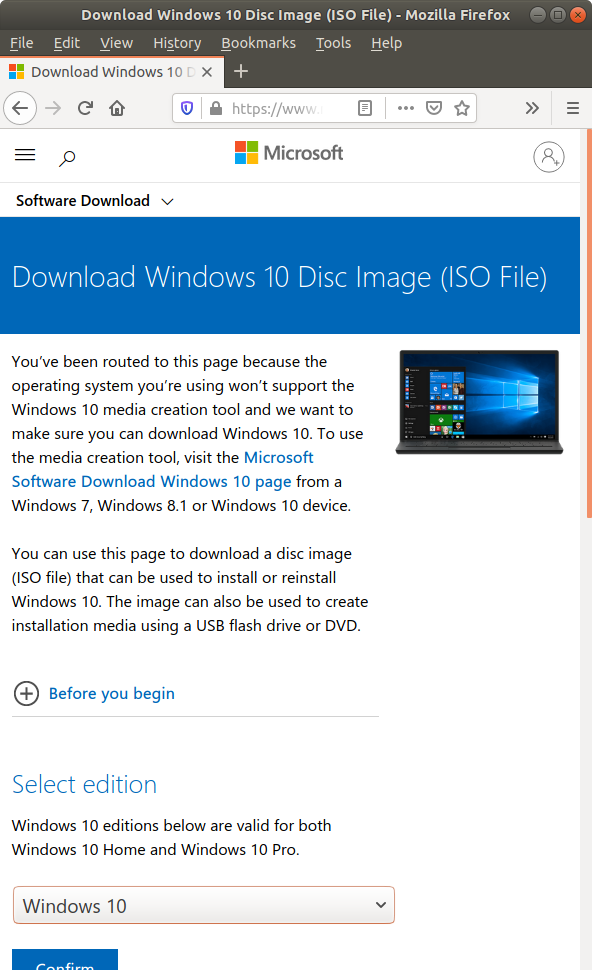

Had I wanted the 32-bit version, I could have simply burned a DVD and installed from there. But the 64-bit version was more than would fit on a standard DVD+R. One solution would have been to use higher-capacity dual-layer or Blu-Ray DVDs (if I had any on hand), but there was a better solution.
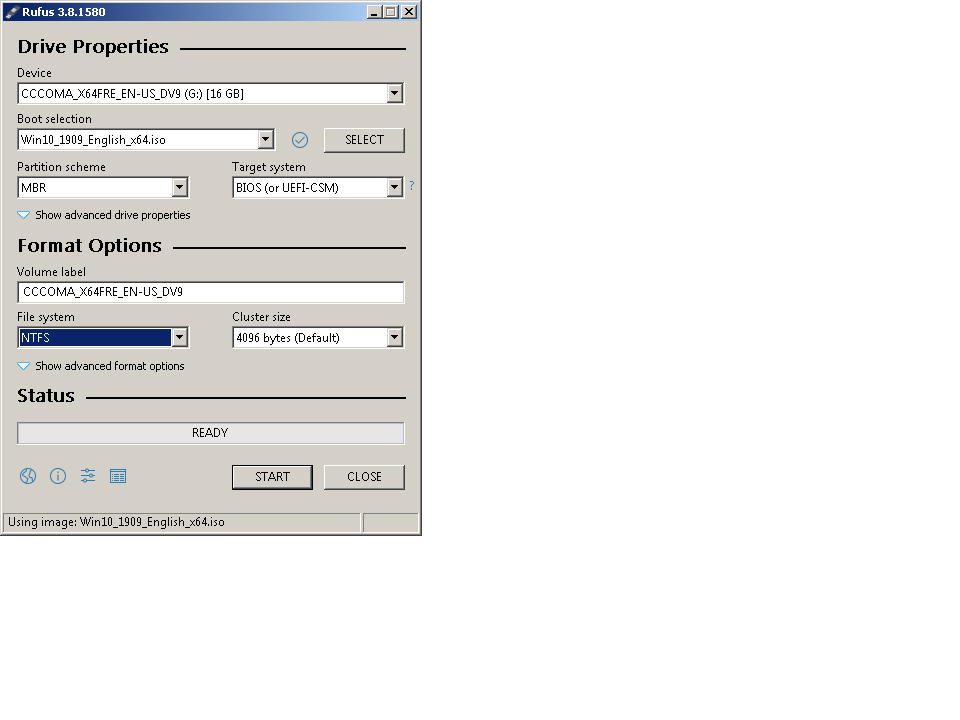
Most computers today will boot to a USB stick. In fact, if you use the download link while running a Windows OS, you will get a utility that will create such a stick for you. I chose an alternate method of creating a bootable USB stick, the Rufus utility. Ignore my next step unless you plan to use Rufus.
With the default settings of Rufus 3.8, the USB stick created was invisible to the Acer AX1031. My guess is that the computer was one of the last of its generation that used BIOS, before EFI took over. The older BIOS was incapable of understanding the newer GPT disk partitioning scheme, so I had to force the older MBR (master boot record) scheme, as below.
I plugged the USB stick into the AX1031, and turned the power on.
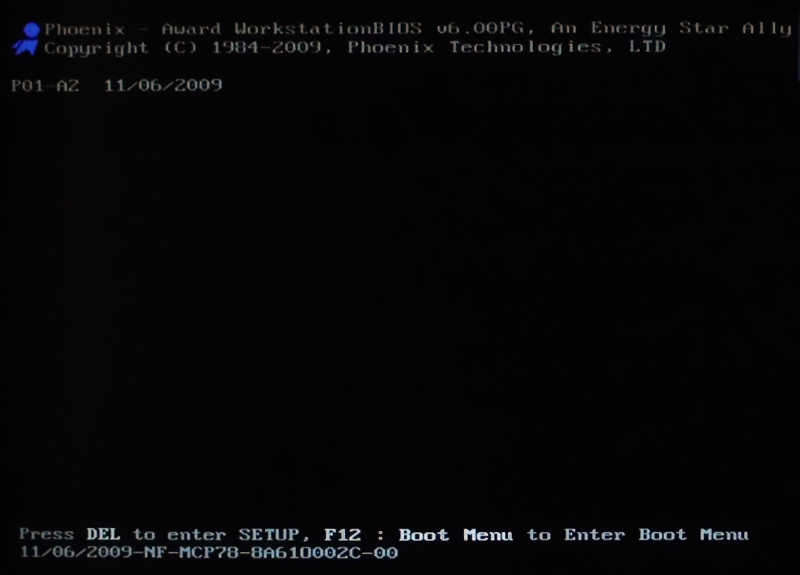
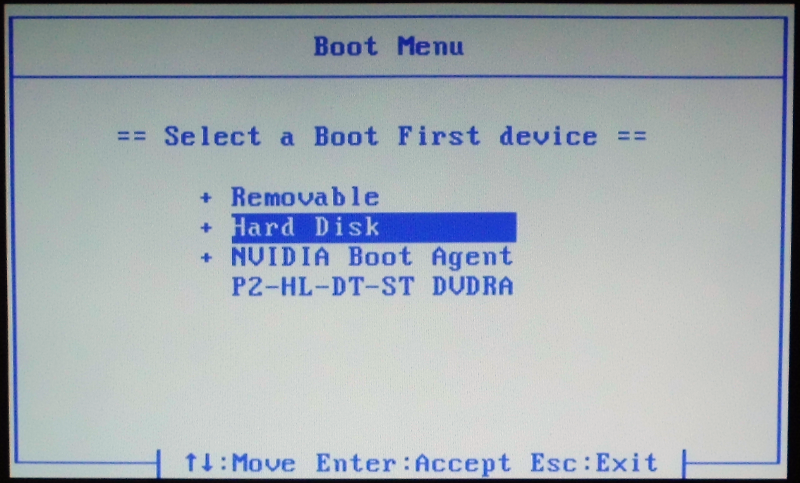
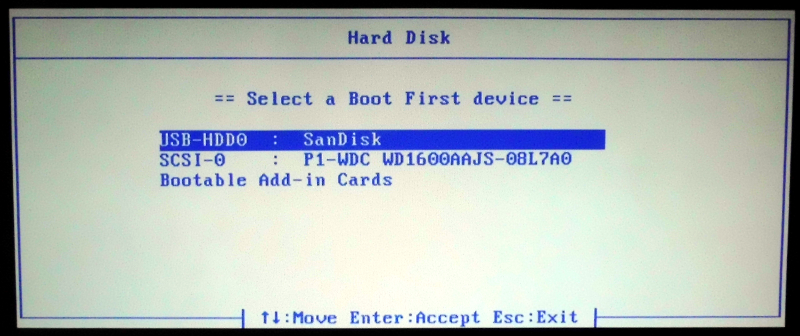
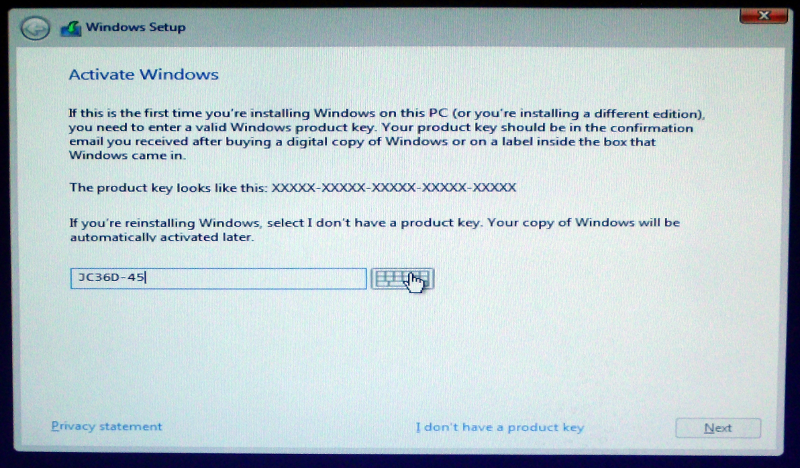
Everything from that point on was smooth sailing.