Our DSL modem has been flaky lately. Given that the thing is over 20 years old, there are likely electrolytic capacitors that have worn out inside. Why not just get another? Because they aren’t made anymore. Few people still use DSL for their internet. And any old modem (even “new” in box) is likely to have similar wear-out issues.
I’m going to take the thing apart to fix it. This would void the warranty, if there was still one in place. There isn’t, obviously.
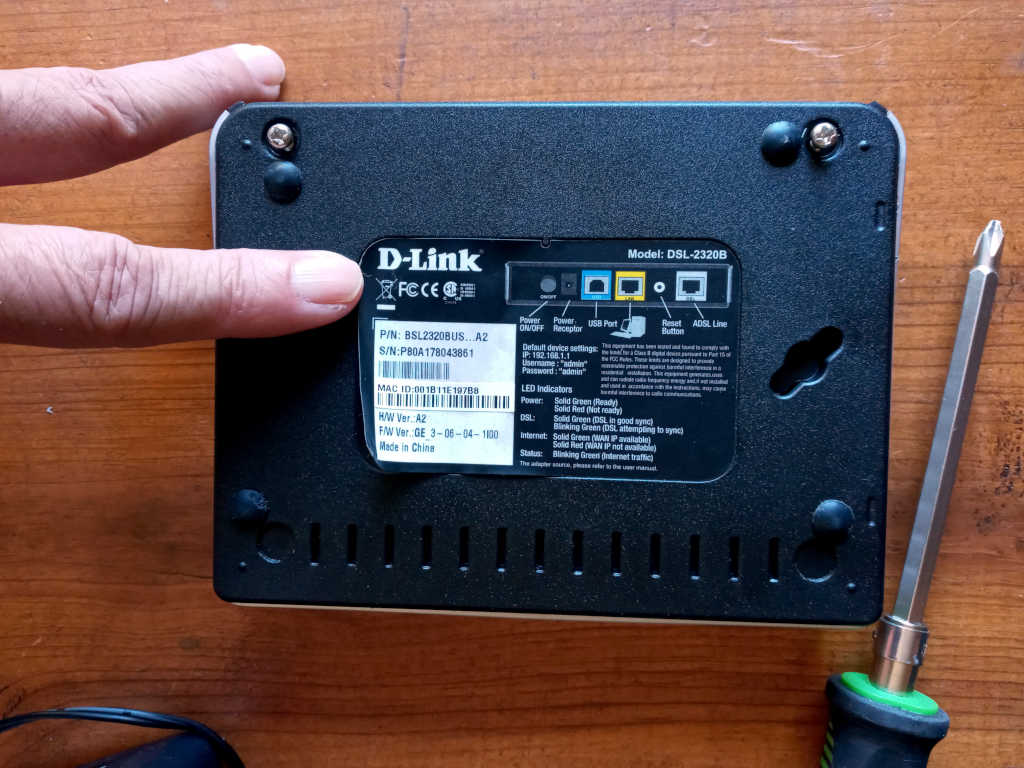
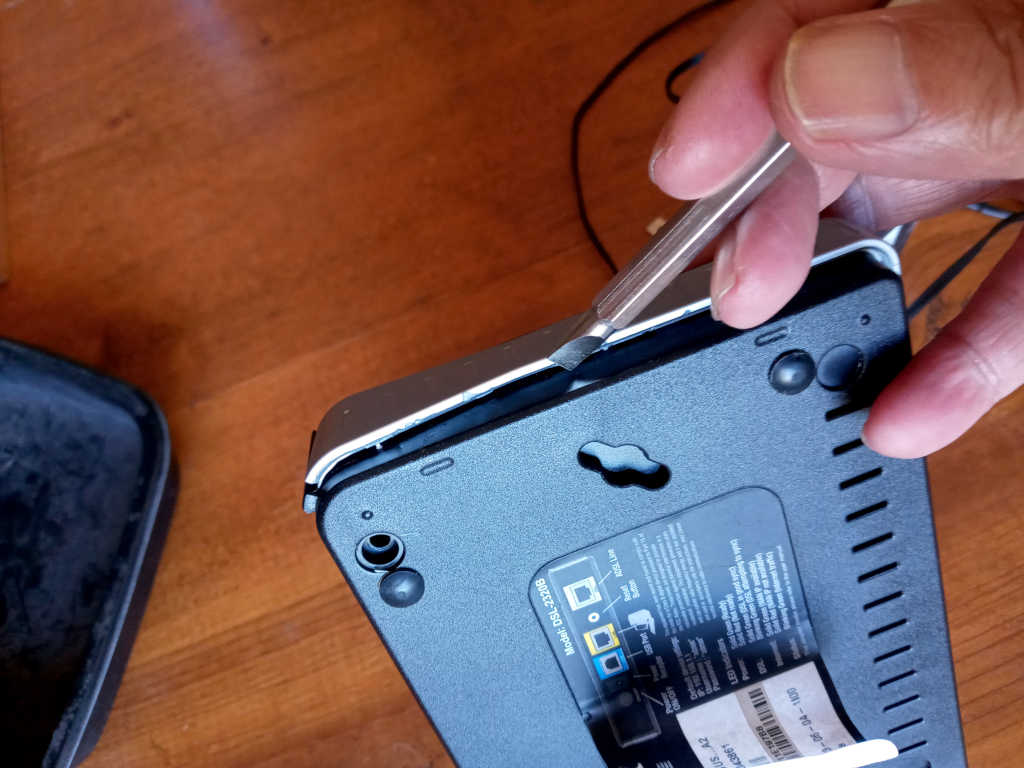
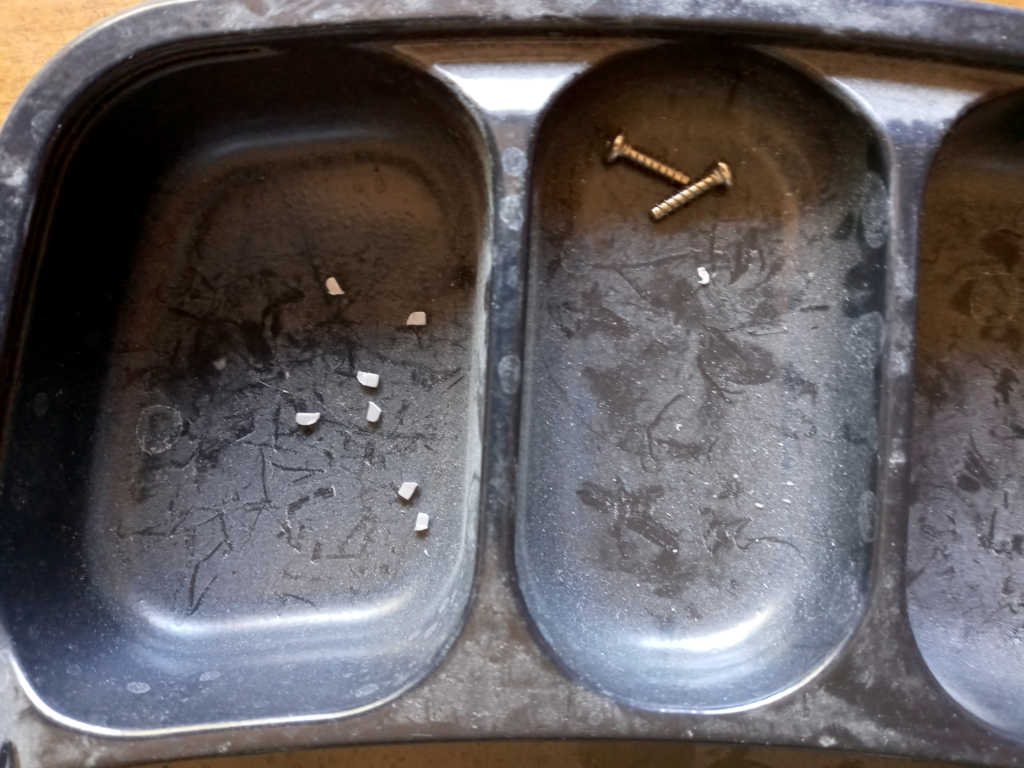
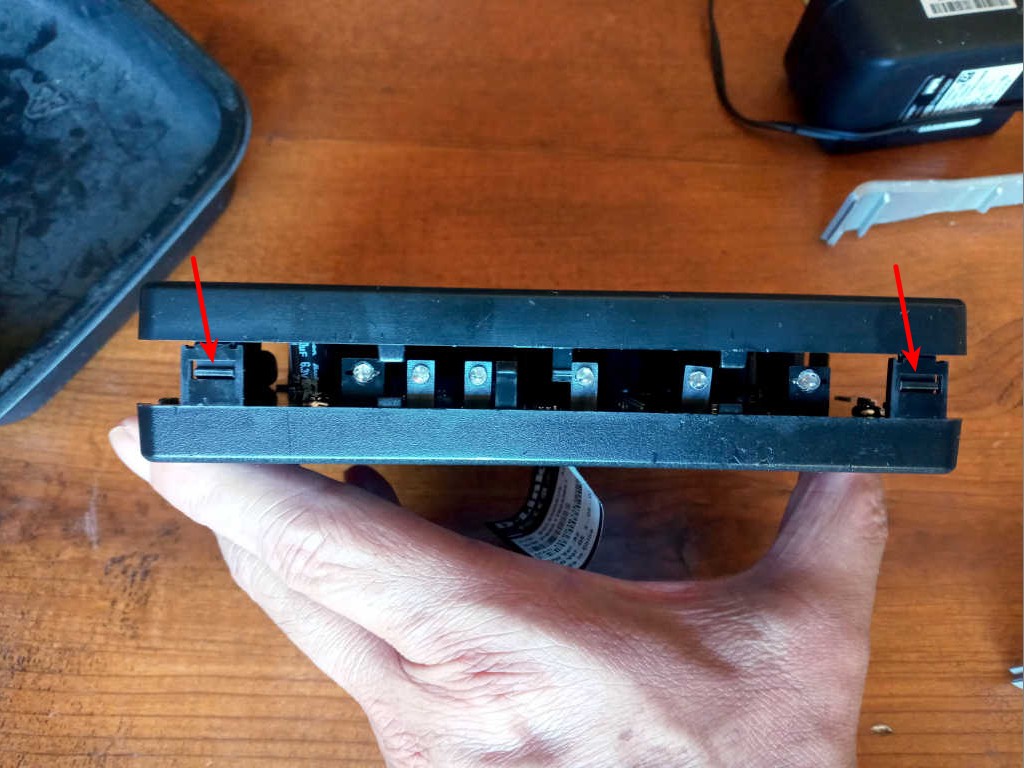
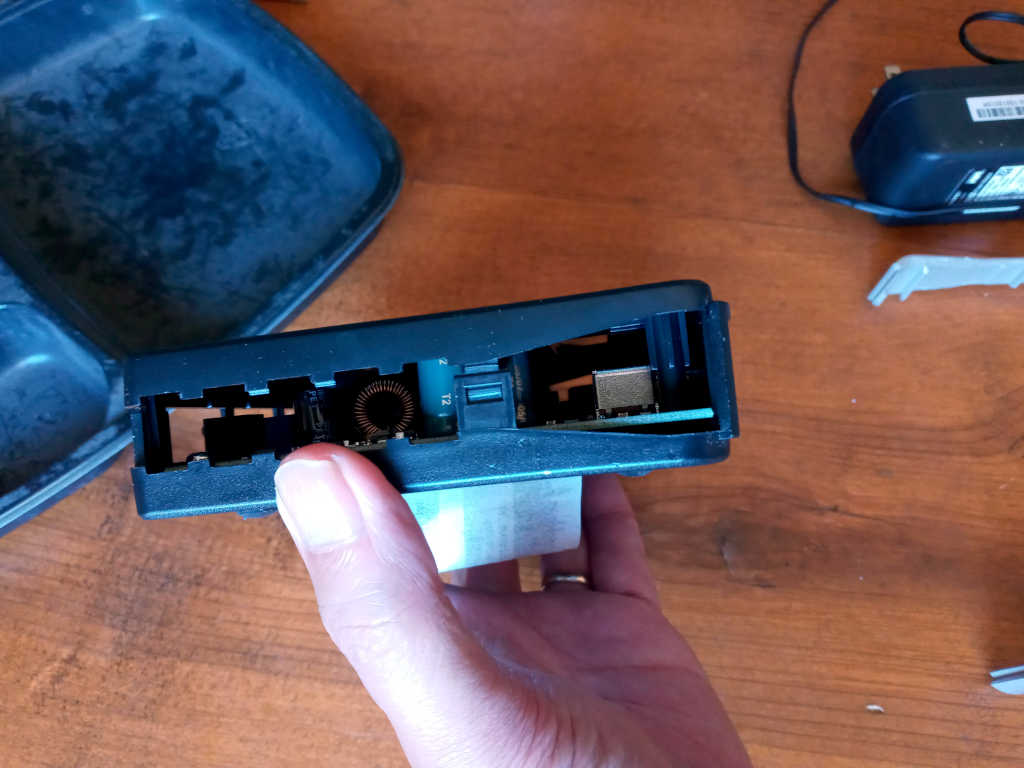
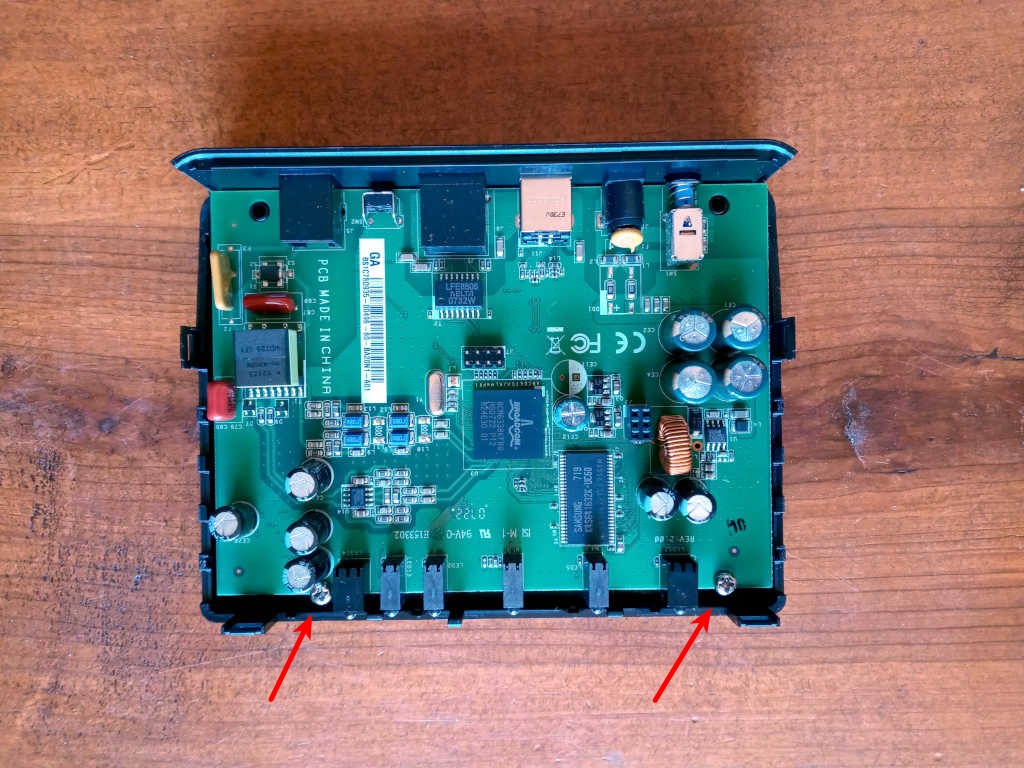
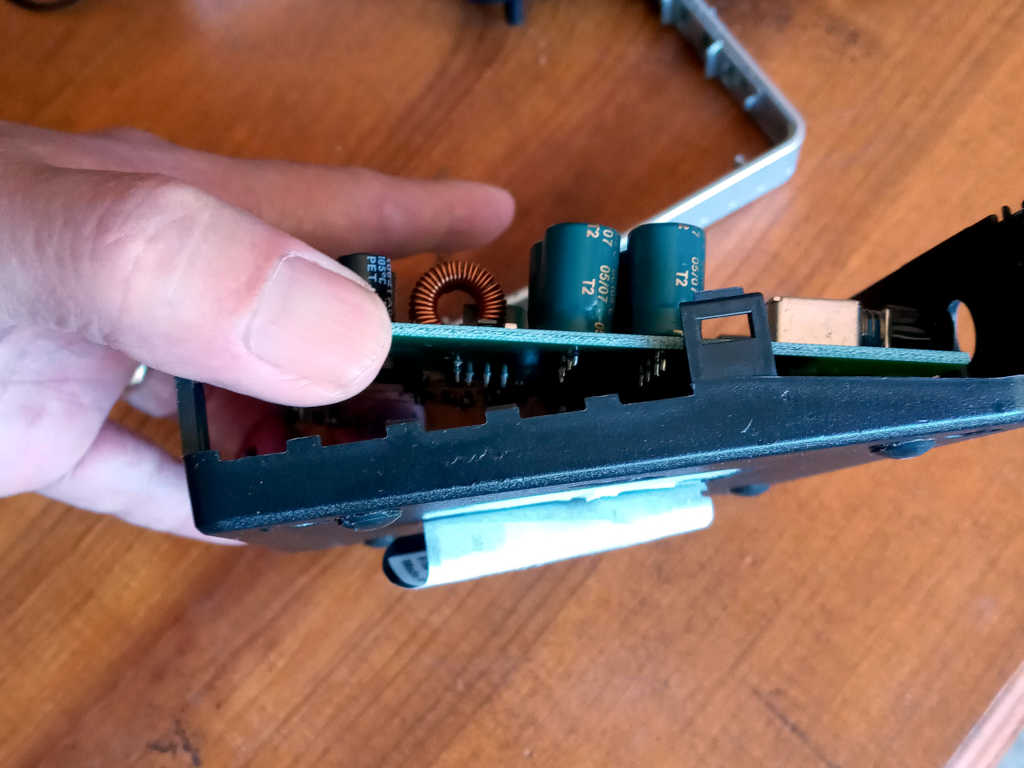
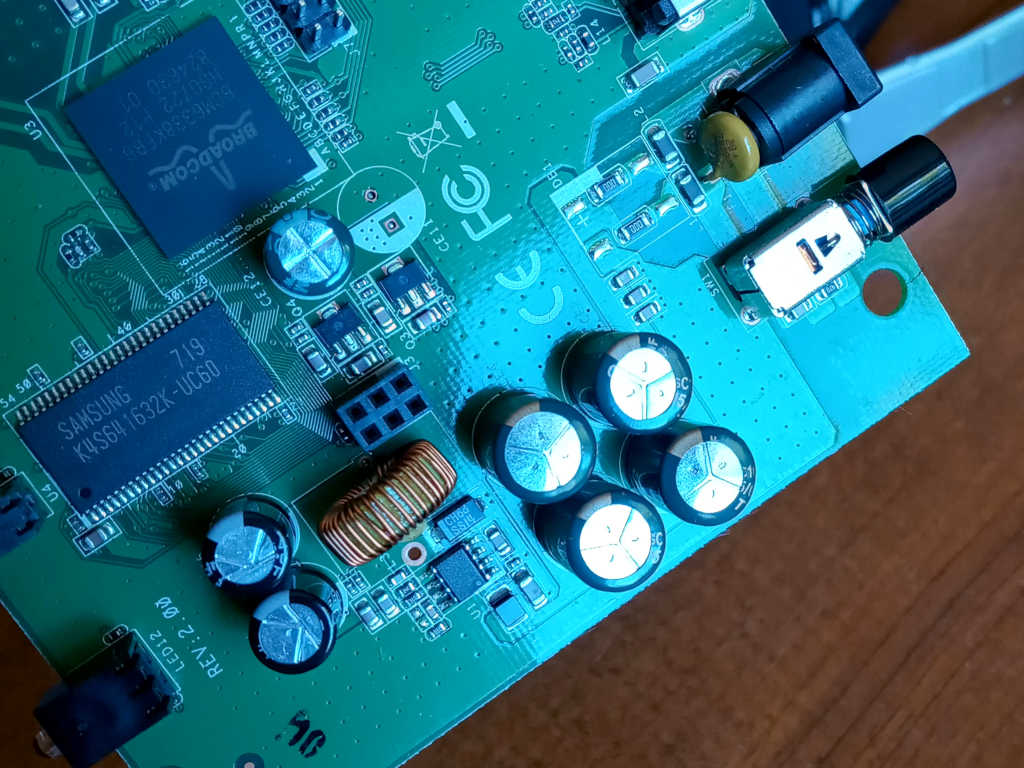
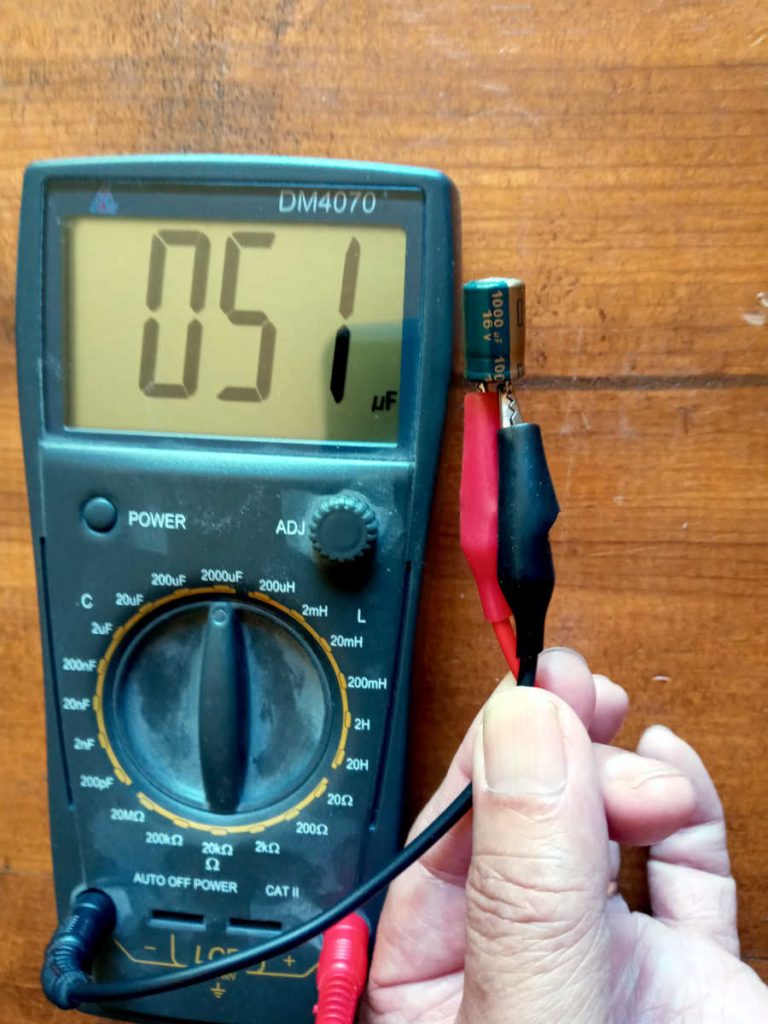
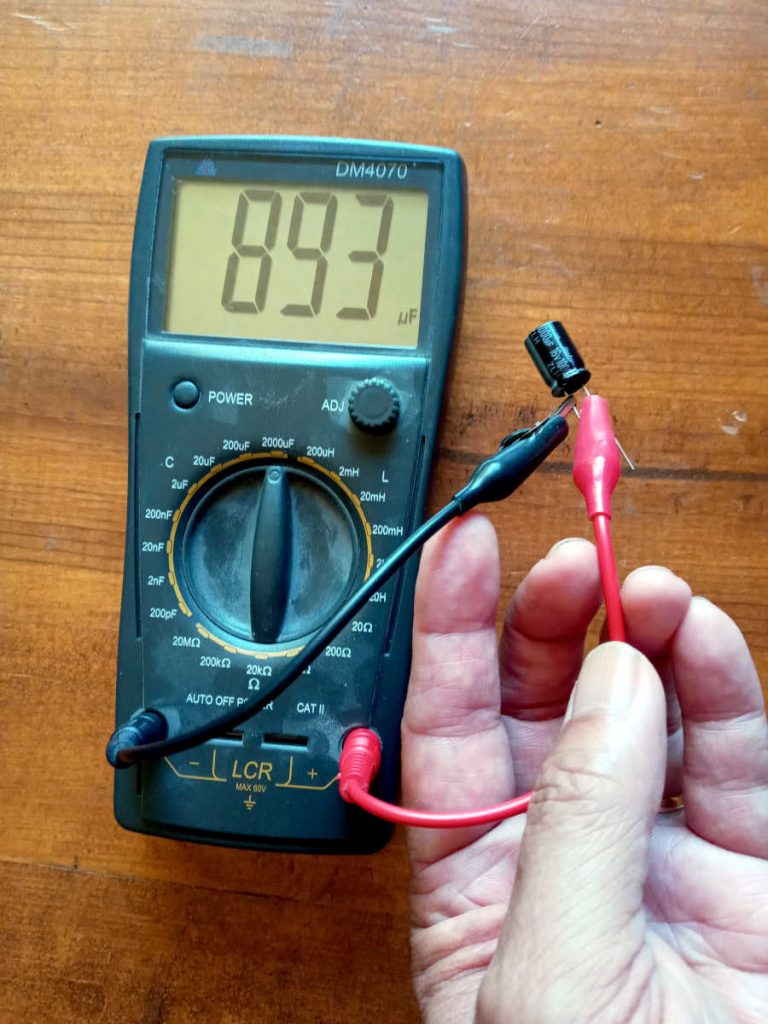
On the bottom of the unit, remove the two rubber feet towards the rear of the case, then remove the two screws. THERE ARE ONLY TWO SCREWS. In my hunt for screws, I moved the front rubber feet and the product label. Don’t bother. I now have a loose product label, which I’m holding down for the picture.Pry off the silver-colored plastic strip which wraps around the unit. You’ll have to get a flat blade screwdriver in there, and likely will break plastic tabs in the process of prying, as the product seems to be designed only for one-way assembly. Don’t worry, it will still go back together.Tiny broken plastic tabs in the left section from prying off the plastic strip.This is the front of the case with the silver strip removed. Push in the two tabs with a flat blade screwdriver to release the top from the bottom. There are also tabs on the sides that release in a similar fashion.A side tab.With the top of the case removed, this is what the board looks like. Remove the two screws holding down the PC board.The connectors are engaged in the back panel, so you’ll have to tip the board up from the front to remove it.This picture doesn’t show the swelling particularly well, but there are swollen capacitors to replace.I measured the two visibly swollen capacitors, and each measured 50-something μF, which is very bad for a 1000 μF component. Two capacitors on the board that were not swollen measured 1058 μF.This is the reading on a brand new cap from Mouser. 893 μF is within the 20% tolerance, and actually, I’d prefer the capacitance to be on the low side if it means a longer life
As long as I was in there, I decided to change ALL the electrolytic capacitors, even though the non-swollen ones tested okay. When possible, I replaced capacitors with components with longer rated operating specs, higher ripple current tolerance, and/or higher working voltage, while maintaining the same capacitance. The modem is now back in service, and I’ll see how it does.